-
KanBo Installation
- KanBo On-Premises Installation Requirements and Prerequisites
- How to Create a X.509 High-Trust Certificate
- KanBo Installation On-Premise SharePoint 2013/2016/2019
- KanBo Installation on Office 365 and Azure
- KanBo Setup
- Creating a Windows Virtual Machine on Azure for Elastic Search
- Creating a Linux Based Virtual Machine on Azure for Elastic Search
- Installing and Configuring Elastic Search on Windows
- Installing and Configuring Elastic Search on Debian
- Creating and Updating the Elastic Cloud Deployment
- KanBo Modern Webpart Installation
- Uninstall KanBo from Office 365
-
KanBo Updates
-
Additional Components
- Setting Up KanBo Email Notifications (On-Premise)
- Setting Up KanBo Email Notifications on Azure
- Sync Targets
- Send Email to KanBo - Installation (On-Premise)
- Send Email to KanBo - Installation (Cloud)
- Enabling Email a Card Message
- KanBo Outlook Add-in Installation (O365 & On-Premise)
- KanBo External User Groups (Active Directory Integration)
- SharePoint Profiles Synchronization
- Installation of KanBo MyBoard Synchronization with Outlook Calendar and Outlook Tasks
- Nintex Integration Installation
- KanBo and Microsoft Power Automate integration: Installation
- KanBo and Microsoft Power Automate Integration: Activation
- Configuring Power Automate with Your KanBo
- Installation of the Autodesk BIM Plugin for KanBo
- KanBo and UiPath Integration: Configuration
- SharePoint Site Collection Balancing and Admin Warnings
- Plugin for Adding Users to KanBo / Sharepoint When They First Enter it
- KanBo Mini Application Installation
- KanBo API for Developers
-
Tips & Tricks
- Disable Sleeping Tabs in Browsers
- Customize KanBo Background Images and KanBo Colors
- Show KanBo Version
- Get KanBo ID
- Import Users to KanBo
- Renew Certificate for KanBo Graph Installation
- Configure How Documents Should Be Opened from KanBo
- Disable/Enable Public Boards Creation
- Find Out the Certificate Expiration Dates On-Premise
- How to Change the Help URL in Your KanBo
- Define Board Features to Be Enabled or Disabled by Default
-
Troubleshooting
Configuring Power Automate with Your KanBo
Table of Contents
This article will guide you trough configuring Microsoft Power Automate with your KanBo.
- Contact support about the KanBo Oauth package.
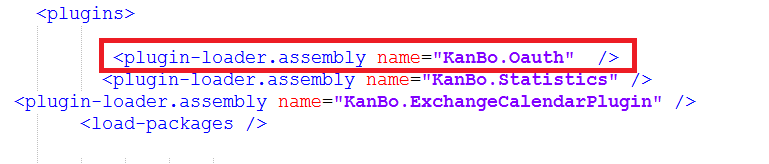
- After you receive the package, move it to the /bin folder and make sure you have the line in your <plugins> section in web.config:
<plugin-loader-assembly name="KanBo.Oauth"></plugin-loader-assembly
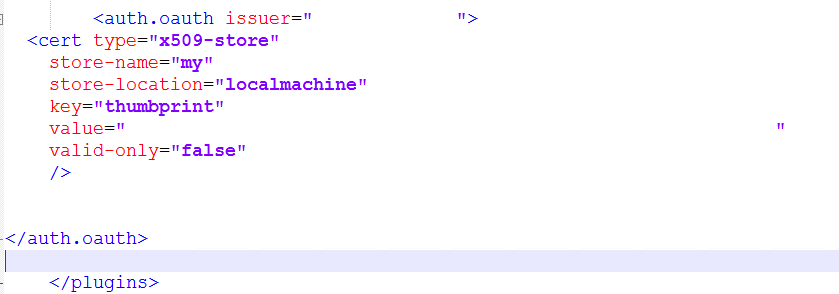
- Put this before your </plugins> line:
<auth.oauth issuer="[issuer name]"> <cert type="x509-store" store-name="my" store-location="localmachine" key="thumbprint" value="[thumbprint value]" valid-only="false"> </cert></auth.oauth>
- Create a certificate:
- Generate a new certificate. Use this Powershell command:
- Change KanBo credentials to the display name of the cert you require. Change the kanbo_azure to your name.
$cert = New-SelfSignedCertificate -DnsName "kanbo credentials" -CertStoreLocation "cert:\LocalMachine\My" $cert | Export-Certificate -FilePath kanbo_azure.cer
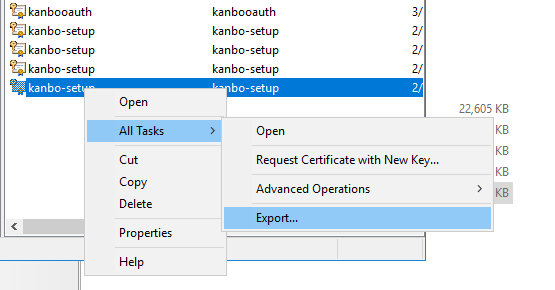
- Go to MMC -> certificates -> local machine and export the certificate.
- Configure your certificate in Azure: link
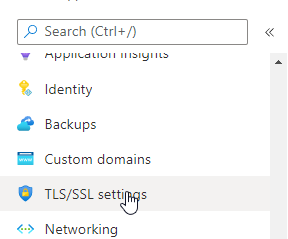
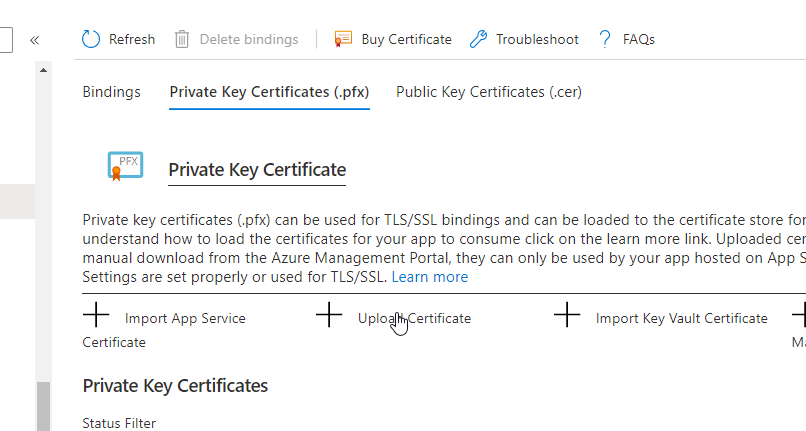
- Go to KanBo Web App and select TLS/SSL settings.
- Go to Prive key certificate and Upload certificate.
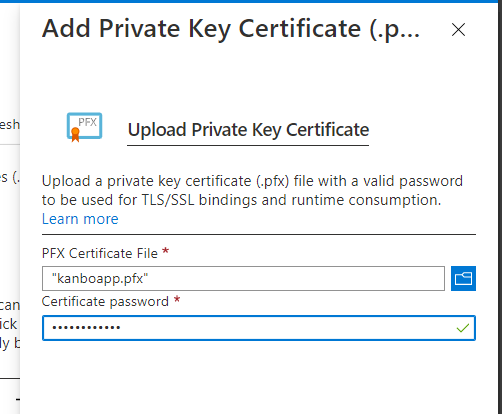
- Upload the PFX file and type the password. Then hit upload.
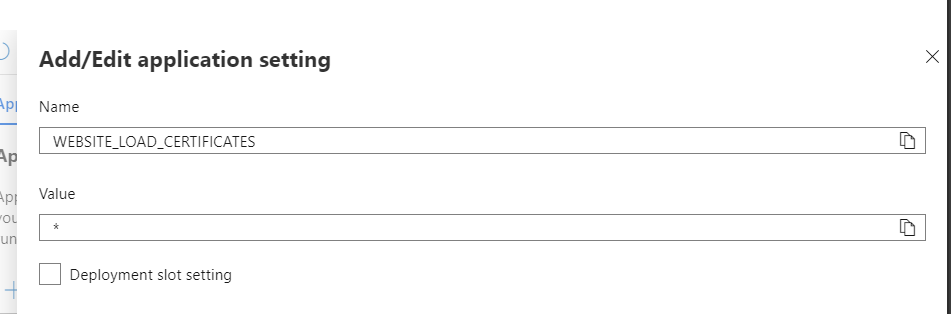
- Go to configuration and edit the WEBSITE_LOAD_CERTIFICATES value.
- Click OK to save the changes.
In case, you use only one cert for KanBo, type the Thumbprint of the new cert in value.
In case you use more than one certs in KanBo, make sure you type " * " in value field.
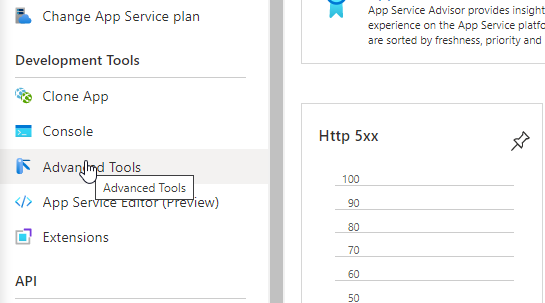
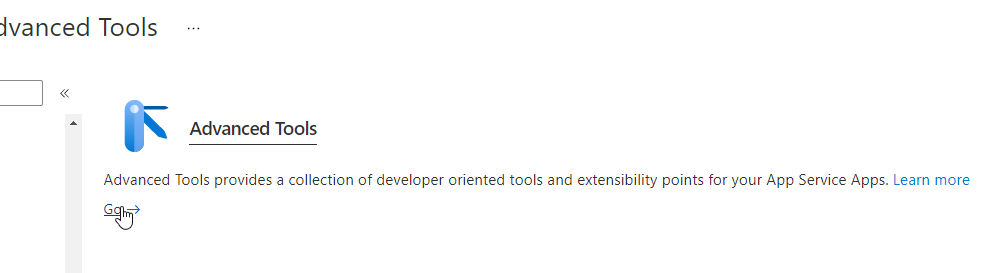
- Go to the Kudu editor. In your Azure Web App Development Tools, select Advanced Tools.
- Open the link.
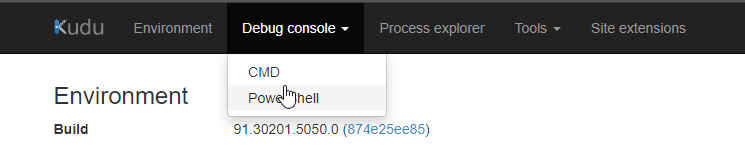
- Select debug console -> Powershell.
- Go to site -> wwwroot and open web.config in editor.
- Change the value in the configuration you applied before.
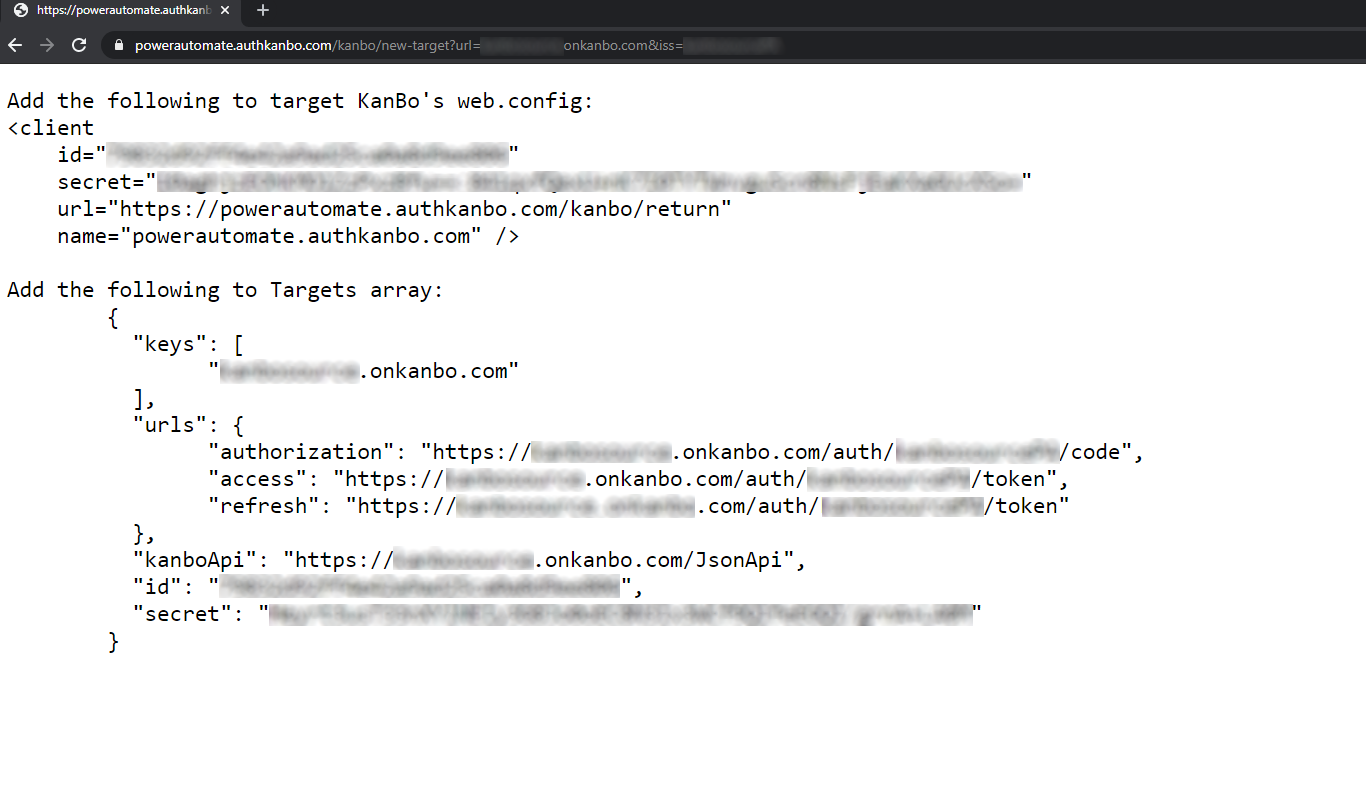
- Go to https://powerautomate.authkanbo.com/kanbo/new-target?url=[your KanBo url]&iss=[issuer name]
- The site will generate values for you.
Paste the <client> code before </auth.oauth> line - Then send the Targets array to the support team at support@kanboapp.com, where they will paste it in the right areas.

- Now you can start using power automate.
Was this article helpful?
Please, contact us if you have any additional questions.