
SharePoint Profiles Synchronization
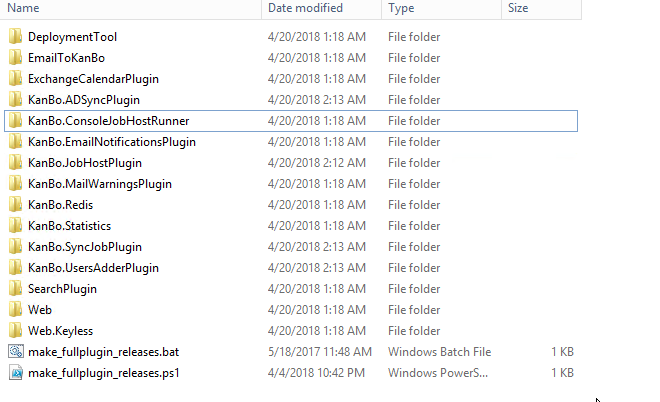
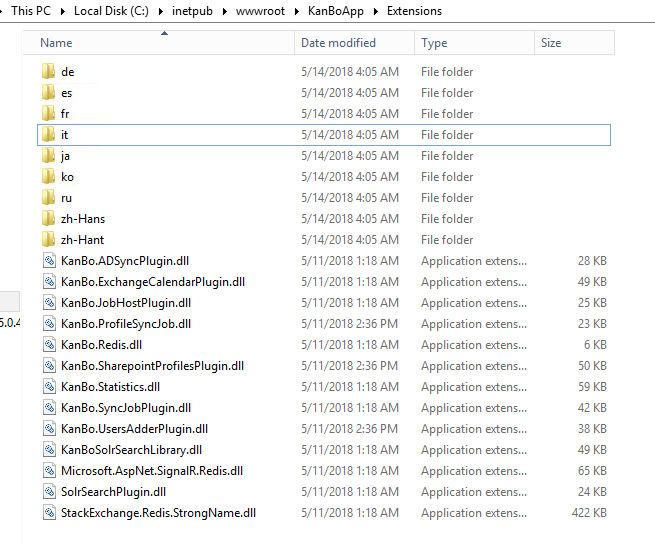
2. Move dll files from folders: KanBo.SharepointProfilesPlugin, KanBo.SyncJobPlugin, KanBo.ProfileSyncJob into Kanbo.ConsoleJobHostRunner folder.
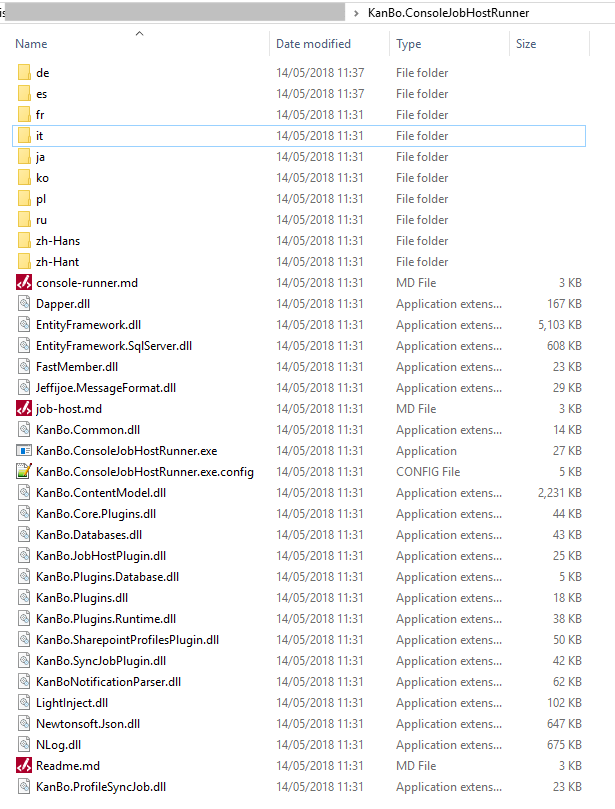
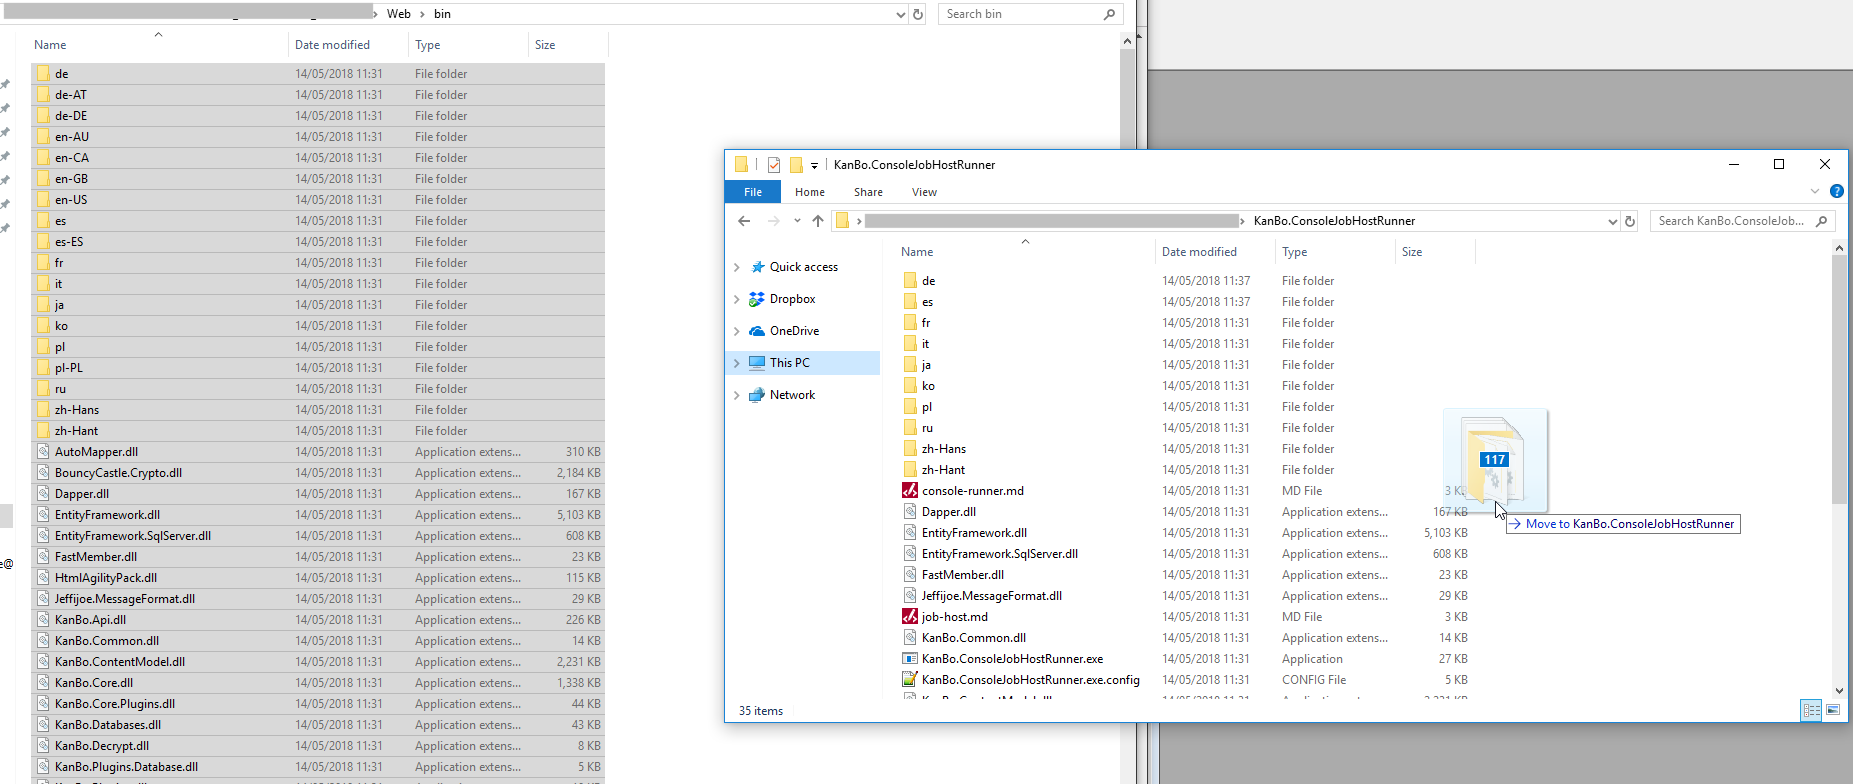
3. Move all files from bin (located in the Web folder) into KanBo.ConsoleJobHostRunner.
4. Add KanBo.ConsoleJobHostRunner folder on your C disc or to any specific directory.

5. Generate a pair of certificates for the communication purposes.
Here's how to do that:
Go to the IIS Server Manager, click on your server and choose Server Certificates. From the menu on the right side choose “Create self-singed certificate”, pick a name for your certificate and follow the next steps to create it. After the certificate has been created save it to a file by following these steps:
- Select -> Click on “Export” -> Follow the steps to save it as a .pfx file in a choosen location (we will use the location later when configuring the app)
- Select -> Click on “View” -> Details -> Copy to file -> Save it as a .cer file in the same location as the .pfx file
- Install certificate to CurrentUser store (DoubleClick it) . Ensure certificate exist under Personal tree using Manage computer certificates (certlm).
If you do not wish to create a Self-signed certificate, you can use this manual to generate certificates using your corporate CA - Creating a pair of authenticating certificates in KanBo.
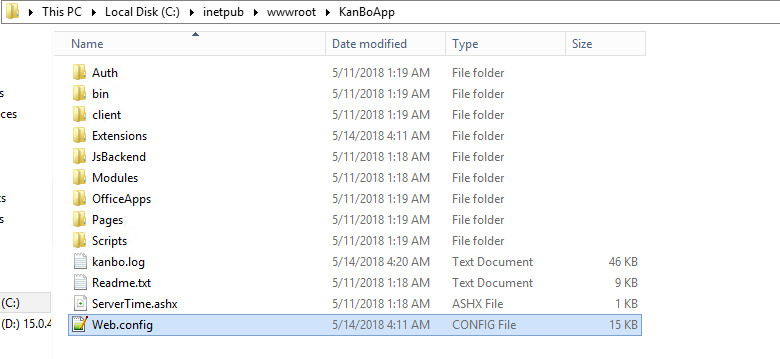
6. Go to your KanBo directory, open web.config and add information about certificate in the authentication section.
<provider id="app" type="AppSignedService" name="Some service">
        <signer type="X509SignerFromFile" file="C:\path to your certificate\certificate.cer" />
      </provider>

You can use Thumbprint (Certificate from Store) instead of pointing a Certificate from File.
<signer type="X509SignerFromStore" storeName="My" storeLocation="CurrentUser" key="Thumbprint" value="{Your Thumbprint}" />
7. Open the KanBo.ConsoleJobHostRunner.exe.config

8. Start editing it. Firsly, enter your KanBo database connection string (you might copy it from the KanBo web.config).

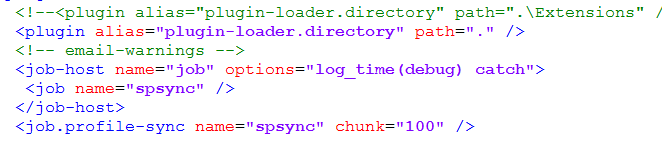
9. Create a job to run the SP Profile synchronization under <plugins> section.
 <plugin alias="plugin-loader.directory" path="."></plugin>
<job-host name="job" options="log_time(debug) catch">
       <job name="spsync" />
      </job-host>
      <job.profile-sync name="spsync" chunk="100" />
10. Configure the <profiles-provider.sp> part. In the first part adjust the following - you can copy these values from KanBo web.config:
- sphost url - your SharePoint Site Collection address (where KanBo is installed),
- client id - the client id number from web.config,
- issuer id - issuer id number from web.config,
- path to the KanBo certificate from web.config,
- password to the certificate.
<profiles-provider.sp>
        <sp type="from-web-conf">
         <provider id="sp" type="Sharepoint" sphosturl="{SHAREPOINT ADDRESS}" clientid="{CLIENTID}" issuerid="{ISSUERID}">
        <!-- signer is described below, this one must contain a private key -->
 </provider>
  <signer type="X509SignerFromFile" file="{PATH TO CERTIFICATE}" key="{PASSWORD}"></signer>
 </sp></profiles-provider.sp>

You can use Thumbprint (Certificate from Store) instead of pointing a Certificate from File.
<signer type="X509SignerFromStore" storeName="My" storeLocation="Localstore" key="Thumbprint" value="{Your Thumbprint}" />
You can also configure this section so the job will be performed by a SharePoint Service account.
The configuration will be as it follows. Adjust the following elements:
- Service Account Name
- Password to the sevice account.
- SharePoint url address
    <profiles-provider.sp>
        <sp type="user" user="{SERVICE ACCOUNT NAME}" pass="{PASSWORD}" url="{SHAREPOINT URL}" />
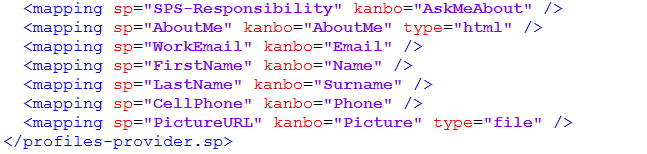
11. Configure the following mapping section, so your SharePoint Profile information from chosen fields would be imported to KanBo.
 <mapping sp="SPS-Responsibility" kanbo="AskMeAbout" />
        <mapping sp="AboutMe" kanbo="AboutMe" type="html" />
        <mapping sp="WorkEmail" kanbo="Email" />
        <mapping sp="FirstName" kanbo="Name" />
        <mapping sp="LastName" kanbo="Surname" />
        <mapping sp="CellPhone" kanbo="Phone" />
        <mapping sp="PictureURL" kanbo="Picture" type="file" />
      </profiles-provider.sp>
12. Adjust the kanbo-api.service section with your certificate information.
<kanbo-api.service
    issuer="me"
    url="{KANBO ADDRESS}">
     <signer type="X509SignerFromFile" file="{PATH TO CERTIFICATE}" />
    </kanbo-api.service>

To adjust this section, you can use Thumbprint (Certificate from Store) instead of pointing a Certificate from
File.
<kanbo-api.service issuer="me"
url="{https://YOUR KANBO ADDRESS">
<signer type="X509SignerFromStore"
storename="My" storelocation="CurrentUser"
key="Thumbprint" value="{THUMBPRINT}"
validonly="false"></signer>
</kanbo-api.service>
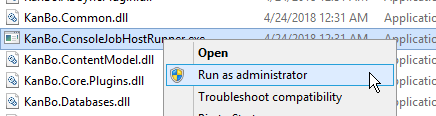
13. Now you can run KanBo.ConsoleJobHostRunner.exe (run it as administrator in CMD) to check if the job is running correctly and no errors occur (see the kanbo.log inside the folder).
Create a task in Task Scheduler for SP Profiles sync component
13. Go to the Task Scheduler. Click on Create Task.
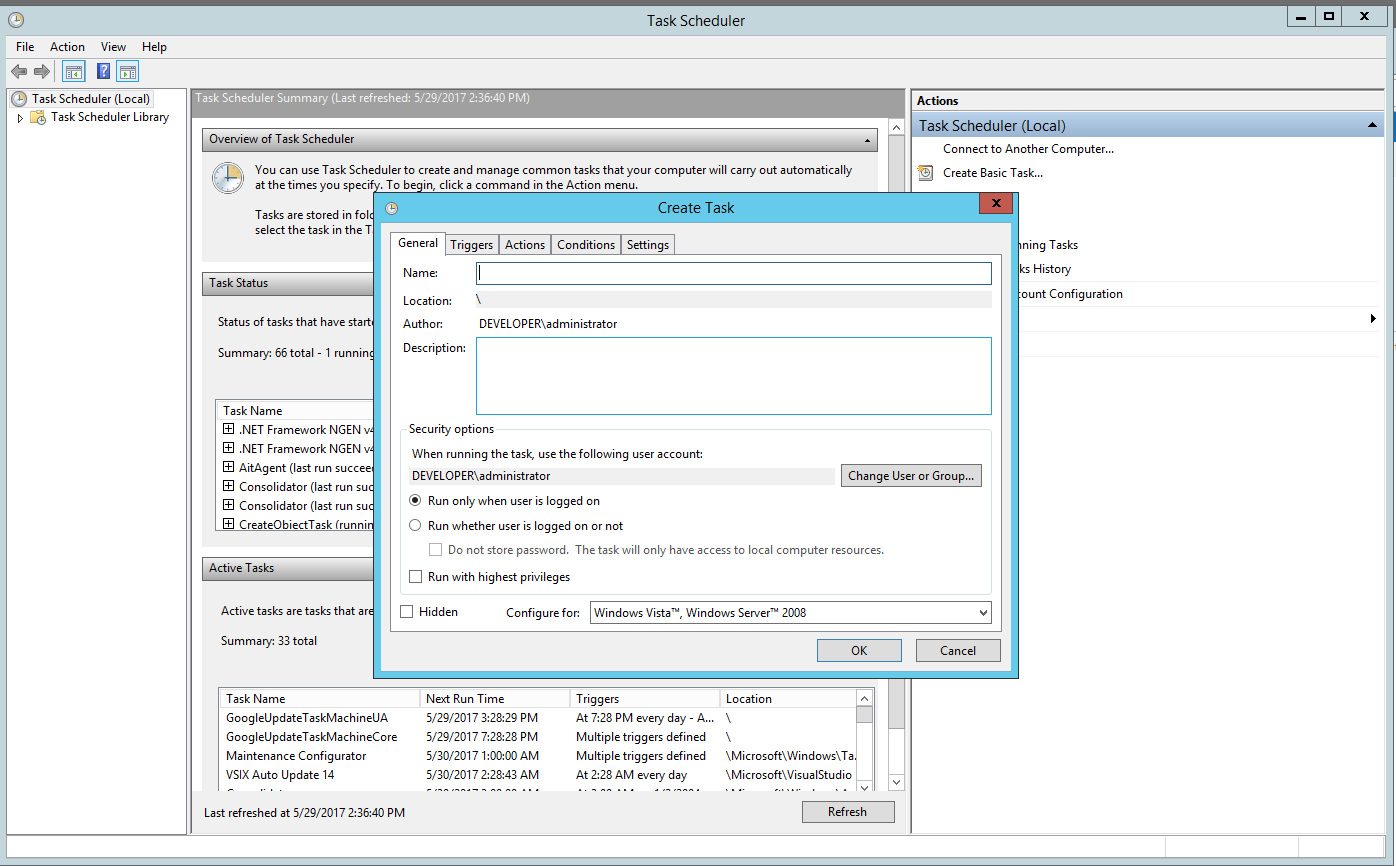
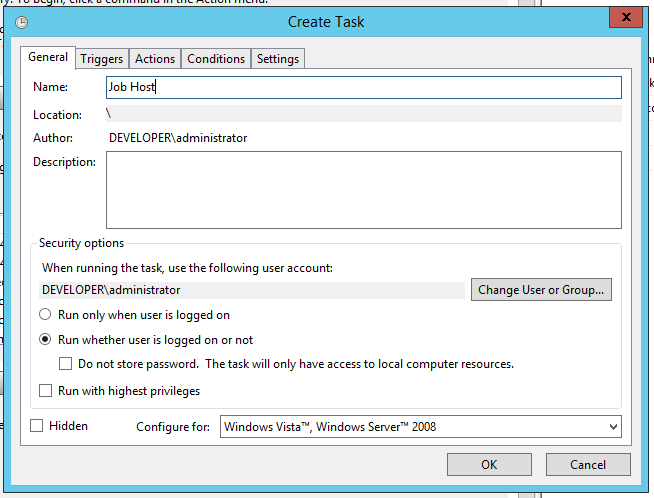
14. Set a name, for example "Job Host".
Select "Run only when user is logged or not".
Save these changes.
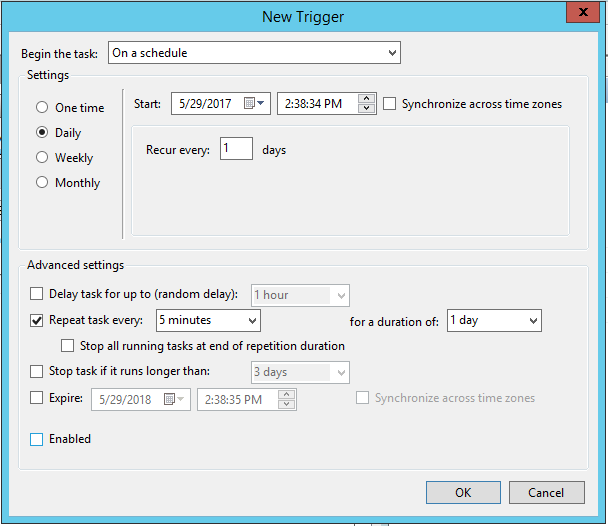
15. Go to Triggers section. Click on "New" button.
Select "Daily" and set Repeat Task every 5 minutes (or a higher number of minutes - depending how efficient you would like your Job to perform its tasks of importing AD users).
Save these changes.
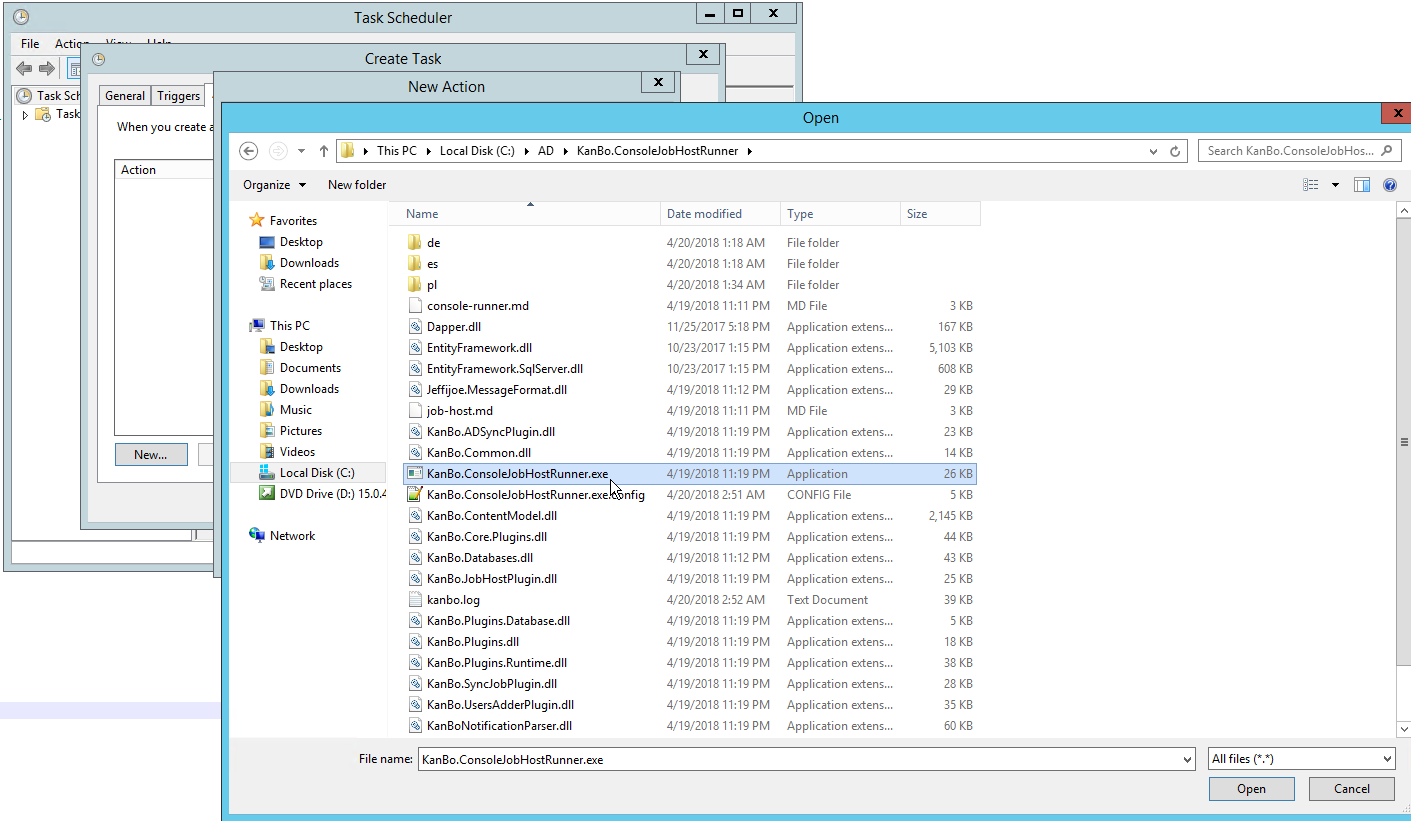
16. Go to the Actions section.
Select Action "Start a Program".
Click on Browser and select the KanBo.ConsoleJobHostRunner.exe.
Save these changes.
17. See if task is running correctly in Task Scheduler.

Configuring SharePoint Profiles synchronization inside KanBo web.config.
2. Open KanBo web.config.
3. Configure the job (names of jobs) and how often it should run in the <plugins> section of web.config)
Configuration of a job:
- name - contains the name for the pipeline, it must be unique
- background -
defines if the pipeline should run in background of webserver, do not use this on console runner
-
options - declares the pipeline describing how to run the job
Examples:
- `bg repeat wait_after(1s) catch timeout(5s) log_time(debug)` - will tell the job
to run detached, repeated job, that waits 1s after it completes, any errors are caught, so it does not stop after
failing, allow it to run for 5s and log if it completes
- `repeat catch wait_after(1s) timeout(1m)
log_time(debug)` - will tell the job to run repeated job, any errors are caught, so it does not stop after failing,
wait 1s if the job completed successfully, allow it to run for 5s and log if it completes
Option types:
- `log_time(log_level)` - will log the step on the right to log if it finishes
successfully
- log levels are: `debug`, `info`, `warn`, `error`, `fatal`
- `timeout(time)` - will tell the
step on the right to stop in the middle of processing if it occurs and instruct it to discard the pipeline on the
left until it's caught by `catch`
- `wait_before(time)` - will tell the step on the right to wait immediately
before running
- `wait_after(time)` - will tell the step on the right to wait immediately after running
- `bg`
- will detach steps on the right from the pipeline and complete immediately (do not use `repeat bg` - it will spawn
as much pipelines as possible)
- `repeat` - will instruct the pipeline on the right to repeat forever
-
`catch` - will instruct the pipeline to catch any errors on the right side of pipeline, if not set, any failure will
crash the whole pipeline
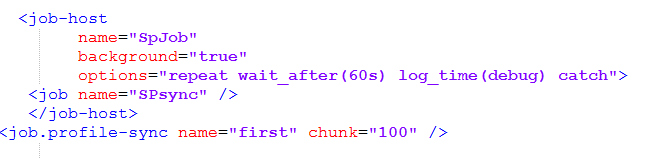
In our scenario it will be:
<job-host
        name="SpJob"
        background="true"
        options="repeat wait_after(60s) log_time(debug) catch">
   <job name="SPsync" />
   </job-host>
<job.profile-sync name="first" chunk="100" />
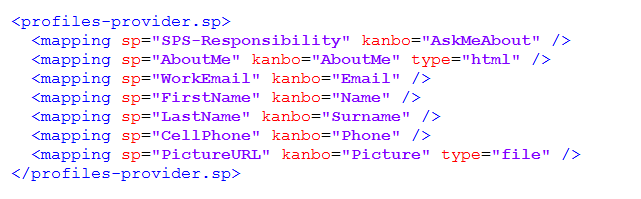
Configure the following mapping section, so your SharePoint Profile information from chosen fields would be imported to KanBo.
 <mapping sp="SPS-Responsibility" kanbo="AskMeAbout" />
        <mapping sp="AboutMe" kanbo="AboutMe" type="html" />
        <mapping sp="WorkEmail" kanbo="Email" />
        <mapping sp="FirstName" kanbo="Name" />
        <mapping sp="LastName" kanbo="Surname" />
        <mapping sp="CellPhone" kanbo="Phone" />
        <mapping sp="PictureURL" kanbo="Picture" type="file" />
      </profiles-provider.sp>
Troubleshooting
1) Invalid certificate issue
EXCEPTION: System.Exception: Failed getting file by url:
https://your mysites address/image.jpg ---> System.Net.WebException: The underlying connection was closed: Could not establish trust relationship for the SSL/TLS secure channel. ---> System.Security.Authentication.AuthenticationException: The remote certificate is invalid according to the validation procedure.
at System.Net.Security.SslState.StartSendAuthResetSignal(ProtocolToken message, AsyncProtocolRequest asyncRequest, Exception exception)
at System.Net.Security.SslState.CheckCompletionBeforeNextReceive(ProtocolToken message, AsyncProtocolRequest asyncRequest)
at System.Net.Security.SslState.StartSendBlob(Byte[] incoming, Int32 count, AsyncProtocolRequest asyncRequest)
at System.Net.Security.SslState.ProcessReceivedBlob(Byte[] buffer, Int32 count, AsyncProtocolRequest asyncRequest)
at System.Net.Security.SslState.StartReadFrame(Byte[] buffer, Int32 readBytes, AsyncProtocolRequest asyncRequest)
If you encounter this error, make sure to check if the certificate for MySites is valid. If it's not, purchase a new certificate and attach it to the MySites site in IIS.
2)
System.Exception: Failed getting file by url ---> Microsoft.SharePoint.Client.ServerException: Cannot open file "https://yoursharepoint mysites= address/User Photos/Profile Pictures/someimage.jpg".
This error means that the component uses the wrong URL for MySites to collect the profile picture.In this scenario, you should expand the Mappings configuration in the component's config.
This error can mean, that the sync could not connect to the SharePoint by url - the most common issue is when the
picture urls stored are not valid endpoints (`server/User Photos/Profile Pictures/user_MThumb.jpg`
instead of `http://mysite.example.com/User Photos/Profile
Pictures/user_MThumb.jpg`). You can add ``nodes to the `PictureURL` mapping:
This will rewrite Urls to use the
correct server before fetching them.
<mapping sp="PictureURL" kanbo="Picture" type="file">
    <transform type="replace" from="^server" to="http://mysite.example.com" />
</mapping>