
-
KanBo Installation
- KanBo Installation on Office 365 and Azure (Manual)
- KanBo Installation on Office 365 and Azure (KanBo Installer)
- KanBo On-Premises Installation Requirements and Prerequisites
- KanBo Installation On-Premise SharePoint 2013/2016/2019
- Creating and Updating the Elastic Cloud Deployment
- Creating a Linux Based Virtual Machine on Azure for Elastic Search
- Installing and Configuring Elastic Search on Debian
- Creating a Windows Virtual Machine on Azure for Elastic Search
- Installing and Configuring Elastic Search on Windows
- How to Create a X.509 High-Trust Certificate
- KanBo Setup
- KanBo Modern Webpart Installation
- Uninstall KanBo from Office 365
- Supported Browsers
-
KanBo Updates
-
Additional Components
- Setting Up KanBo Email Notifications on Azure
- Setting Up KanBo Email Notifications (On-Premise)
- KanBo Outlook Add-in Installation (O365 & On-Premise)
- Send Email to KanBo - Installation (Cloud)
- Send Email to KanBo - Installation (On-Premise)
- Enabling Email a Card Message
- KanBo and Microsoft Power Automate integration: Installation
- KanBo and Microsoft Power Automate Integration: Activation
- Installation of KanBo MyBoard Synchronization with Outlook Calendar and Outlook Tasks
- Installation of the Autodesk BIM Plugin for KanBo
- KanBo and UiPath Integration: Configuration
- Nintex Integration Installation
- KanBo API for Developers
- KanBo External User Groups (Active Directory Integration)
- KanBo Mini Application Installation
- Plugin for Adding Users to KanBo / Sharepoint When They First Enter it
- SharePoint Profiles Synchronization
- SharePoint Site Collection Balancing and Admin Warnings
- Sync Targets
- Installation of the KanBo Teams App
-
Tips & Tricks
- Configure How Documents Should Be Opened from KanBo
- Customize KanBo Background Images and KanBo Colors
- Define Board Features to Be Enabled or Disabled by Default
- Disable Sleeping Tabs in Browsers
- Disable/Enable Public Boards Creation
- Find Out the Certificate Expiration Dates On-Premise
- Get KanBo ID
- How to Change the Help URL in Your KanBo
- Import Users to KanBo
- Renew Certificate for KanBo Graph Installation
- Show KanBo Version
- Removing syncing of profile pictures in the Profile Sync job
-
Troubleshooting
KanBo and Microsoft Power Automate Integration: Updating the Component
Table of Contents
We are constantly adding new features to this integration. You might want to update the Power Automate custom
connector to be able to enjoy the new functionalities.
Updating this integration consists of two parts:
- To make sure you can use the newest version of this integration, make sure that your KanBo is up-to-date.
- Contact KanBo support to receive the newest update package: support@kanboapp.com.
- Make sure you update the Power Automate KanBoOpenApi_Flow.json file.
- Contact support@kanboapp.com for the file.
Now you can start:

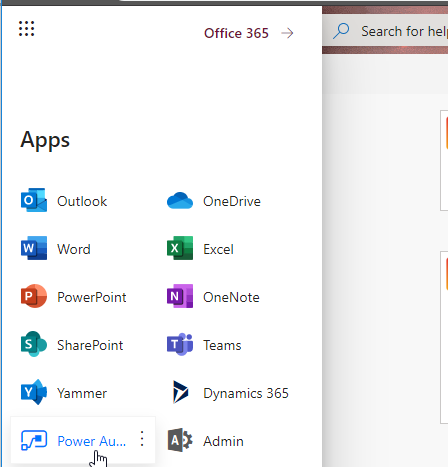
- Open Power Automate on Office 365.
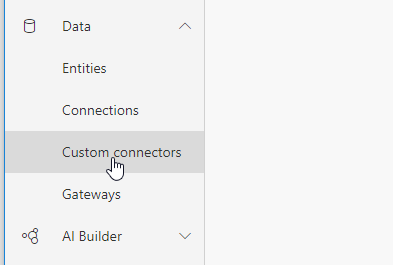
- Open Custom Connections under Data.
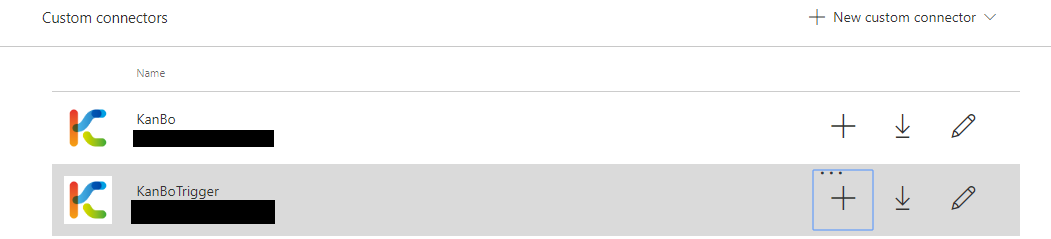
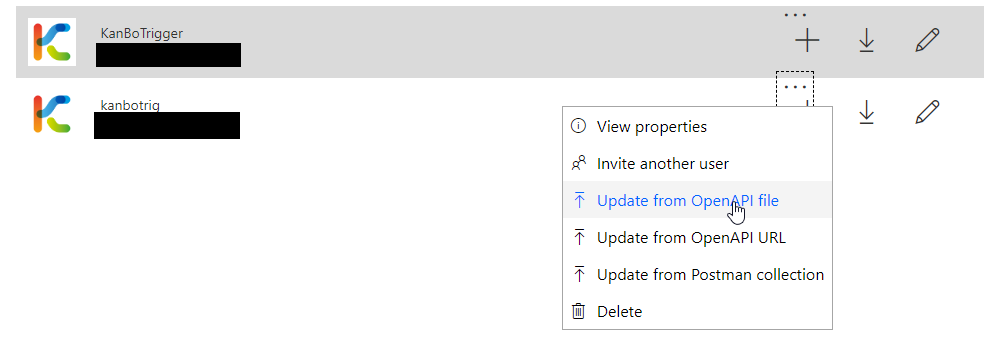
- Find the connector you are using for KanBo integration and select three dots button under it.
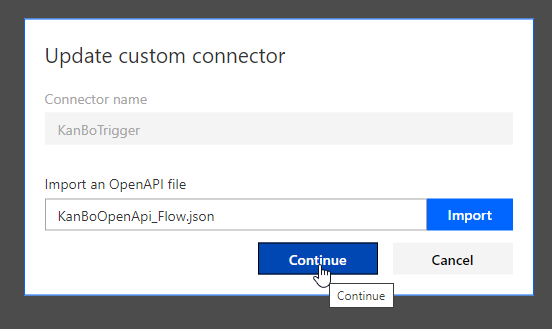
- Select Update from OpenAPI File.
- Select the .json file.
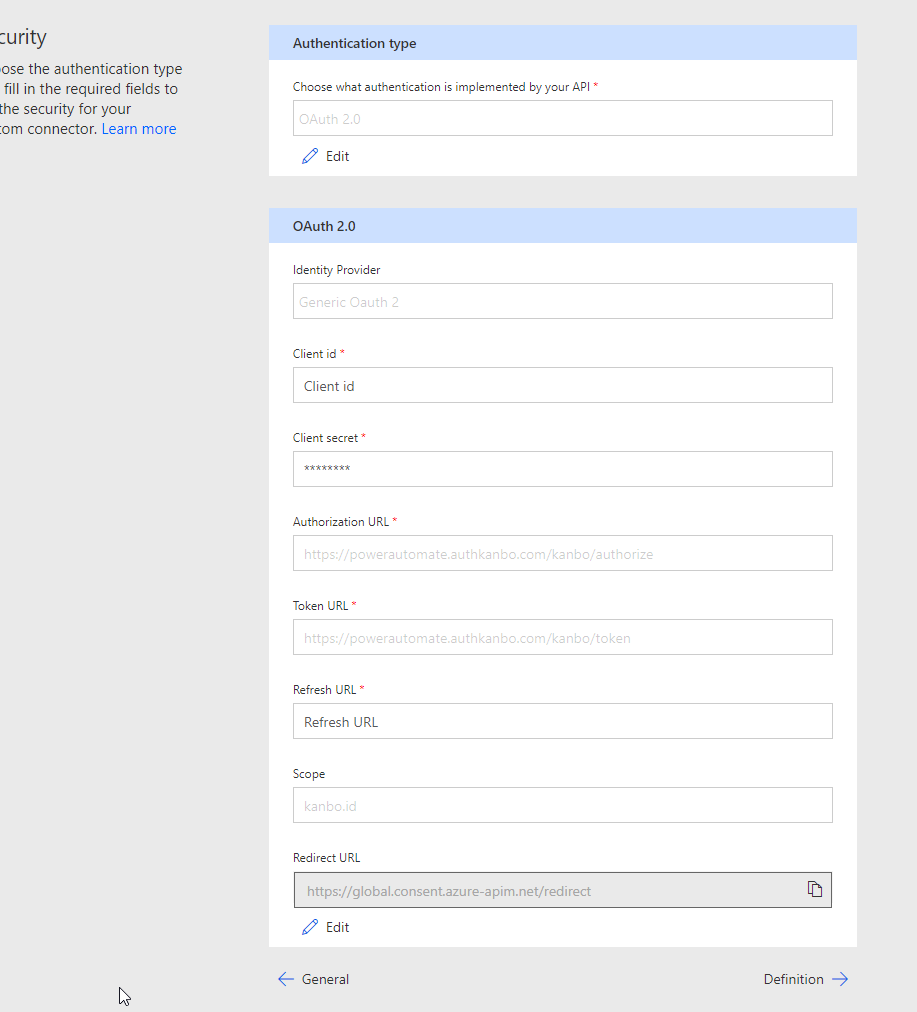
- Make sure to update Client ID and Client secret in the Security tab.
- Select Update Connector button later.
- Contact support@kanboapp.com for the client secret.
If there is still a value in Client ID, it means that the update process didn't go properly. Make sure to run the update json's update procedure once again and now the Client ID value will be empty. Fill the fields once again with Refresh URL, Client ID and Client secret.
Was this article helpful?
Please, contact us if you have any additional questions.