-
KanBo Installation
- KanBo Installation Guide (Microsoft 365 + Azure)
- KanBo Installation Guide (On-Premises)
- KanBo On-Premises Installation Requirements and Prerequisites
- Creating an X.509 High-Trust Certificate
- Creating and Updating Elastic Cloud Deployment
- Installing Elasticsearch on Windows
- Installing Elasticsearch on Debian
- Creating a Windows Virtual Machine on Azure for Elasticsearch
- Creating a Linux Based Virtual Machine on Azure for Elasticsearch
- KanBo Modern Web Part Installation
- Supported Browsers
- KanBo Setup
-
KanBo Updates
-
Additional Components
- Installing KanBo Teams App
- Installing KanBo Outlook Add-in
- Installing KanBo Mini Application
- Installing Nintex Integration
- Installing Autodesk BIM Plugin
- Configuring UiPath Integration
- Installing and Configuring Power Automate Integration
- KanBo External User Groups (Active Directory Integration)
- User Auto-Provisioning on First Access (SharePoint Plugin)
- SharePoint Profile Synchronization
- Configuring Sync Targets
- SharePoint Site Collection Balancing and Admin Warnings
- Setting Up BIM Sync WebJob
- Configuring OData Integration for Power BI Desktop
- KanBo PowerShell Commandlets
- Direct Sync of SharePoint Lists with KanBo
- Enabling KanBo Email Notifications (Azure)
- Enabling KanBo Email Notifications (On-Premises)
- Enabling OneDrive Integration in KanBo
- Enabling Sending Card Messages as Emails
- Enabling Sending Emails to KanBo (Microsoft 365 + Azure)
- Enabling Sending Emails to KanBo (On-Premises)
- Prometheus and Grafana configuration for KanBo metrics
- Show all articles ( 3 ) Collapse Articles
-
Tips & Tricks
- Configuring Document Opening Behavior in KanBo
- Disabling Sleeping Tabs in Browsers
- Disabling Public Space Creation in KanBo
- Checking Certificate Expiration Dates (On-Premises)
- KanBo License ID
- Checking KanBo Version
- Changing the Help URL in KanBo
- Renewing Microsoft Graph Certificate
- Disabling Profile Picture Sync in Profile Sync Job
- Creating and Customizing Profile Sync WebJob
- Configuring KanBo for Microsoft Azure GCC High Environment
-
Troubleshooting
Creating a Windows Virtual Machine on Azure for Elasticsearch
Table of Contents
Creating virtual machine
- Go to portal.azure.com.
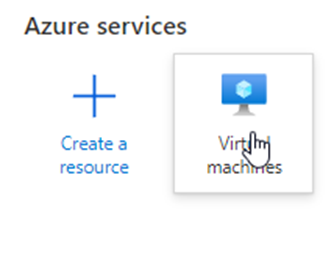
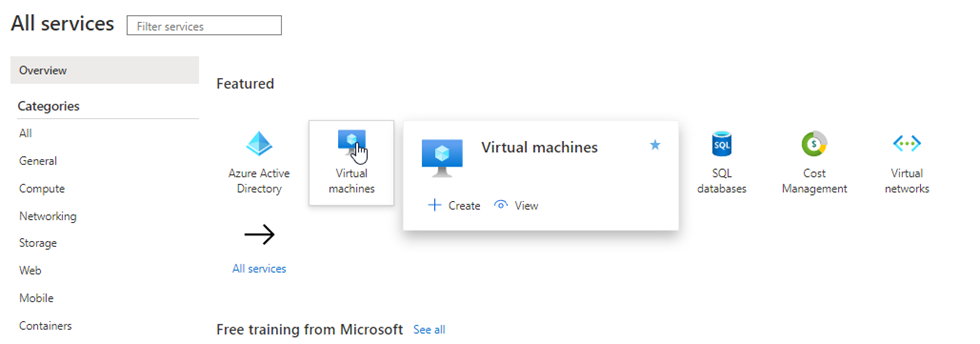
- Select Virtual machines.

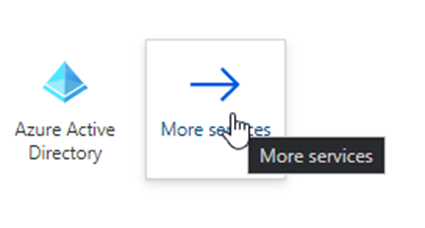
If you can't find it on your main menu, look under More services.

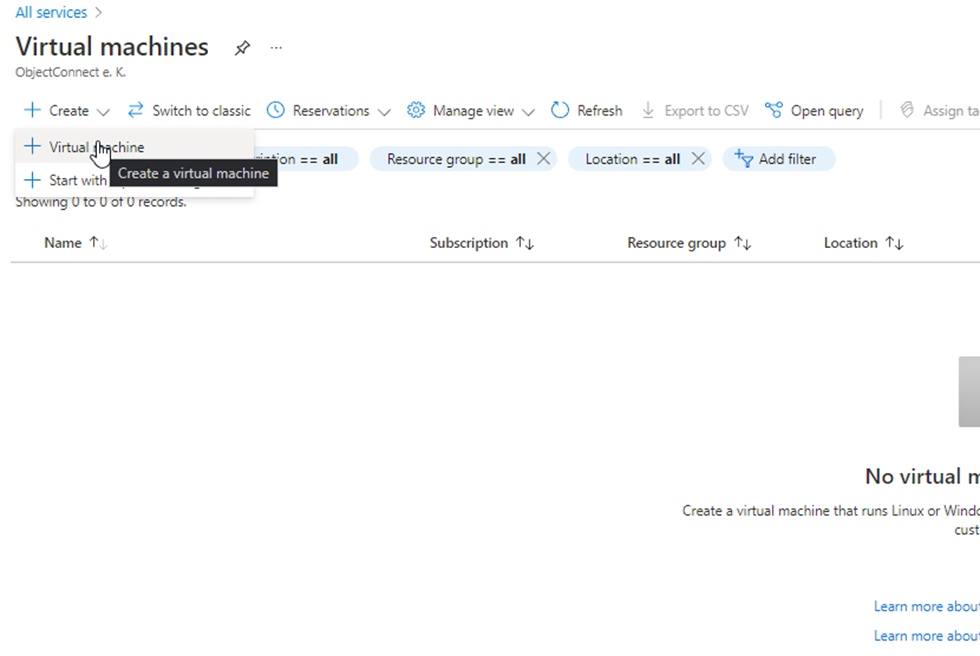
- Select Create > Virtual machine.

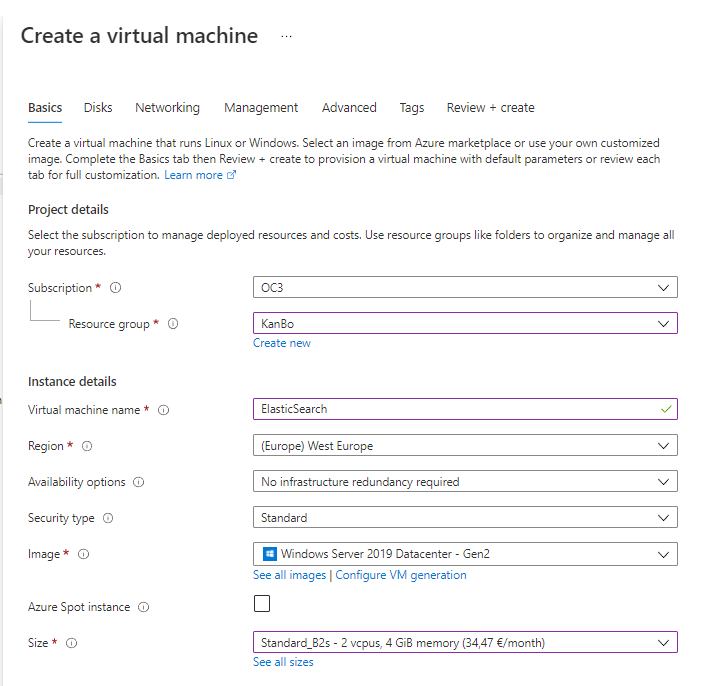
- Select your subscription, resource group, region, and operating system, then name your virtual machine.

- Pick the size of your machine. You need at least B2 level. To see the sizes, select See all sizes.

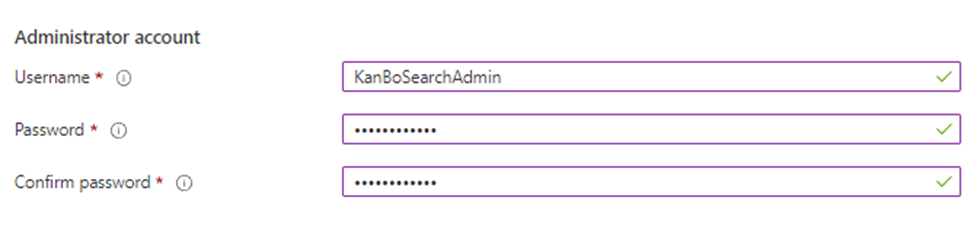
- Enter the username and password for the admin account.

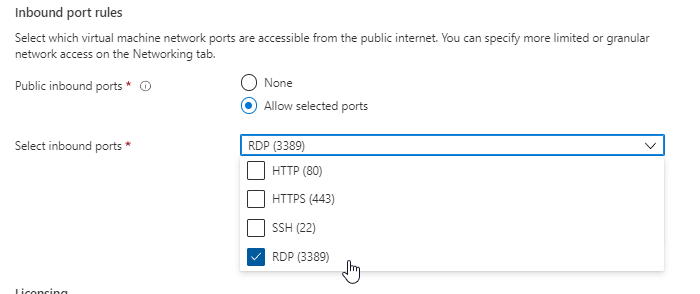
- Make sure you have the RDP (3389) port selected.


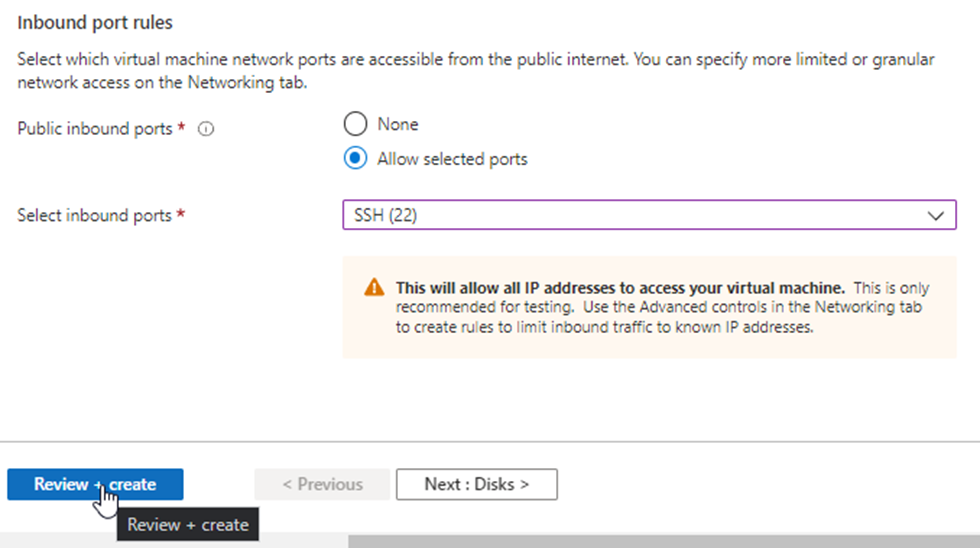
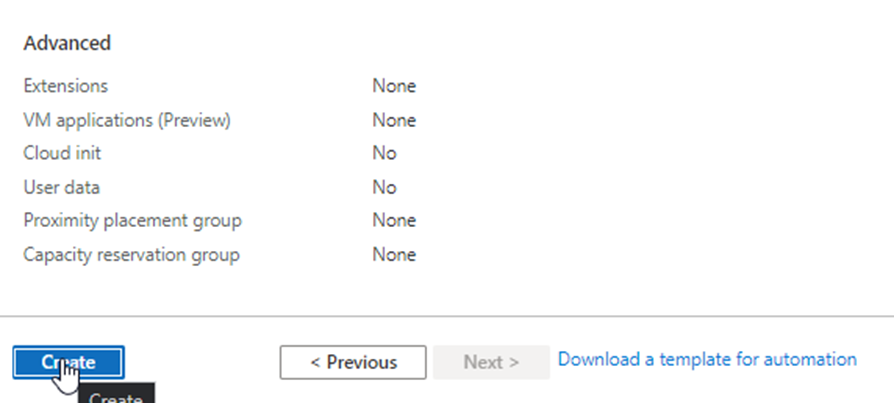
- Select Review + create.
- Select Create.

Opening the VM’s ports in Azure
Once you create your machine, you will need to add more inbound rules in the networking section of your VM.
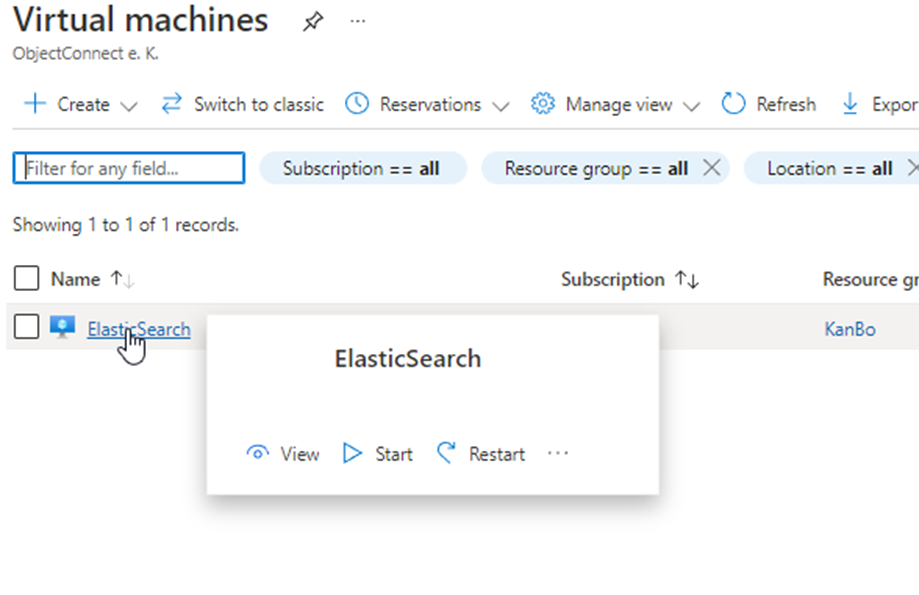
- Go to Your VM.

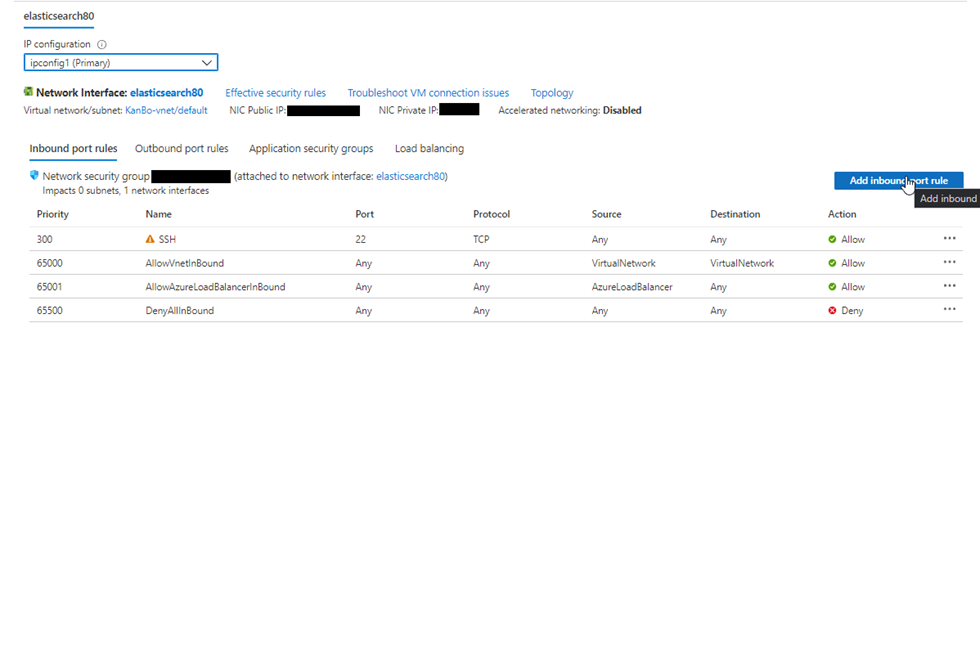
- Go to Networking.
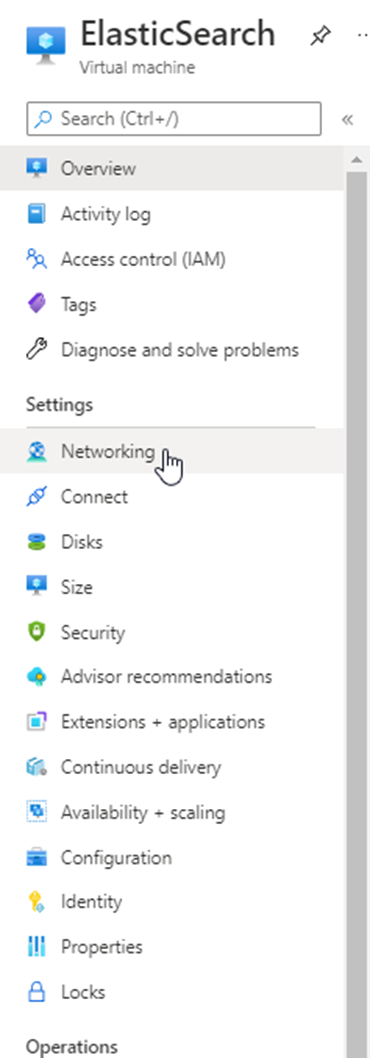
- Select Add inbound port rule.

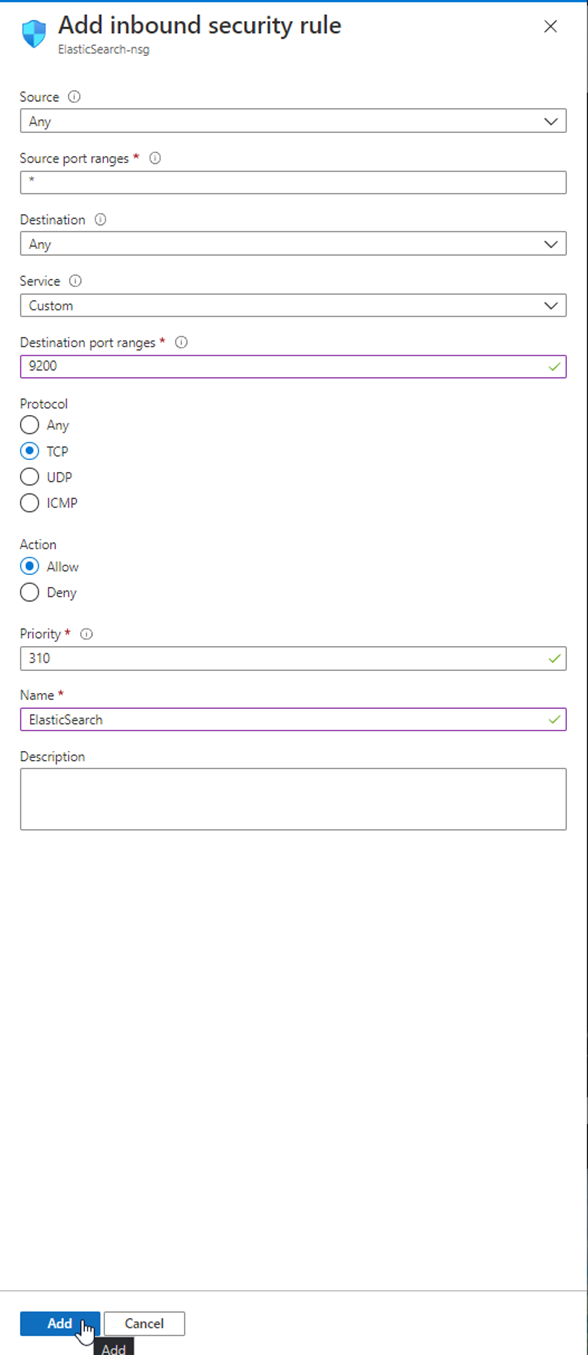
- To allow the port of Elasticsearch to be accessed from the outside, change the "Destination port ranges" to 9200 and choose the TCP protocol.
- Name this rule "ElasticSearch."

- Select Add.
Connecting to Windows VM
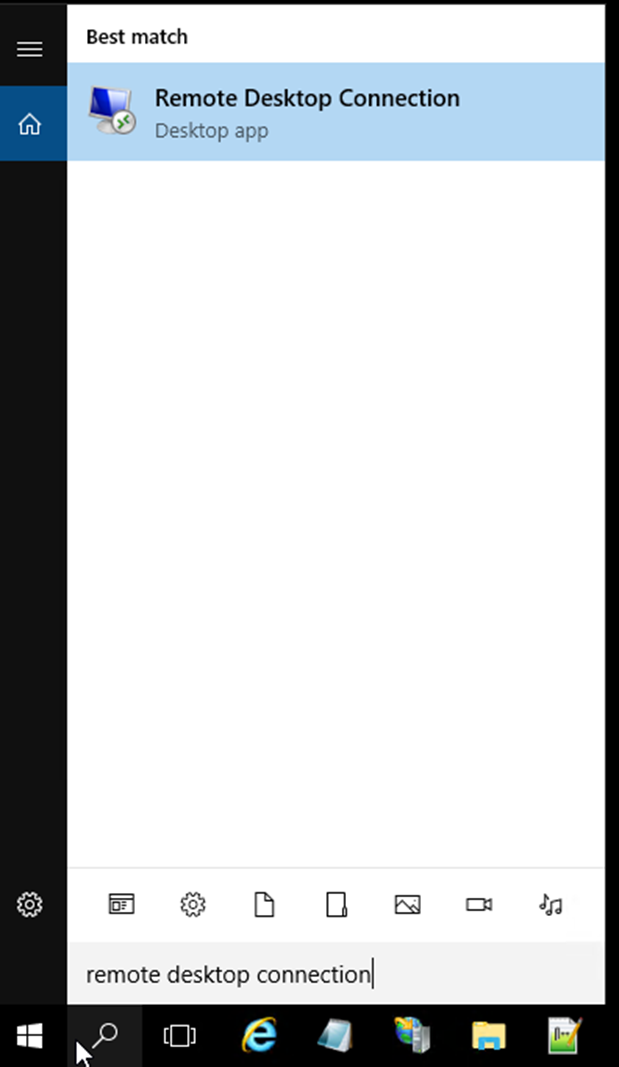
- Open Remote Desktop Connection.

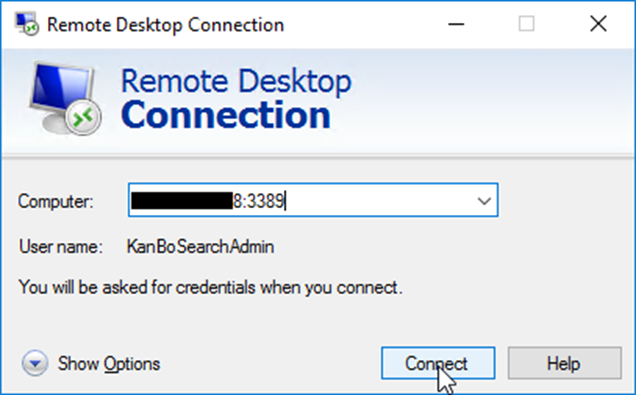
- In the "Computer" field, enter the IP address of your Azure VM preceded by ":3389" (for example, 230.127.115.130:3389).
- Select Connect.

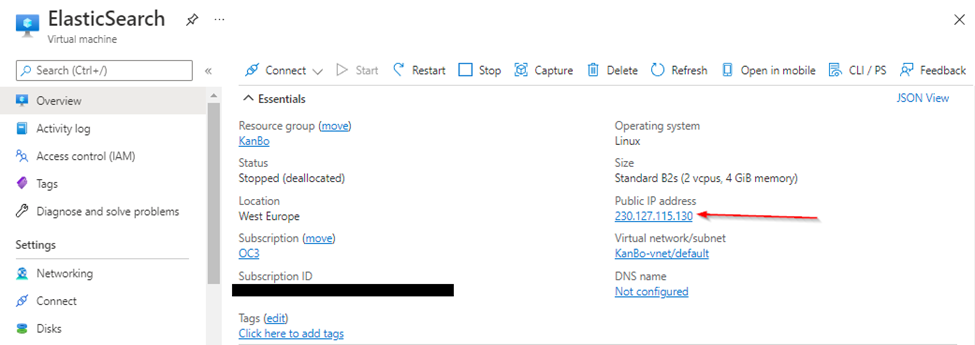
- You can find the IP address of your Azure VM here:

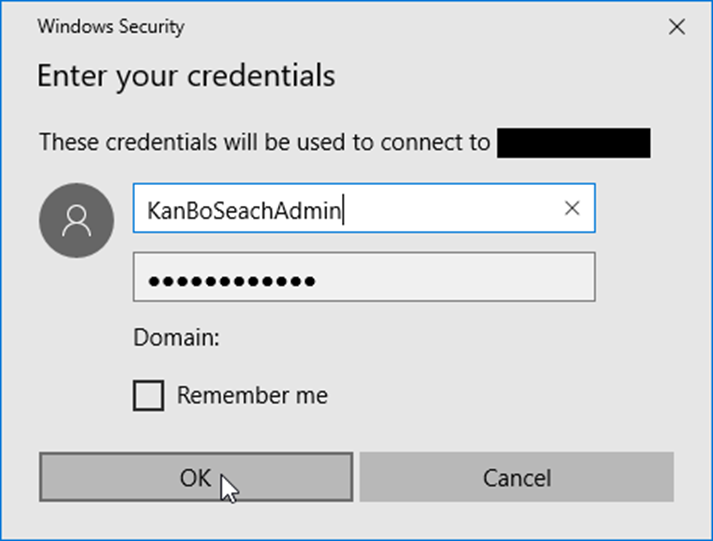
- Type in the username and password of the user you created in "Configuring a VM on Azure for Elasticsearch", and then select OK.

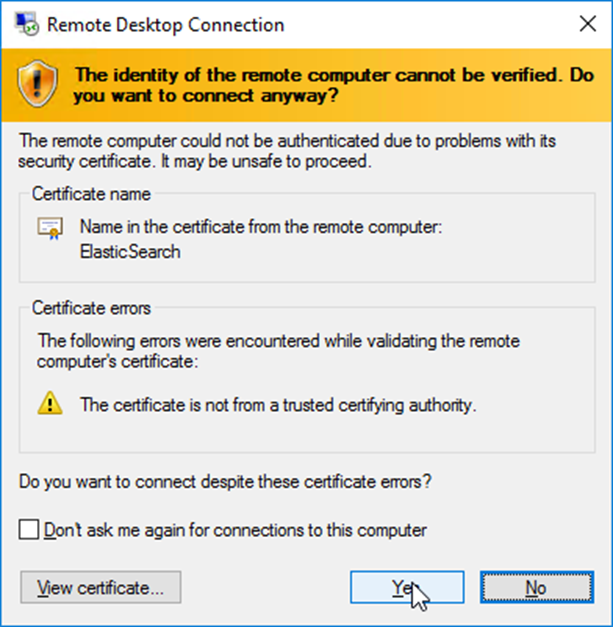
- Agree to the certificate.

You are now connected to the VM.
Was this article helpful?
Please, contact us if you have any additional questions.