
KanBo Outlook Add-in Installation (O365 & On-Premise)
Table of Contents
This post is also available in: Deutsch

- Fill the `...` with `00000002-0000-0ff1-ce00-000000000000` - it's the constant identifier for outlook apps.
- The result should
be:
`00000002-0000-0ff1-ce00-000000000000@exchange.example.org`
2. Second way
- Run the outlook app without providing any issuers (you must apply step 3 - enter the configuration... to run the Outlook app).
Example of configuration in KanBo appsettings.json
{
"type": "outlook-app",
"children": [
{
"type": "issuers",
"children": [
{
"type": "accept",
"id": ""
}
]
}
]
}
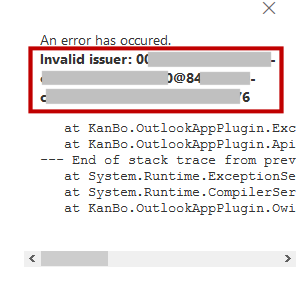
- See the error - the numbers in the communicate are your Issuer ID.
Modify the appsettings.json of KanBo (On-premise only)
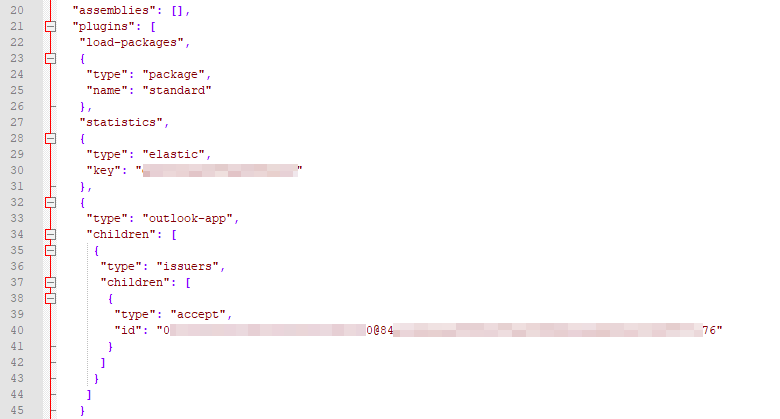
- Go to your KanBo appsettings.json and start modifying it by adding the following entry in the "plugins" section and pasting your Issuer ID.
{
"type": "outlook-app",
"children": [
{
"type": "issuers",
"children": [
{
"type": "accept",
"id": "0xxxxxxxxxxxxxxxxxxxxxxxxxxx00@8xxxxxxxxxxxxxxxxxxxxxxxxxxxxxxxxxxxx6"
}
]
}
]
}
Get KanBo Outlook app manifest
- Go to this link.
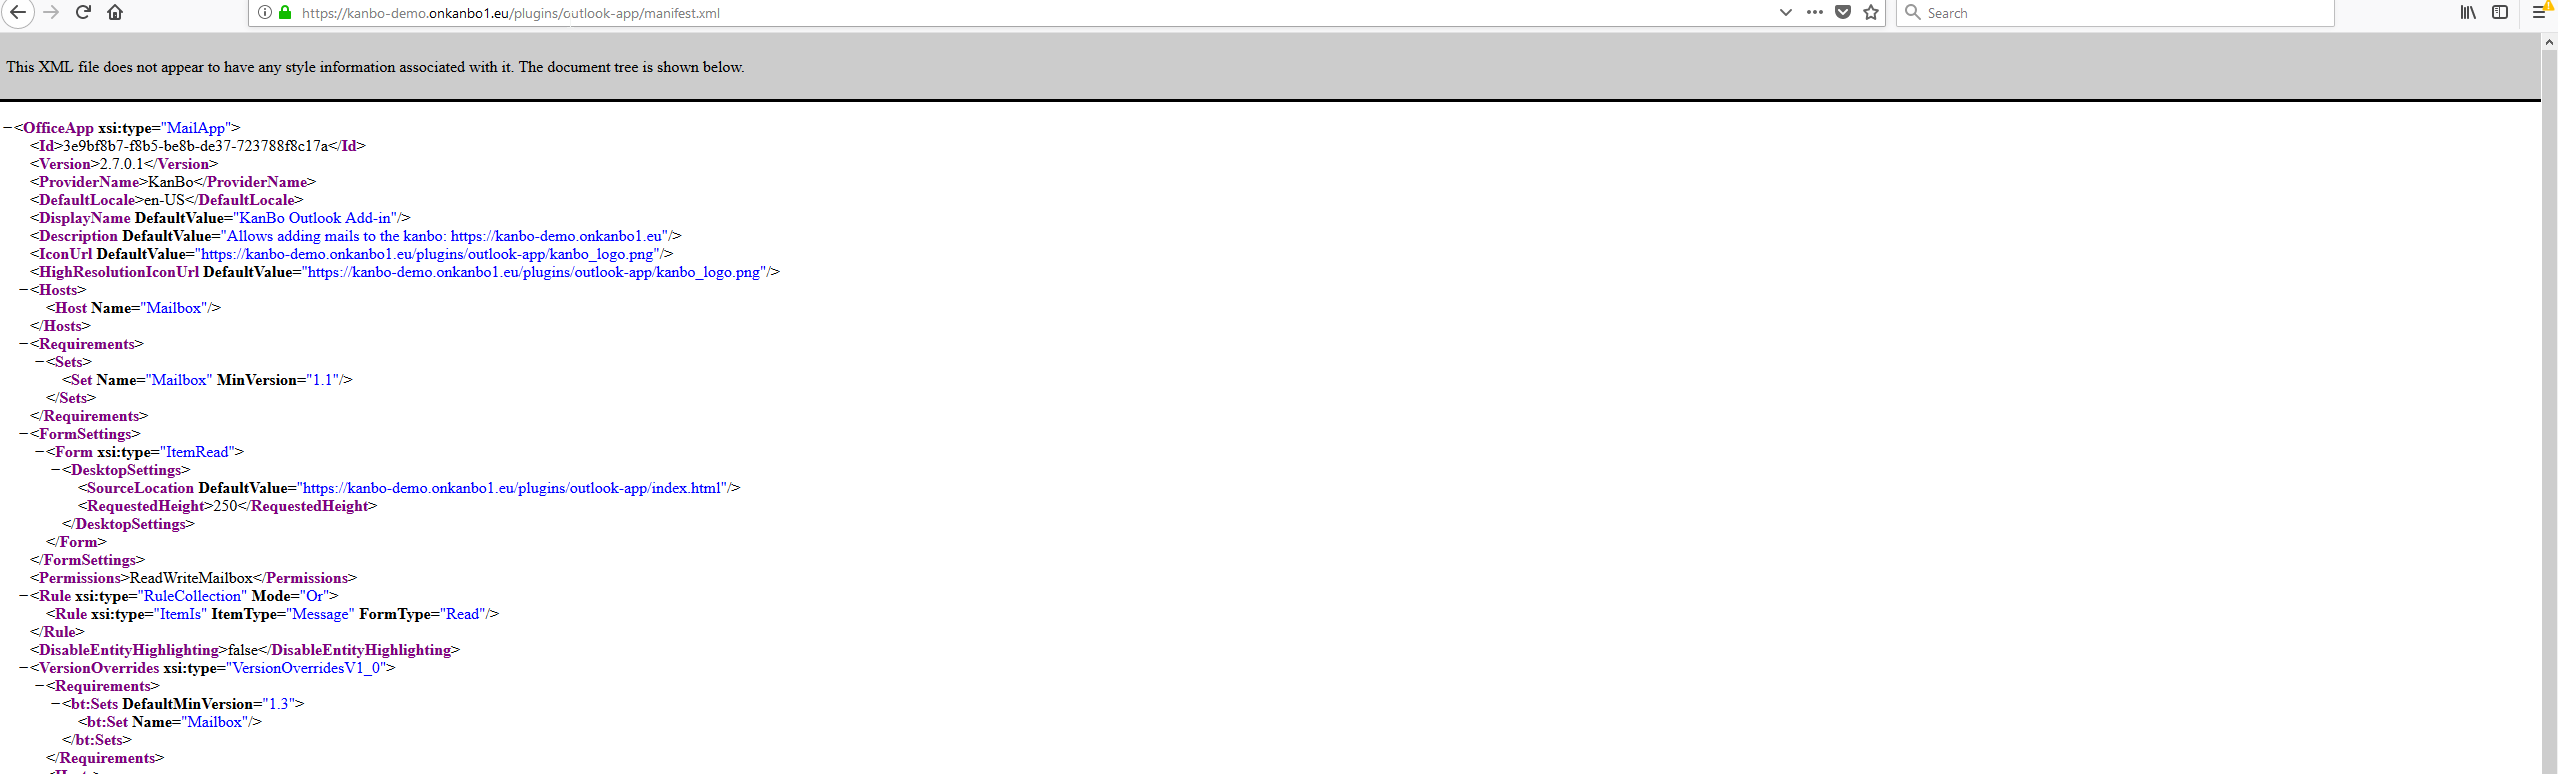
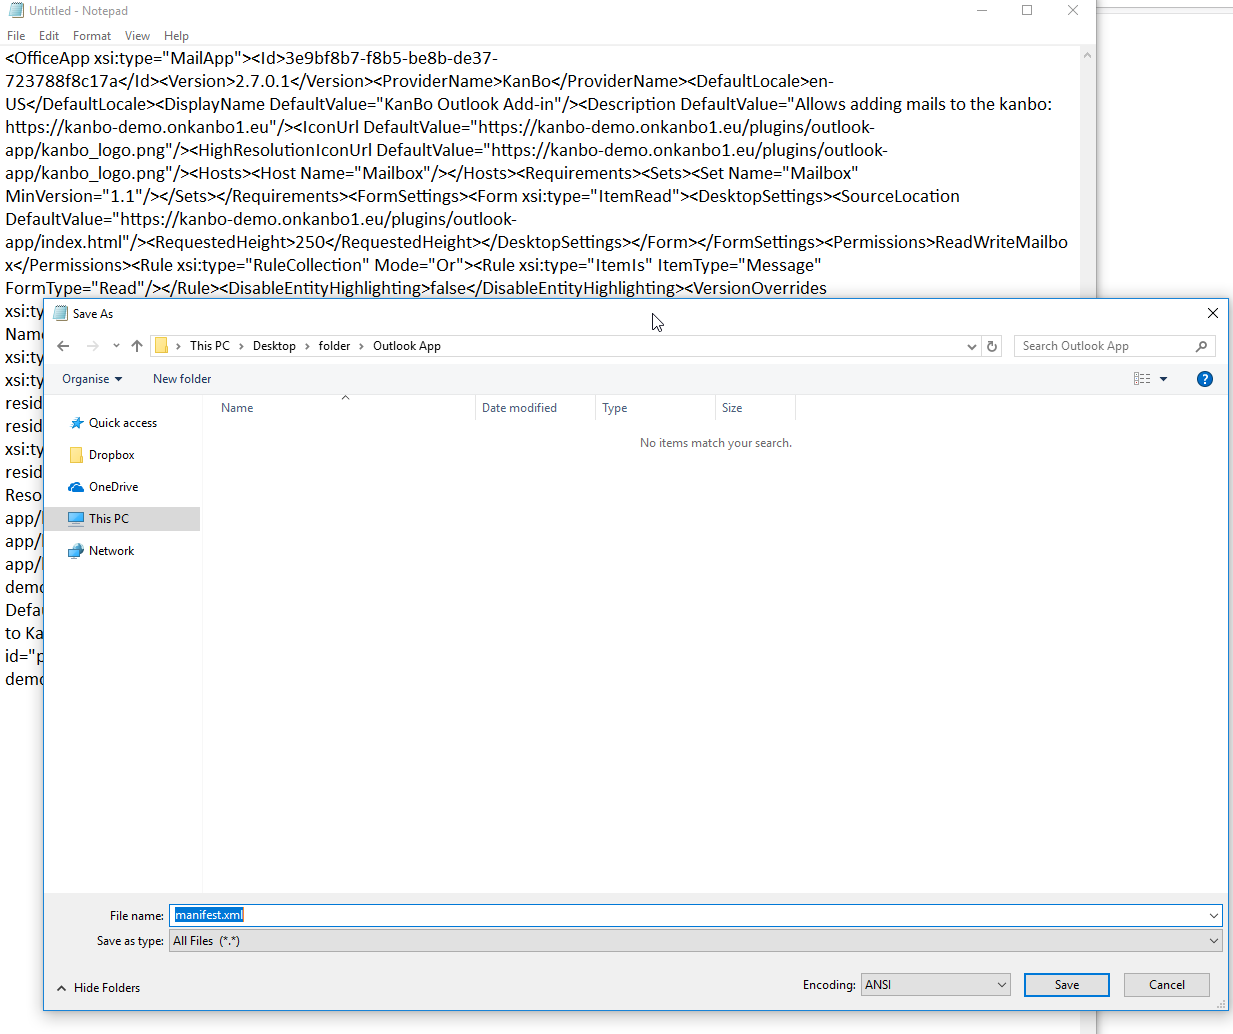
- Copy the entire manifest to Notepad or other text editor and save it as manifest.xml.
Add KanBo Outlook Add-in Manifest to Exchange
1. On Premise Exchange deployment
- Go to Exchange admin center -> Organization -> Add ins and add this add-in. Use + button and then Add from file.
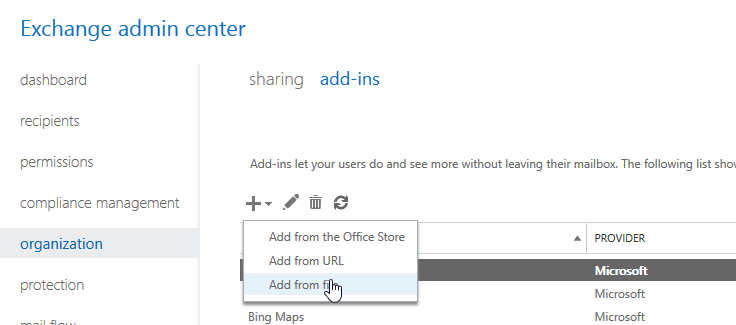
- Use the manifest.xml file which as created earlier.
- When the manifest.xml is successfully added, double click on KanBo Outlook App and set it to be Optional, enabled by default and save.
2. Cloud (Office 365/Exchange Online) deployment
- Go to Office 365 admin center (https://admin.exchange.microsoft.com/) and click on Organization > Add-ins.
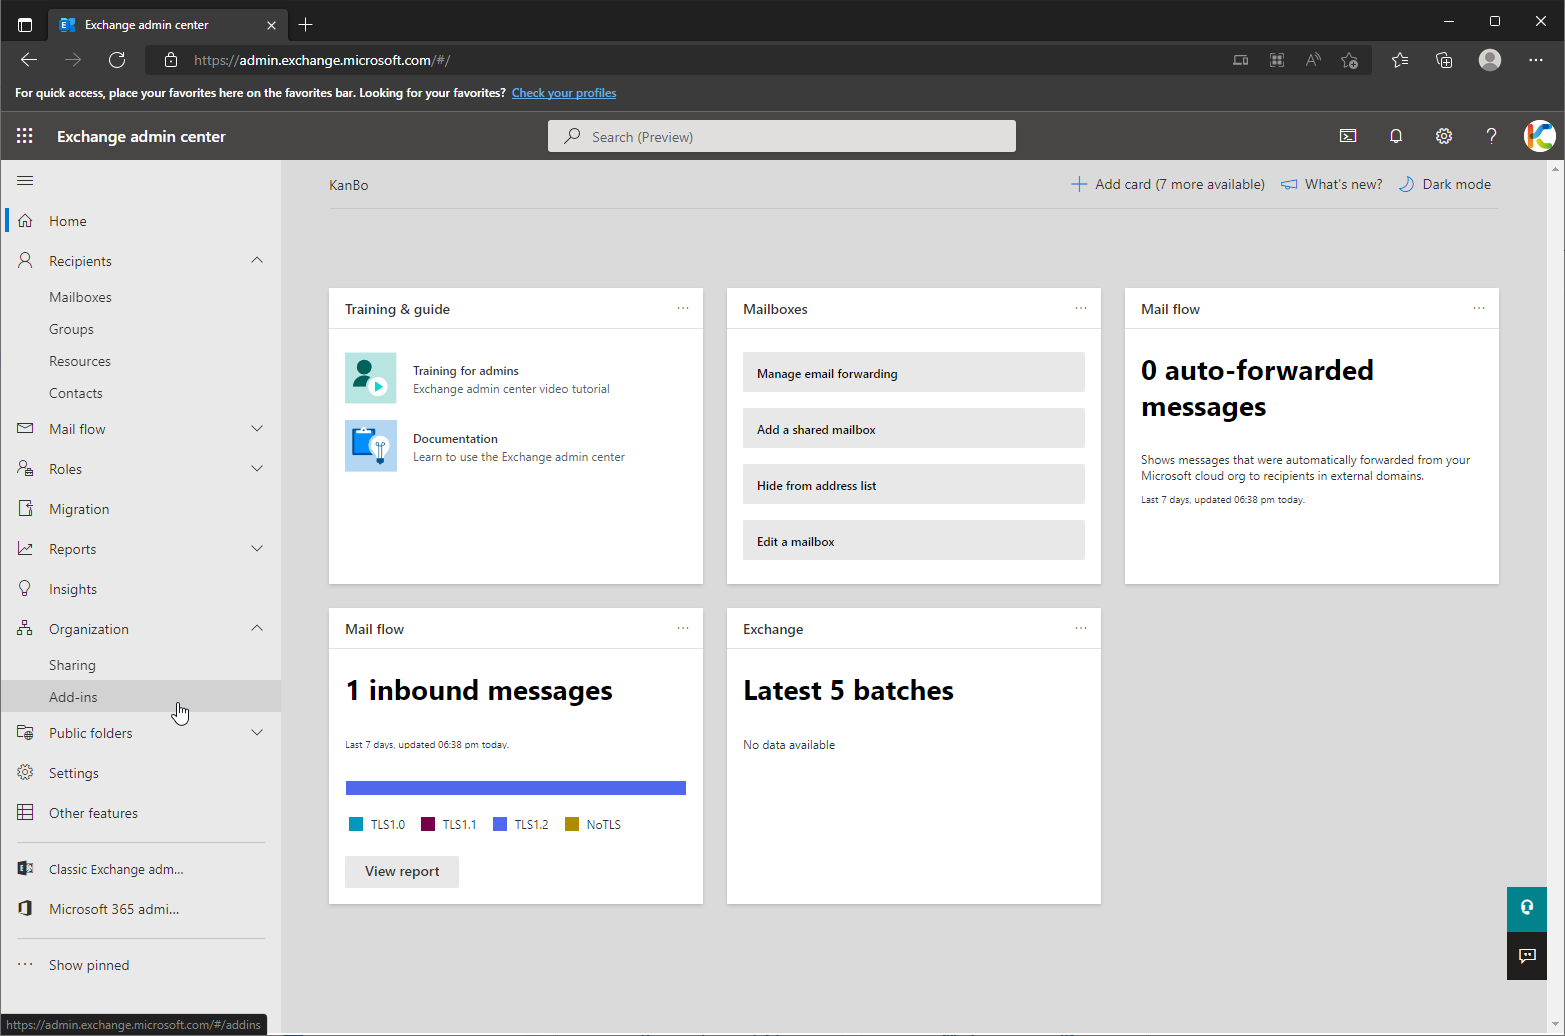
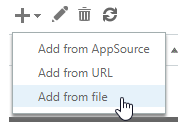
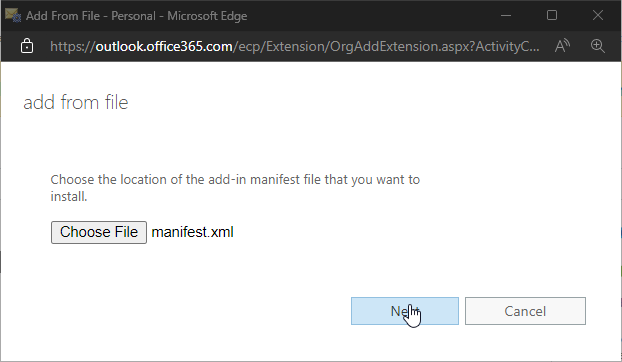
- Then click the plus icon and select "Add from file".
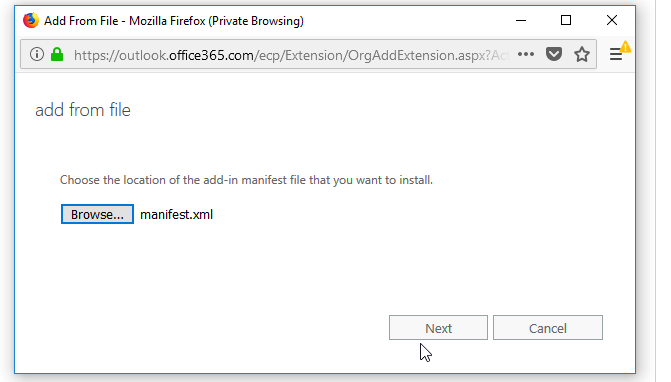
- Select Your .xml manifest file and click next.
- After it is added, You double click on "KanBo Outlook Add-in" and select "Optional, enabled by default" and save.

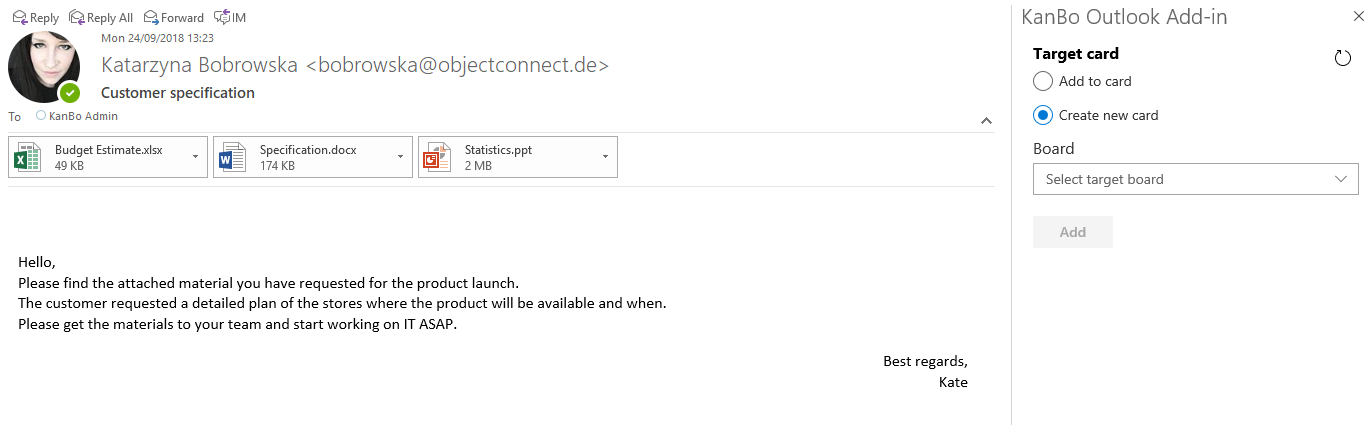
Add a test mail to KanBo
- When all the steps are performed, go to your Outlook (OWA or client) and use KanBo Outlook Add-in.
- See how you can use it by reading this article: this article.
#### Constructing the issuers list
To ensure that only allowed exchange servers are using the application,
there's a need to provide your list of domains/issuers that will be able to user your application. There are two
ways to detect issuers list.