
KanBo Mini Application Installation
Prerequisites
- Office 365 License allowing the creation of Custom Connectors in Power Automate and Apps in Power Apps
- The KanBo Card Adder and Light Viewer packages
- A .pfx Self Signed Certificate
KanBo Configuration
1. Generate a .pfx certificate and store it somewhere, as we will need its path for the next step.
2. Modify Your KanBo appsettings.json by including this bit of code:
{
 "type": "auth.oauth",
 "issuer": "power-apps-access",
 "children": [
 [
 "cert",
 {
 "type": "x509-file",
 "file": "PATH TO YOUR .PFX CERTIFICATE",
 "key": "PASSWORD OF THE .PFX CERTIFICATE"
 }
 ]
 ]
 },
3. Save the appsettings.json and restart the app. After the app is restarted, go to yourkanbourl.com/auth/power-apps-access/newclient. You should see something like this:
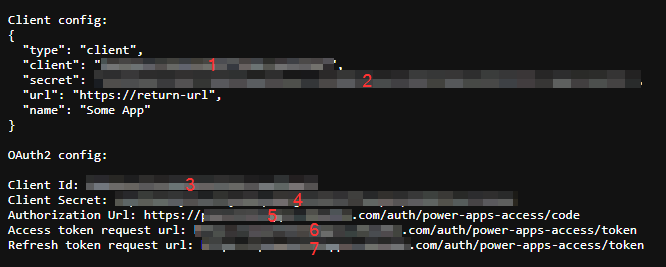
The returned values will be used in the next steps, so it’s a good idea to copy them somewhere. They will be called “Value 1” etc. in the later steps.
4. We will modify the previously inserted line by adding this to it:
{
 "type": "auth.oauth",
 "issuer": "power-apps-access",
 "children": [
 [
 "cert",
 {
 "type": "x509-file",
 "file": "PATH TO YOUR .PFX CERTIFICATE",
 "key": "PASSWORD OF THE .PFX CERTIFICATE"
 }
 ],
 {
 "type": "client",
 "id": "VALUE 1",
 "secret": "VALUE 2",
 "url": "https://global.consent.azure-apim.net/redirect",
 "name": "PowerApps"
 }
 ]
 }
Save the appsettings.json and restart the app
Creating the Power App
1. Make sure You have both the KanBo Viewer Light App and the KanBo Card Adder App package unzipped somewhere on Your computer
2. Create a Custom Connector in Power Automate. Head to make.powerautomate.com, then click on Data > Custom connectors
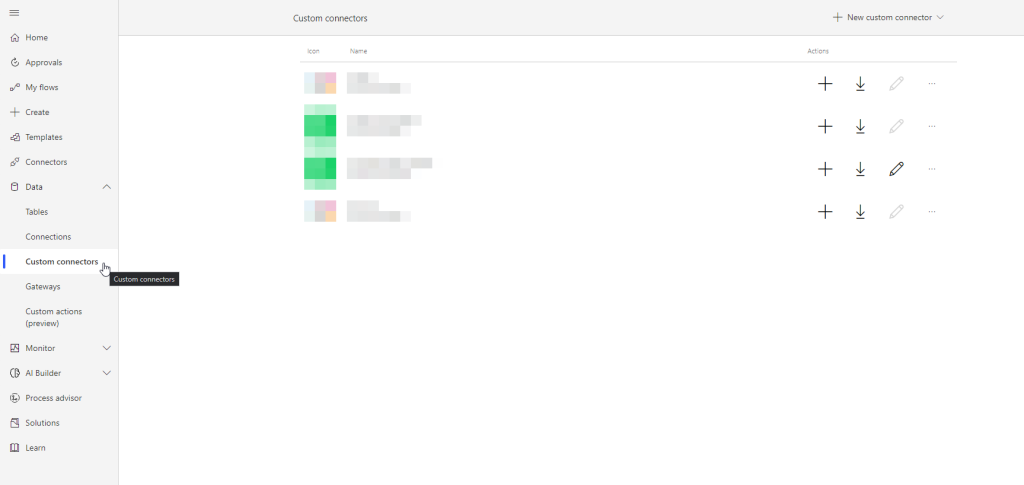
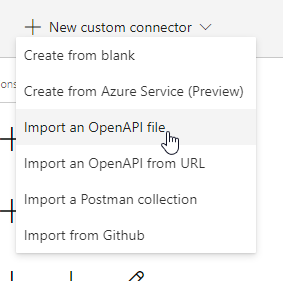
Then click “New custom connector” and choose “Import an OpenAPI file”
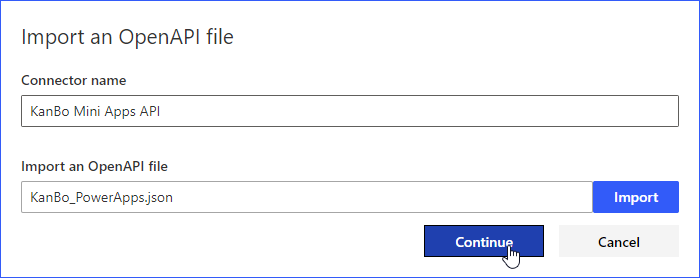
Choose the name of Your Custom Connector. As the OpenAPI file, import the “KanBo_PowerApps.json” file present in any of the unzipped folders.
Configure the Icon of the connector and change the Host to the url of Your KanBo (without https)
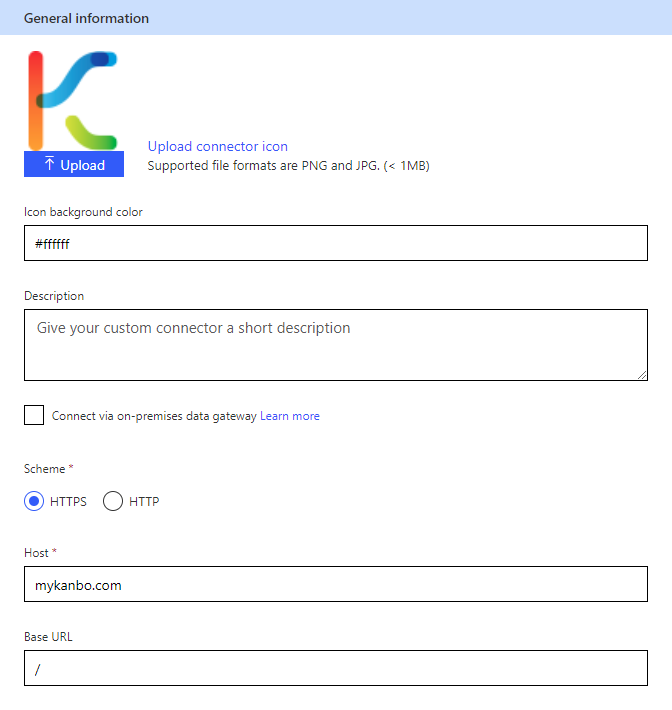
After that, go to “Security” and edit the field with the correct values:
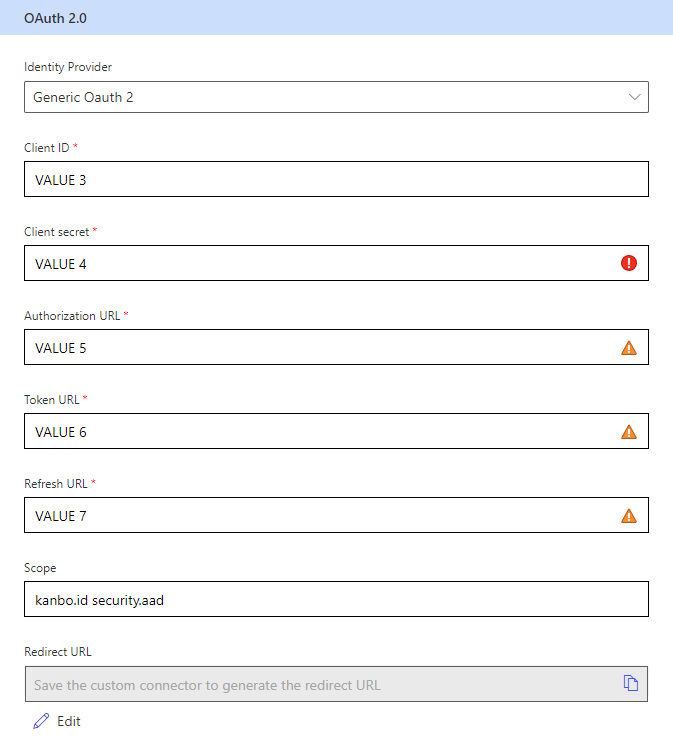
After that click on “Create connector”.
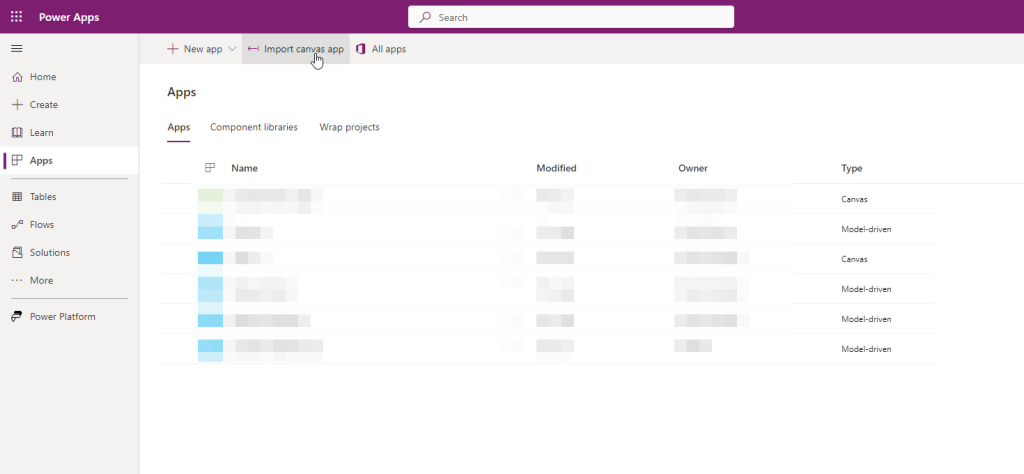
3. Head to make.powerapps.com, then go to “Apps” and click on “Import canvas app”
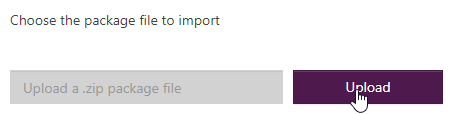
Choose the .zip of the App You would like to upload (the .zip file will be in the unzipped folders, please do not upload the main package You received)
After the package ends uploading, click on “Select during import” for the Connector resource and choose the Power Automate Custom Connector You’ve created in the previous step
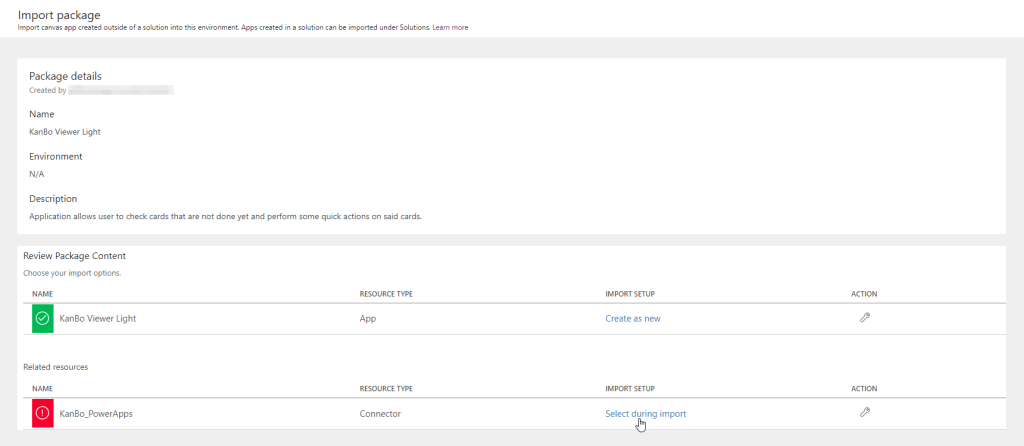
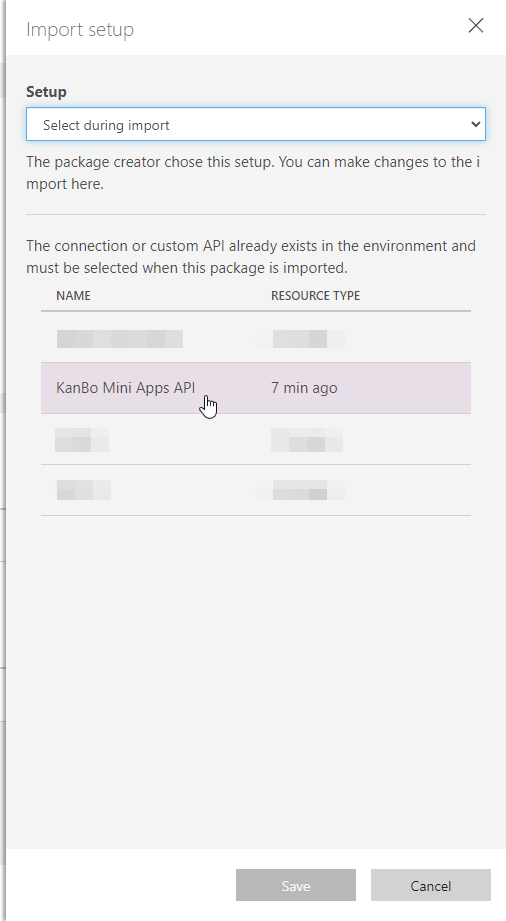
After that, click on “Import” and start using Your App!