-
KanBo Installation
- KanBo Installation Guide (Microsoft 365 + Azure)
- KanBo Installation Guide (On-Premises)
- KanBo On-Premises Installation Requirements and Prerequisites
- Creating an X.509 High-Trust Certificate
- Creating and Updating Elastic Cloud Deployment
- Installing Elasticsearch on Windows
- Installing Elasticsearch on Debian
- Creating a Windows Virtual Machine on Azure for Elasticsearch
- Creating a Linux Based Virtual Machine on Azure for Elasticsearch
- KanBo Modern Web Part Installation
- Supported Browsers
- KanBo Setup
-
KanBo Updates
-
Additional Components
- Installing KanBo Teams App
- Installing KanBo Outlook Add-in
- Installing KanBo Mini Application
- Installing Nintex Integration
- Installing Autodesk BIM Plugin
- Configuring UiPath Integration
- Installing and Configuring Power Automate Integration
- KanBo External User Groups (Active Directory Integration)
- User Auto-Provisioning on First Access (SharePoint Plugin)
- SharePoint Profile Synchronization
- Configuring Sync Targets
- SharePoint Site Collection Balancing and Admin Warnings
- Setting Up BIM Sync WebJob
- Configuring OData Integration for Power BI Desktop
- KanBo PowerShell Commandlets
- Direct Sync of SharePoint Lists with KanBo
- Enabling KanBo Email Notifications (Azure)
- Enabling KanBo Email Notifications (On-Premises)
- Enabling OneDrive Integration in KanBo
- Enabling Sending Card Messages as Emails
- Enabling Sending Emails to KanBo (Microsoft 365 + Azure)
- Enabling Sending Emails to KanBo (On-Premises)
- Prometheus and Grafana configuration for KanBo metrics
- Show all articles ( 3 ) Collapse Articles
-
Tips & Tricks
- Configuring Document Opening Behavior in KanBo
- Disabling Sleeping Tabs in Browsers
- Disabling Public Space Creation in KanBo
- Checking Certificate Expiration Dates (On-Premises)
- KanBo License ID
- Checking KanBo Version
- Changing the Help URL in KanBo
- Renewing Microsoft Graph Certificate
- Disabling Profile Picture Sync in Profile Sync Job
- Creating and Customizing Profile Sync WebJob
- Configuring KanBo for Microsoft Azure GCC High Environment
-
Troubleshooting
Renewing Microsoft Graph Certificate
Table of Contents
KanBo uses a certificate to communicate with MS Graph. Certificates expire after a year. Here’s how to renew it:
- Generate new certificates. Follow the instructions in this article.
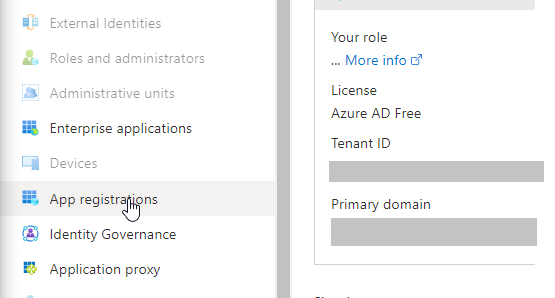
- Once you have a pair of certificates (.cer and .pfx), go to Azure AD, and select App Registrations.
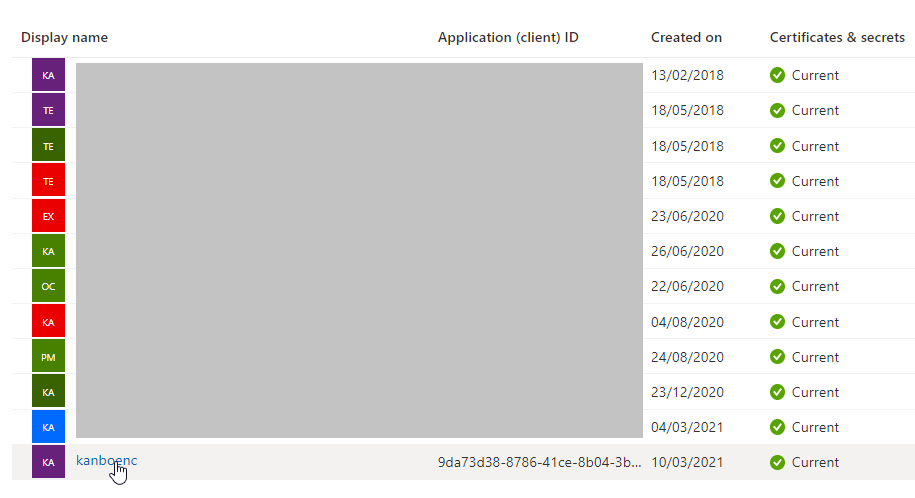
- Select KanBo.
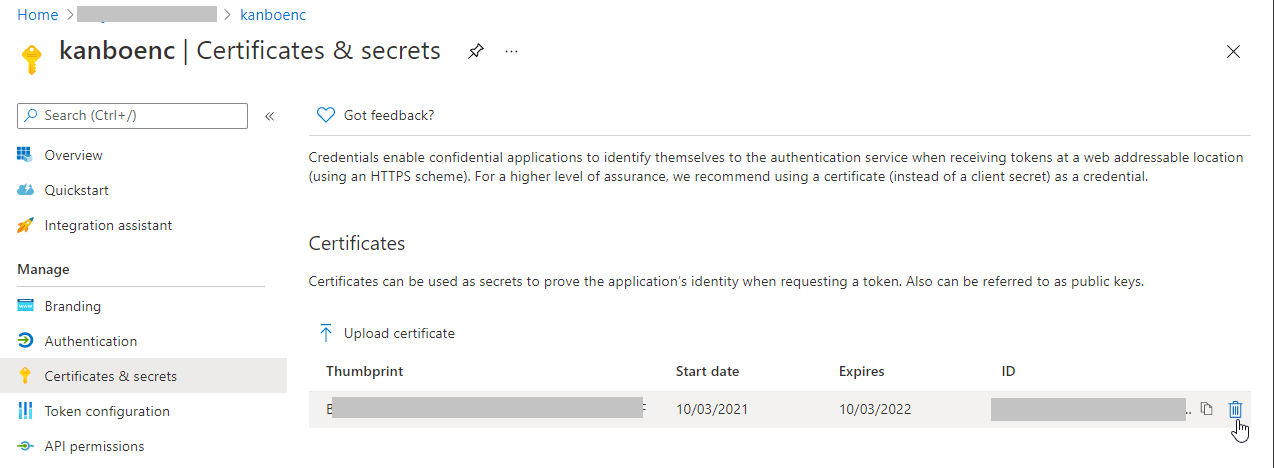
- Go to Certificates & secrets, and then Delete the old certificate.
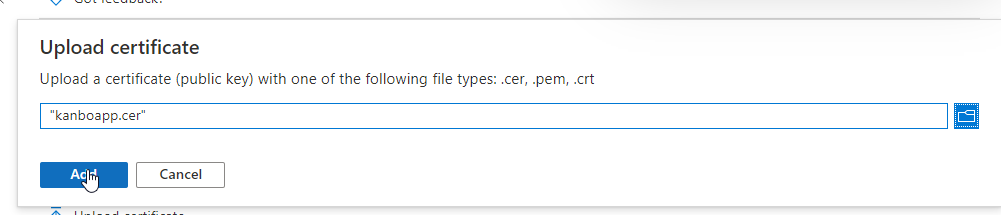
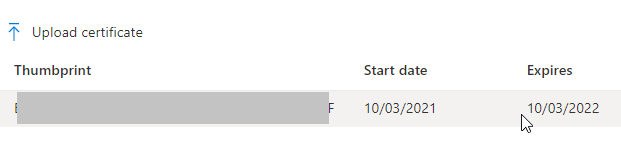
- Select Upload certificate, choose your certificate, and confirm with the Add button.
- Verify that the certificate is valid.
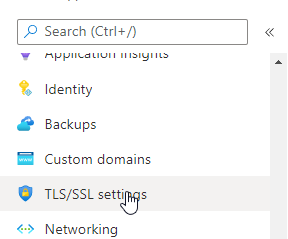
- Go to the KanBo web app, and then select TLS/SSL settings.
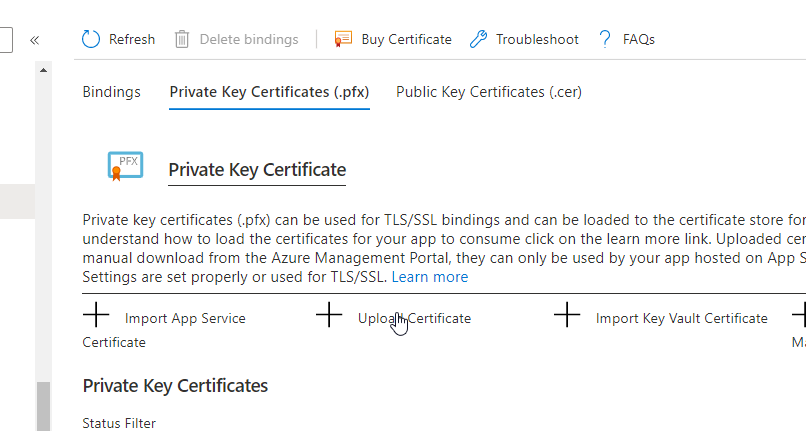
- Select Prive Key Certificate (.pfx), and then select + Upload Certificate.
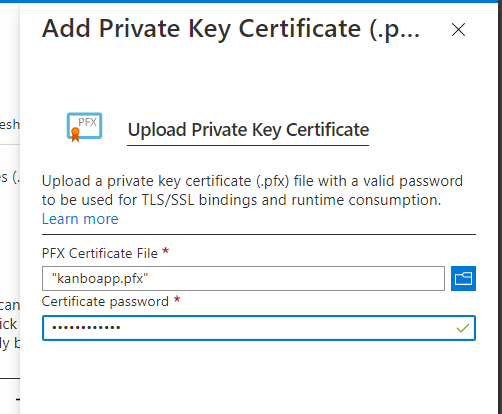
- Select the PFX certificate file and enter the password. Then, select Upload.
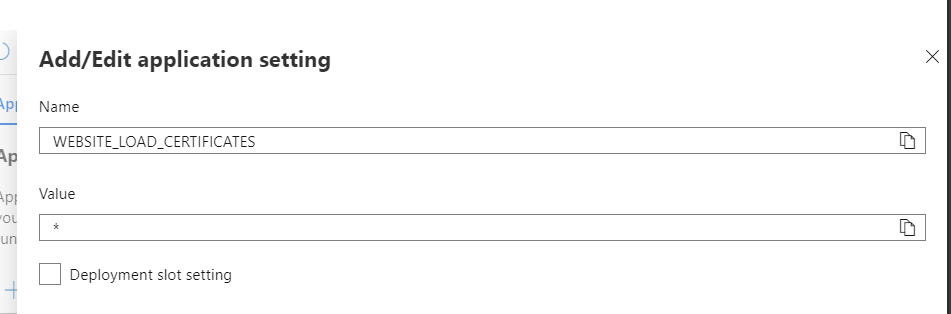
- Go to the Configuration and edit the “WEBSITE_LOAD_CERTIFICATES” value.
a) If you are using only one certificate for KanBo, enter the thumbprint of the new certificate in the “Value” field.
b) If you use more than one certificate in KanBo, make sure you type “*” in the value field. - Select Ok to save the changes.
- Open the Kudu editor.
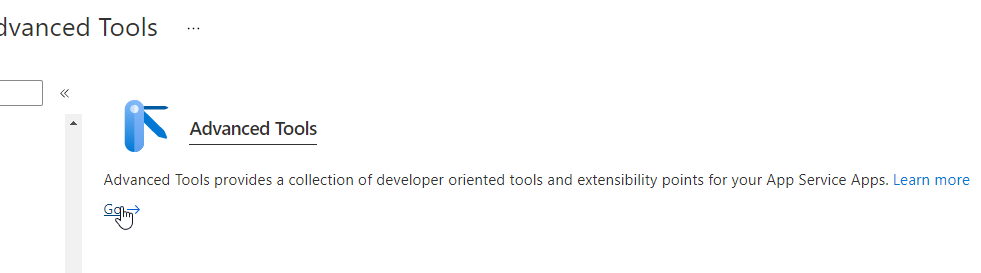
- In your Azure Web App Development Tools, select Advanced Tools.
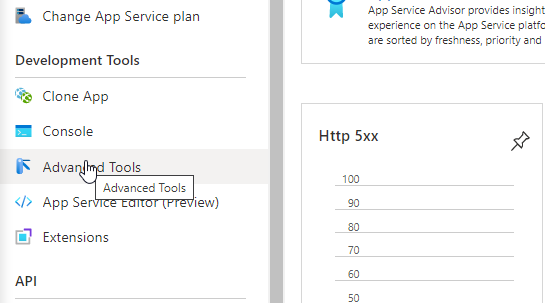
- Select Go.
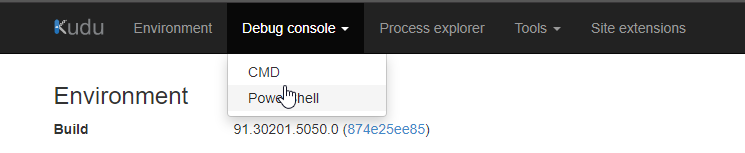
- Select Debug console > PowerShell
- Go to site > wwwroot.
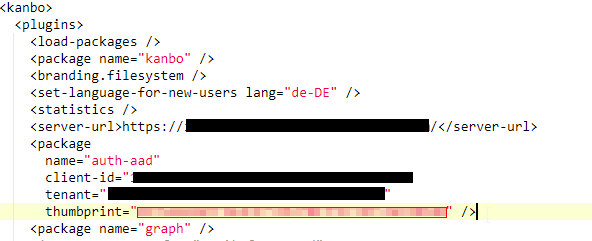
- On the appsettings.json file select Edit.
- Enter the thumbprint of the new certificate in the “thumbprint” field of the “auth-aad” and “webjobs” packages.
- Save the changes.
You will also need to replace the thumbprint of each WebJob that your KanBo uses.
Was this article helpful?
Please, contact us if you have any additional questions.