
Setting Up KanBo Email Notifications (On-Premise)
2. Update KanBo.ConsoleJobHostRunner.exe.config file with your parameters
For detailed information about configuration follow attached readme.txt file.
- Copy the connection string from the KanBo appsettings.json and put it into the appsettings.json of the Email Notifications job
"ConnectionStrings": {
  "KanBo": "CONNECTIONSTRING"
 },
- Configure the plugins section. In the first part, you can configure:
   {
    "type": "job.email-notifications",
    "name": "mail",
    "link": "{https://Your KanBo Address.domain}",
    "title": "myname",
    "template": "template.html",
    "limit": 100,
    "repeat": "10s",
    "children": [
     [
      "sender",
      {
       "email": "{sender@YOURDOMAIN.COM}",
       "type": "SmtpClient"
      },
      {
       "type": "smtpclient",
       "deliverymethod": "Network",
       "username": "{sender@YOURDOMAIN.COM}",
       "password": "{PASSWORD}",
       "enablessl": true,
       "host": "{mail.YOUR_DOMAIN.COM}",
       "port": 587,
       "pickupdirectorylocation": "{YourKanBoDirectory}"
      }
     ]
    ]
   }
- Configure the second part of plugins section.
a) With SSL
Change the following values:
- https://YourKanBoAddress - to your KanBo Address
- YourTitle - choose a title, i.e.:KanBo
- sender@YOURDOMAIN.com in sender email and username - the email account to send emails from
- Password to password this email account password
- mail.YOUR_DOMAIN.COM in Host to your email hosting address. In case of Office 365 installation, it can be smtp.office365.com.
- Your KanBo path in Your KanBo Directory value
   {
    "type": "job.email-notifications",
    "name": "mail",
    "link": "{https://Your KanBo Address.domain}",
    "title": "myname",
    "template": "template.html",
    "limit": 100,
    "repeat": "10s",
    "children": [
     [
      "sender",
      {
       "email": "{sender@YOURDOMAIN.COM}",
       "type": "SmtpClient"
      },
      {
       "type": "smtpclient",
       "deliverymethod": "Network",
       "username": "{sender@YOURDOMAIN.COM}",
       "password": "{PASSWORD}",
       "enablessl": true,
       "host": "{mail.YOUR_DOMAIN.COM}",
       "port": 587,
       "pickupdirectorylocation": "{YourKanBoDirectory}"
      }
     ]
    ]
   }
b) Without SSL
  {
    "type": "job.email-notifications",
    "name": "mail",
    "link": "{https://Your KanBo Address.domain}",
    "title": "myname",
    "template": "template.html",
    "limit": 100,
    "repeat": "10s",
    "children": [
     [
      "sender",
      {
       "email": "{sender@YOURDOMAIN.COM}",
       "type": "SmtpClient"
      },
      {
       "type": "smtpclient",
       "deliverymethod": "Network",
       "username": "{sender@YOURDOMAIN.COM}",
       "password": "{PASSWORD}",
       "host": "{mail.YOUR_DOMAIN.COM}",
       "port": 587,
       "pickupdirectorylocation": "{YourKanBoDirectory}"
      }
     ]
    ]
   }
3. Create a Task in the Task Scheduler (On-Premise)
Here is the simple example how to add KanBo Notification Task to the Windows Task Scheduler. Full manual for Windows Scheduled Tasks you can find in the Microsoft web site: https://technet.microsoft.com/en-us/library/cc766428.aspx
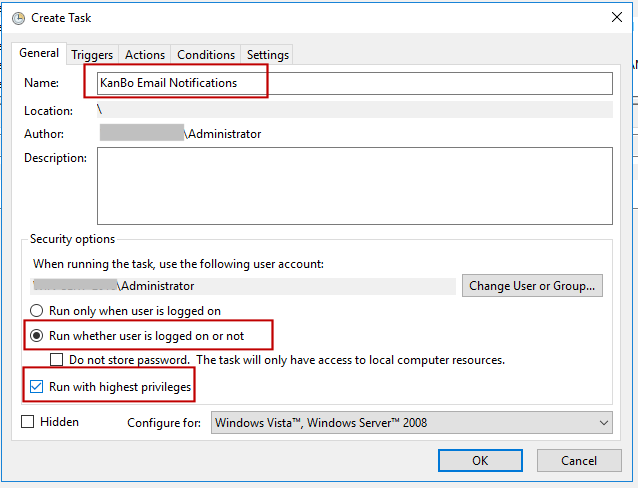
- Execute Task Scheduler. Type a name and select user with proper privileges to execute task. We recommnd also to select "Run with highest priviledges".
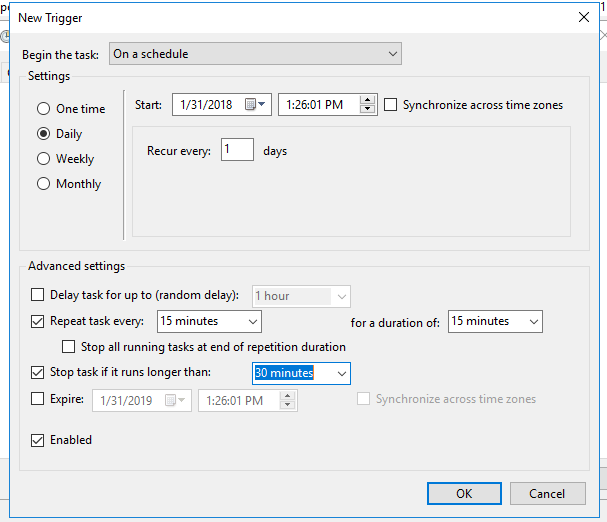
- If connection string to the KanBo database is Integrated Security=true, please be sure that typed user has read/write permissions to the KanBo database. Select Triggers tab and create a new trigger and use the following configuration:
- Begin the task - On a Schedule
- Settings: Daily
- Advanced settings: Repeat task every 15 minutes for a duration of Indefinitely
- Stop task if it runs longer than 30 minutes
- Select "Enabled"
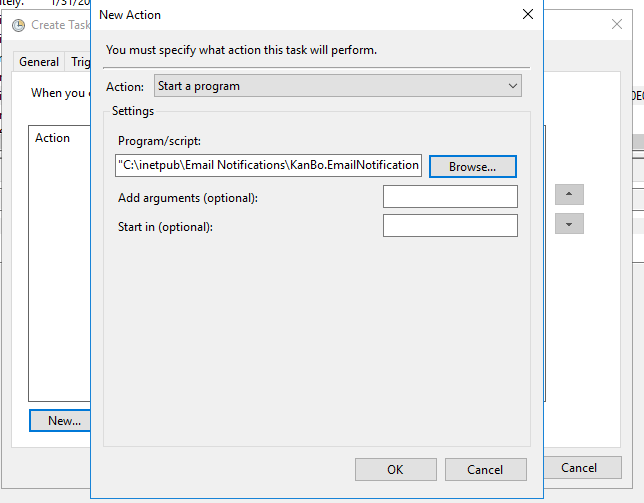
- Select Actions tab and add new action pointing to the KanBo.JobHost.exe file within the folder where you unpacked the KanBo.JobHost.zip file.
- After this action is completed, select "OK" and confirm your administrator credentials.
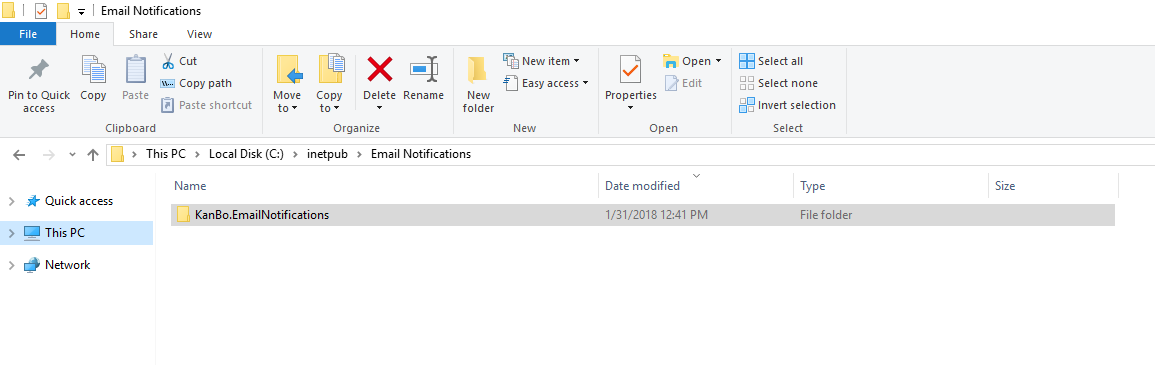
- Enter your email notifications package location in the Start In (optional) field.
Example: C:\inetpub\Email Notifications\KanBo.EmailNotifications
4. Recommendation: Set an Outlook retention policy to remove old messages
In order to not allow your Email Notifications mailbox to clog up, set a simple rule to clean messages older than a week.
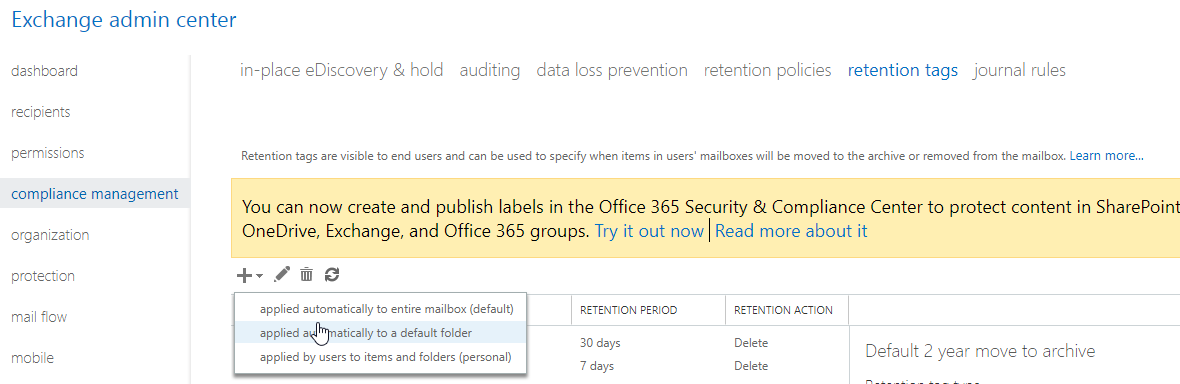
- As Exchange Administrator, got to Exchange Admin Center -> Compliance Management -> Retention Tags. Create a new rule "applied automatically to a default folder.
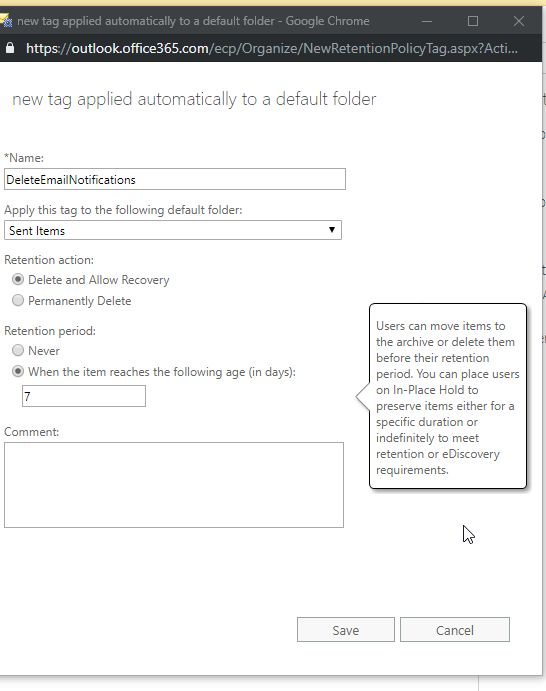
- Find out a name, select this tag to apply to Sent items only and choose retention period to 7 days.
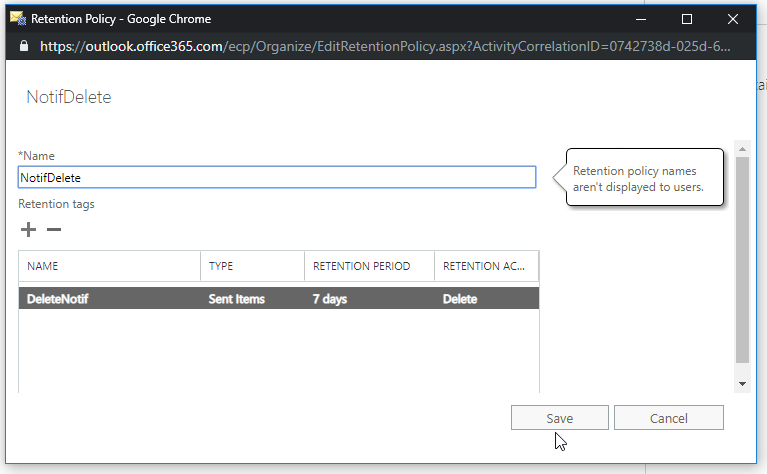
- Go to retention policies and create a new Retention policy with this retention tag assigned.
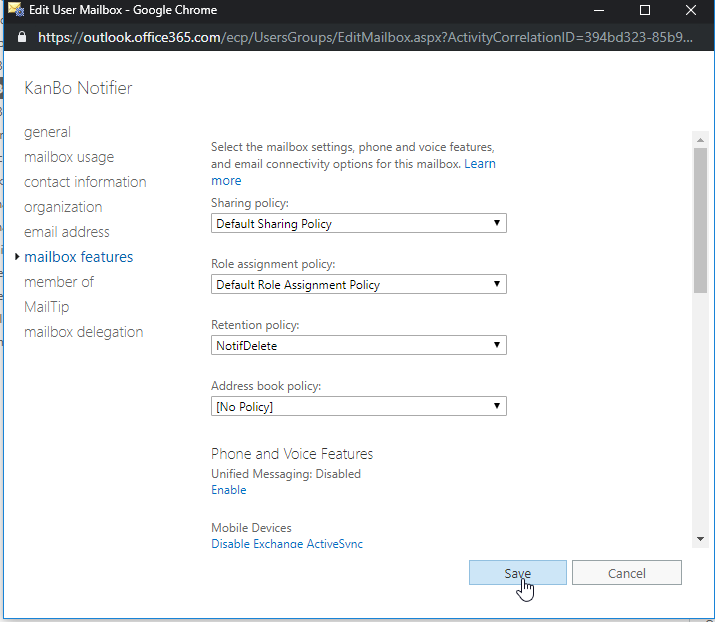
- Go to recipients, select your Email Notifications account and then in Mailbox features select your newly created Retention Policy.
Troubleshooting
"Something bad happened with AddtoGroup" error in email notifications.
It means that these notifications are very old and not compatible with the new version of Kanbo your organization now has and, since the email notifications has been enabled recently, these old notifications are being sent to people which haven't entered KanBo before. There is a solution to fix it:
- Please open the Content Database of KanBo in SQL Manager.
- Then please execute the following script on this database:
UPDATE NotificationUsers SET WasMailed = 1
It will resen all MailNotification Counters to 0 and you should not be getting any errors with the email notifications.