
-
KanBo Installation
- KanBo Installation on Office 365 and Azure (Manual)
- KanBo Installation on Office 365 and Azure (KanBo Installer)
- KanBo On-Premises Installation Requirements and Prerequisites
- KanBo Installation On-Premise SharePoint 2013/2016/2019
- Creating and Updating the Elastic Cloud Deployment
- Creating a Linux Based Virtual Machine on Azure for Elastic Search
- Installing and Configuring Elastic Search on Debian
- Creating a Windows Virtual Machine on Azure for Elastic Search
- Installing and Configuring Elastic Search on Windows
- How to Create a X.509 High-Trust Certificate
- KanBo Setup
- KanBo Modern Webpart Installation
- Uninstall KanBo from Office 365
- Supported Browsers
-
KanBo Updates
-
Additional Components
- Setting Up KanBo Email Notifications on Azure
- Setting Up KanBo Email Notifications (On-Premise)
- KanBo Outlook Add-in Installation (O365 & On-Premise)
- Send Email to KanBo - Installation (Cloud)
- Send Email to KanBo - Installation (On-Premise)
- Enabling Email a Card Message
- KanBo and Microsoft Power Automate integration: Installation
- KanBo and Microsoft Power Automate Integration: Activation
- Installation of KanBo MyBoard Synchronization with Outlook Calendar and Outlook Tasks
- Installation of the Autodesk BIM Plugin for KanBo
- KanBo and UiPath Integration: Configuration
- Nintex Integration Installation
- KanBo API for Developers
- KanBo External User Groups (Active Directory Integration)
- KanBo Mini Application Installation
- Plugin for Adding Users to KanBo / Sharepoint When They First Enter it
- SharePoint Profiles Synchronization
- SharePoint Site Collection Balancing and Admin Warnings
- Sync Targets
- Installation of the KanBo Teams App
-
Tips & Tricks
- Configure How Documents Should Be Opened from KanBo
- Customize KanBo Background Images and KanBo Colors
- Define Board Features to Be Enabled or Disabled by Default
- Disable Sleeping Tabs in Browsers
- Disable/Enable Public Boards Creation
- Find Out the Certificate Expiration Dates On-Premise
- Get KanBo ID
- How to Change the Help URL in Your KanBo
- Import Users to KanBo
- Renew Certificate for KanBo Graph Installation
- Show KanBo Version
- Removing syncing of profile pictures in the Profile Sync job
-
Troubleshooting
KanBo and Microsoft Power Automate Integration: Activation
Table of Contents
Prerequisites
First off, the account You are using for this installation not only needs to be added to KanBo, but the actions performed by Power Automate will be seen as if they have been done by this user in KanBo.
You also need:
- A JSON Manifest for KanBo API
- Client ID and Client Secret for the custom connector
You should have received both of those from our support email support@kanboapp.com
Activation
- Visit make.powerautomate.com
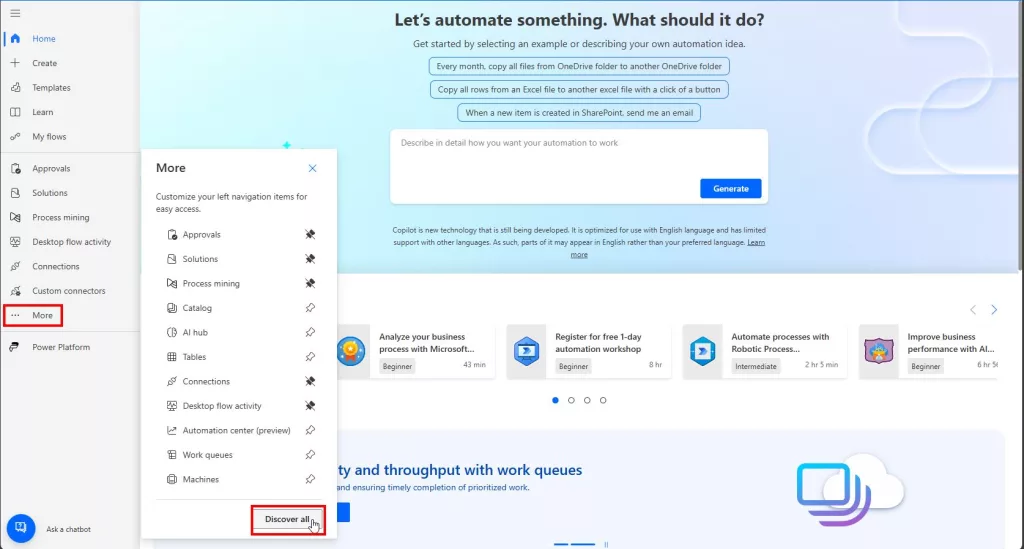
- On the left panel, click on “Custom connectors”

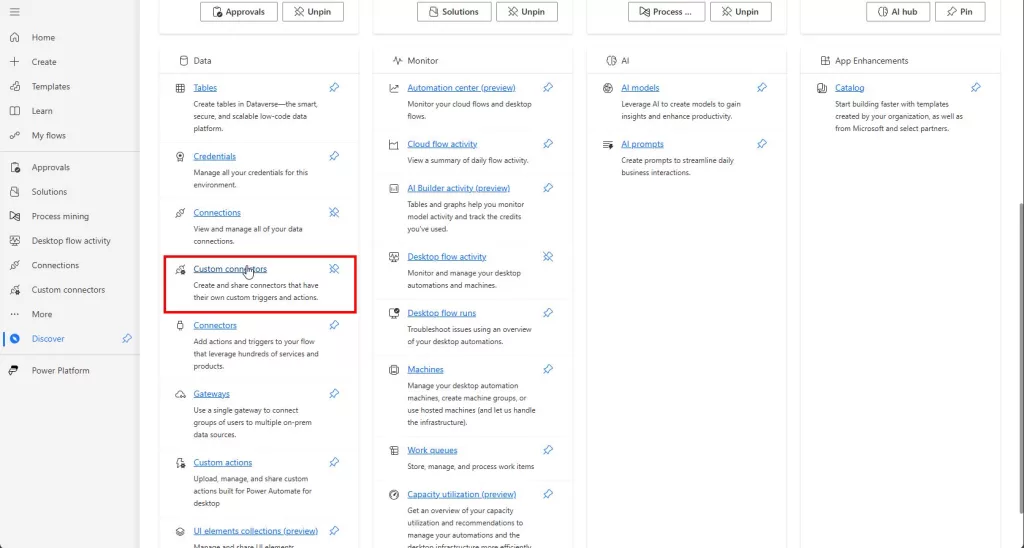
If the option does not appear, click on More -> Discover all and You can find Custom connectors under the “Data” tab
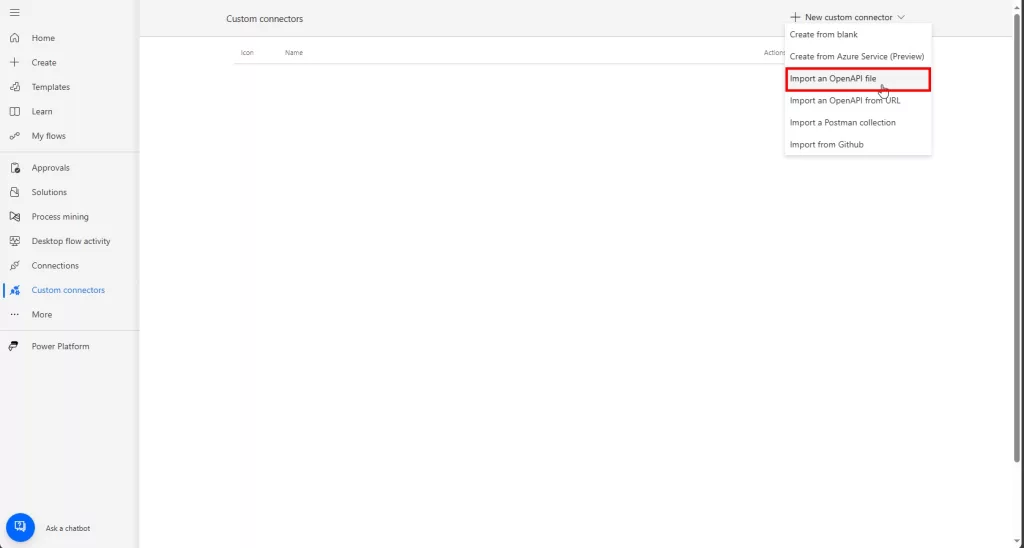
- Click on “Import an OpenAPI file”
- On the first page, optionally (but recommended), upload an image and change the background color

- Click on “Security” in the bottom right corner
- In the Security page insert the Client ID and the Client Secret that were sent to You.
- Copy the Token URL into the Refresh URL
- It is VERY IMPORTANT that You copy the Redirect URL present on the bottom and send it to us at support@kanboapp.com

- After that, click on “Create connector” on the top”
- Now, we at KanBo need to make changes to our Power Automate broker with the Custom Connector Redirect URL that You have sent us. We will inform You when the changes are done, after which You can proceed with the activation.
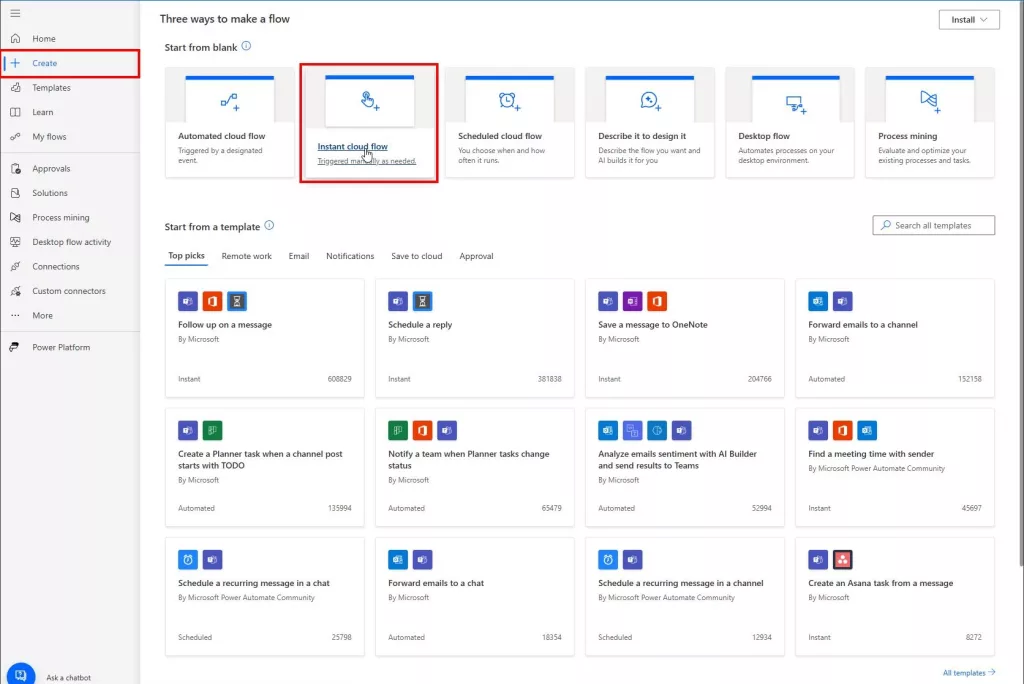
- Last thing to do is to create a connection in Power Automate to KanBo. To do that, create a simple manual flow by clicking on Create -> Instant cloud flow -> Manually trigger a flow

- After that, add any KanBo action. To do that, click on a plus button -> Add an action -> Runtime -> Custom -> Your KanBo Custom Connector


- After selecting an action, You should be presented with this screen:
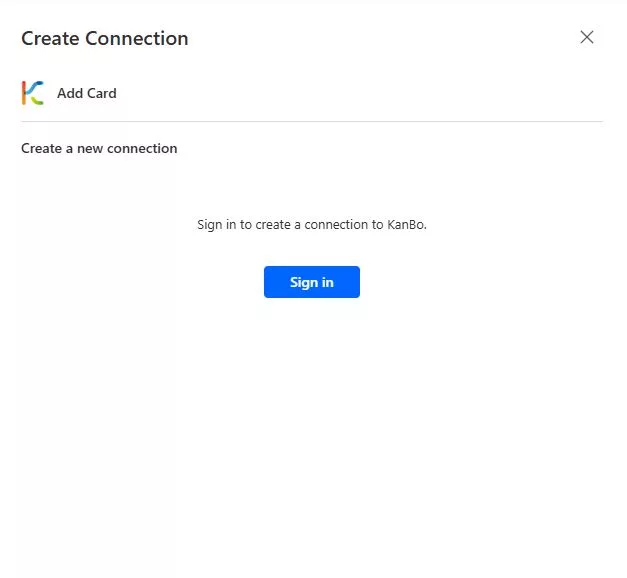
Click on “Sign in”, after which, enter the URL fo Your KanBo and later allow the application full access to KanBo as You.


If no issues were encountered, You have successfully activated the KanBo Custom Connector in Power Automate!
Was this article helpful?
Please, contact us if you have any additional questions.