-
KanBo Installation
- KanBo Installation Guide (Microsoft 365 + Azure)
- KanBo Installation Guide (On-Premises)
- KanBo On-Premises Installation Requirements and Prerequisites
- Creating an X.509 High-Trust Certificate
- Creating and Updating Elastic Cloud Deployment
- Installing Elasticsearch on Windows
- Installing Elasticsearch on Debian
- Creating a Windows Virtual Machine on Azure for Elasticsearch
- Creating a Linux Based Virtual Machine on Azure for Elasticsearch
- KanBo Modern Web Part Installation
- Supported Browsers
- KanBo Setup
-
KanBo Updates
-
Additional Components
- Installing KanBo Teams App
- Installing KanBo Outlook Add-in
- Installing KanBo Mini Application
- Installing Nintex Integration
- Installing Autodesk BIM Plugin
- Configuring UiPath Integration
- Installing and Configuring Power Automate Integration
- KanBo External User Groups (Active Directory Integration)
- User Auto-Provisioning on First Access (SharePoint Plugin)
- SharePoint Profile Synchronization
- Configuring Sync Targets
- SharePoint Site Collection Balancing and Admin Warnings
- Setting Up BIM Sync WebJob
- Configuring OData Integration for Power BI Desktop
- KanBo PowerShell Commandlets
- Direct Sync of SharePoint Lists with KanBo
- Enabling KanBo Email Notifications (Azure)
- Enabling KanBo Email Notifications (On-Premises)
- Enabling OneDrive Integration in KanBo
- Enabling Sending Card Messages as Emails
- Enabling Sending Emails to KanBo (Microsoft 365 + Azure)
- Enabling Sending Emails to KanBo (On-Premises)
- Prometheus and Grafana configuration for KanBo metrics
- Show all articles ( 3 ) Collapse Articles
-
Tips & Tricks
- Configuring Document Opening Behavior in KanBo
- Disabling Sleeping Tabs in Browsers
- Disabling Public Space Creation in KanBo
- Checking Certificate Expiration Dates (On-Premises)
- KanBo License ID
- Checking KanBo Version
- Changing the Help URL in KanBo
- Renewing Microsoft Graph Certificate
- Disabling Profile Picture Sync in Profile Sync Job
- Creating and Customizing Profile Sync WebJob
- Configuring KanBo for Microsoft Azure GCC High Environment
-
Troubleshooting
Updating Elasticsearch on Windows
Table of Contents
To update Elasticsearch on Windows:
- Download the latest Elasticsearch and Kibana packages from the Elastic website:
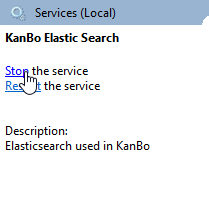
- Go to Services.
- Stop your Elasticsearch service.
- Back up your Elasticsearch and Kibana folders in case something goes wrong.
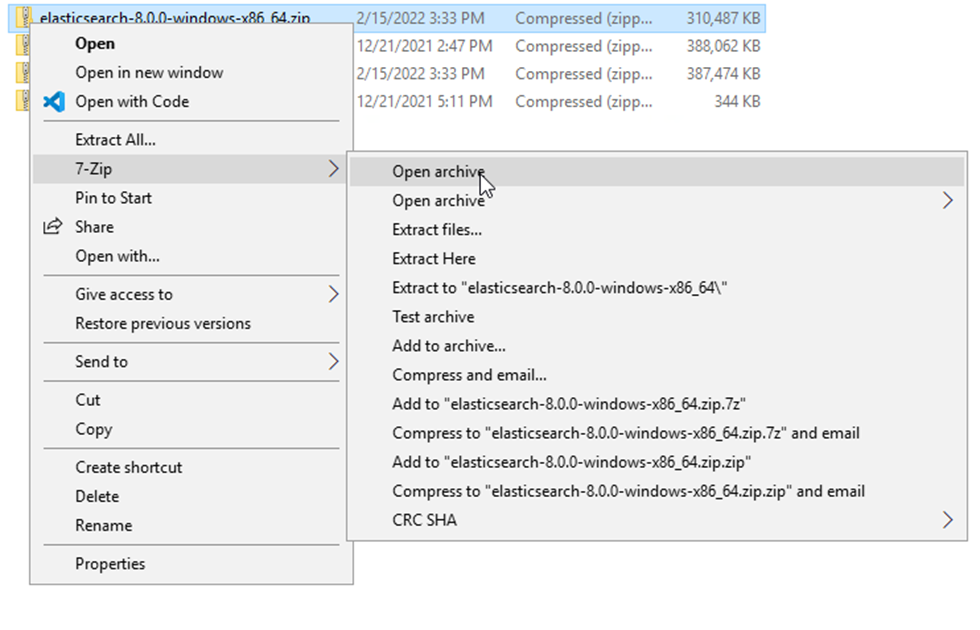
- Open the folders with 7-Zip.
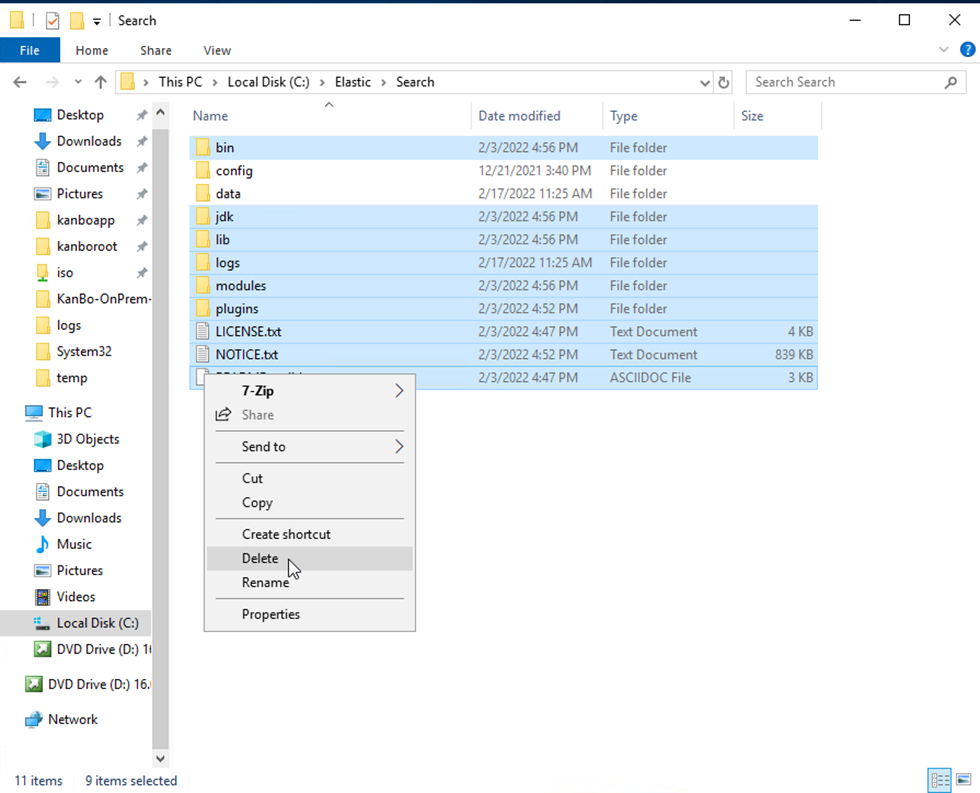
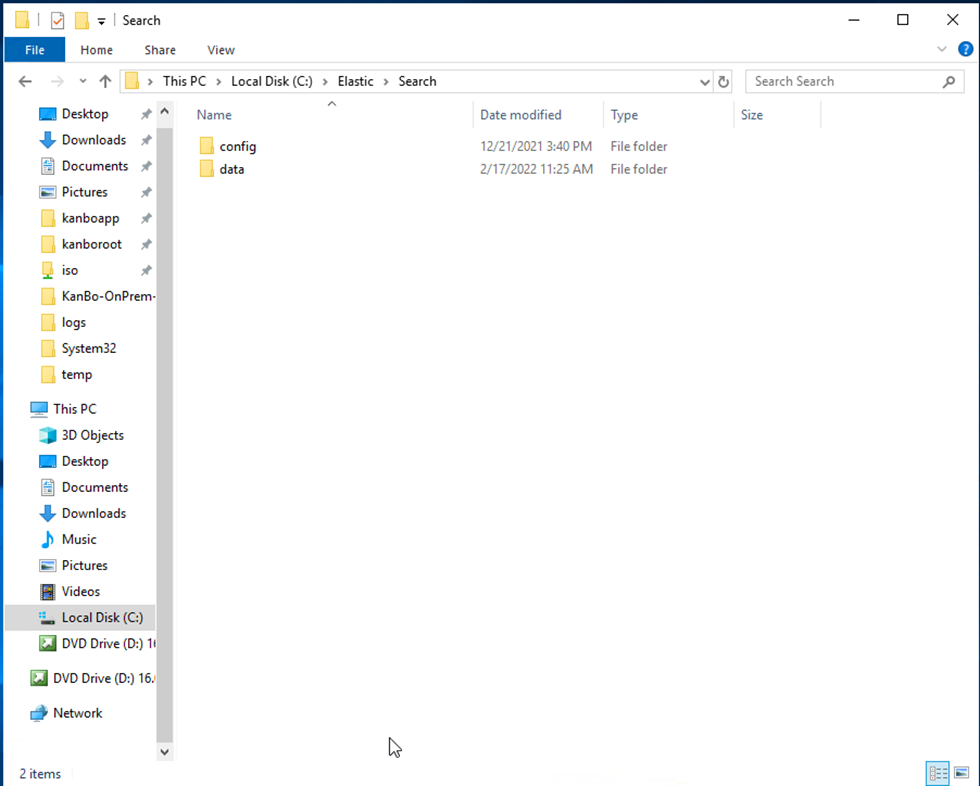
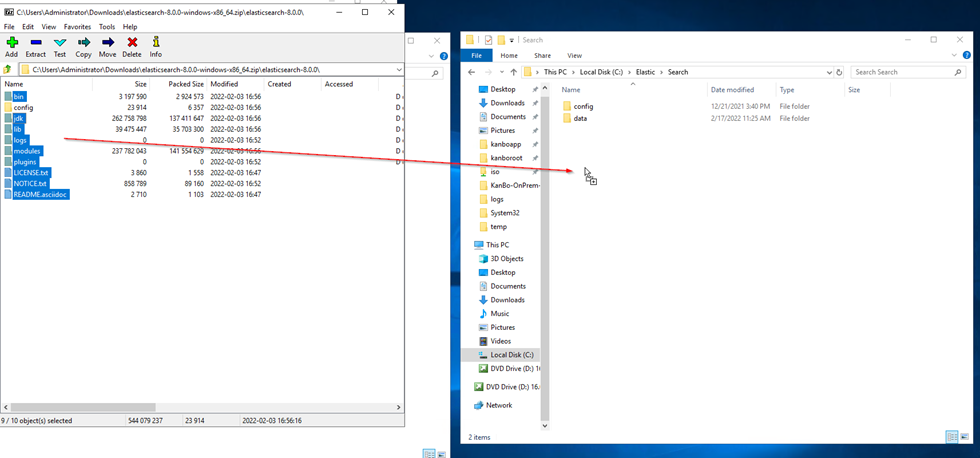
- Go to your Elasticsearch installation folder and delete all folders except the “data” and “config” folders.
- From the Elasticsearch zip file, extract and copy every folder except the “config” folder into your Elasticsearch installation folder.
- Extract.
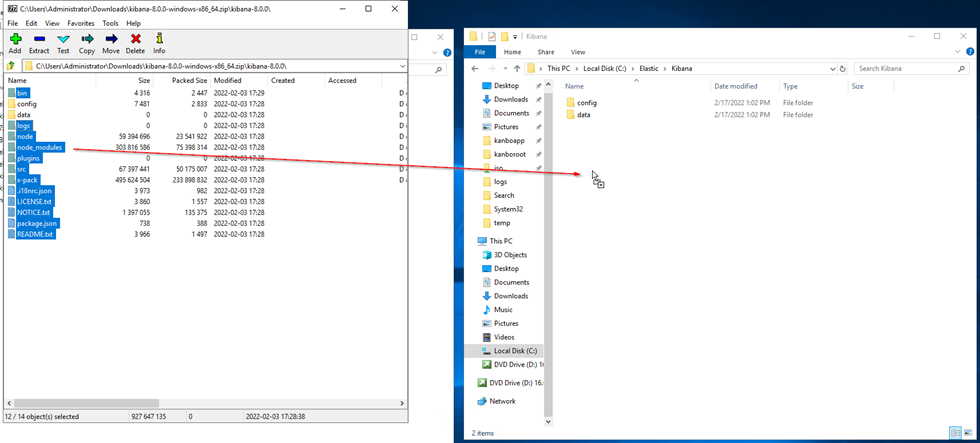
- Do the same with the Kibana zip file and installation folder. However, make sure you do not extract the “data” or “config” folders.
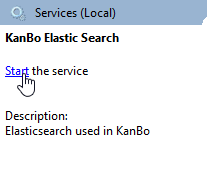
- Go to Services.
- Start your Elasticsearch service.

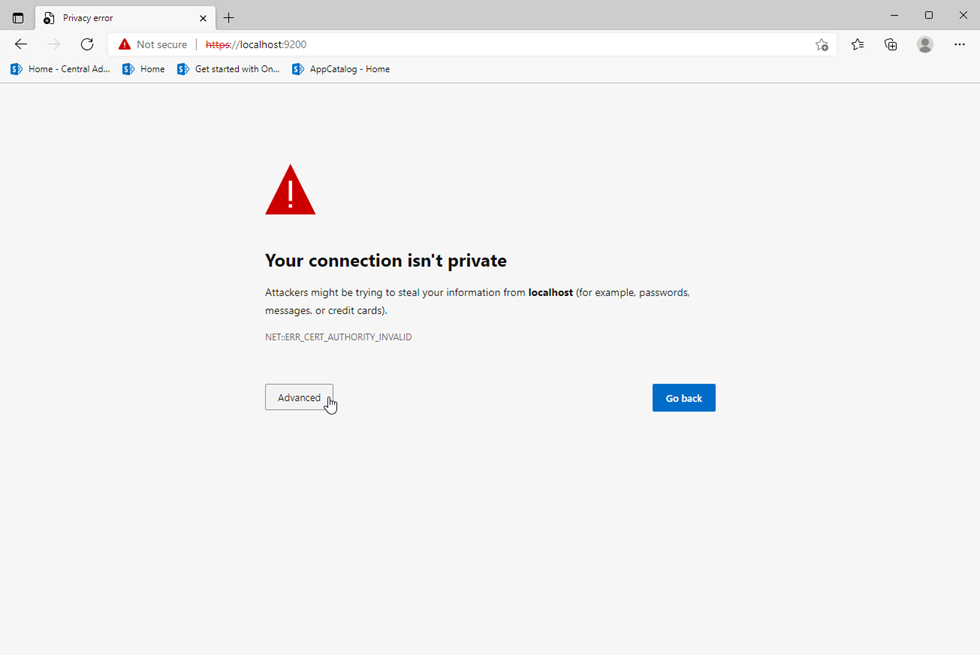
- Go to https://localhost:9200.
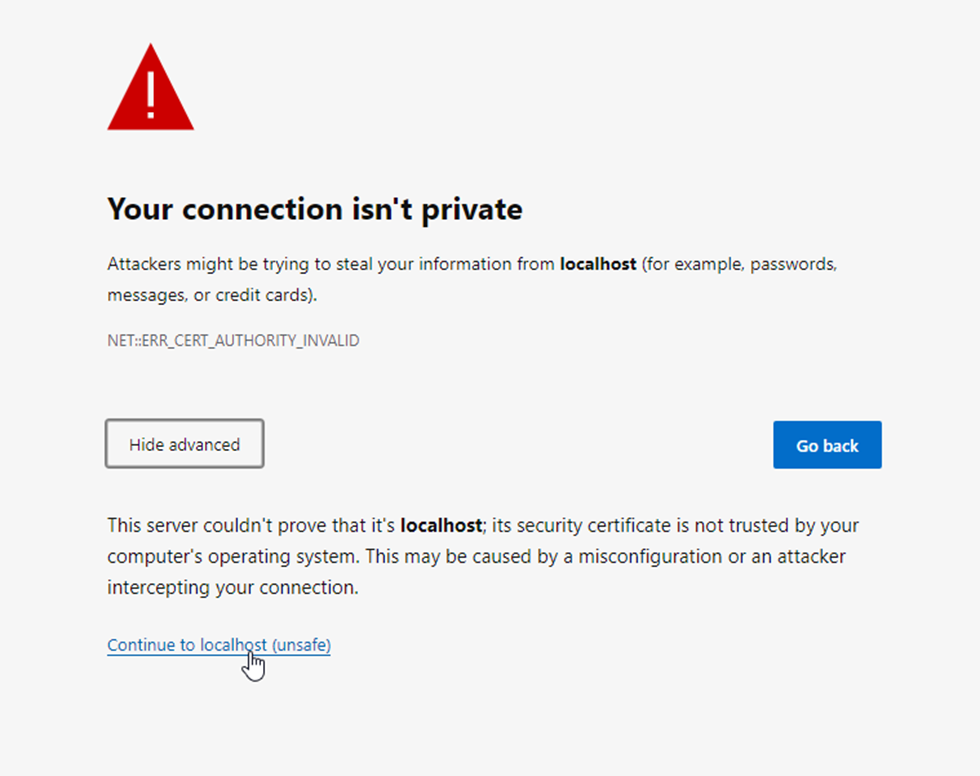
- Select Advanced.

- Select Continue to localhost.

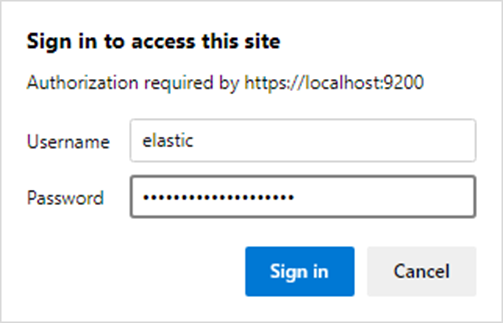
- Log in using the Elastic superuser account.

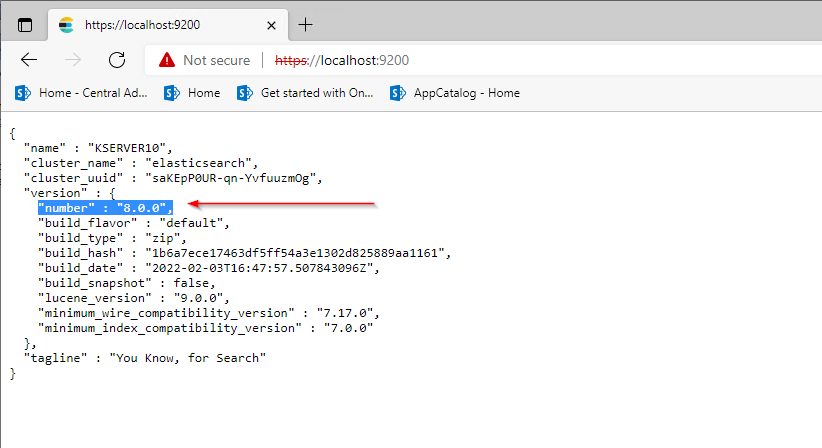
- After logging in, check the displayed information to confirm that you have the latest stable version of Elastic installed.

You will see your current Elasticsearch here.
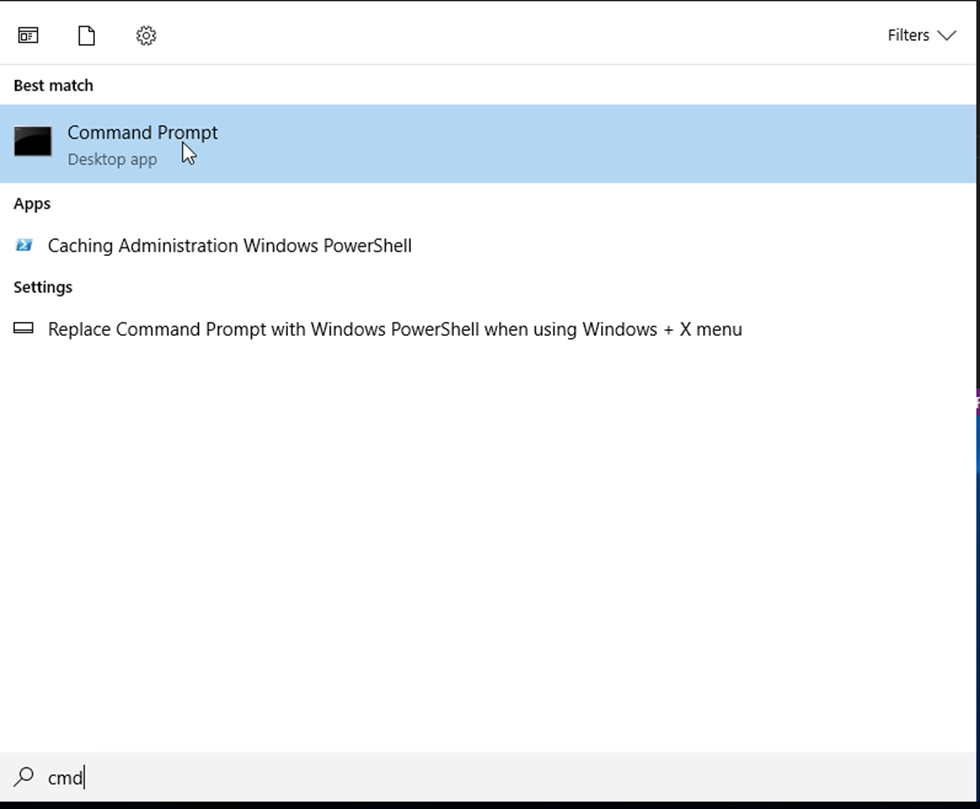
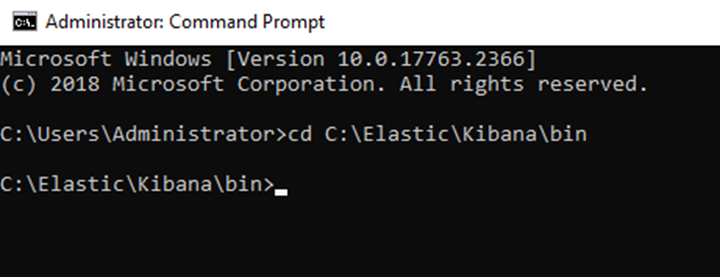
- Now, open the Command Prompt.
- Go to the Kibana bin folder.

- Run kibana.bat.

- After the message "Kibana is now available (was degraded)" appears, go to http://localhost:5601.
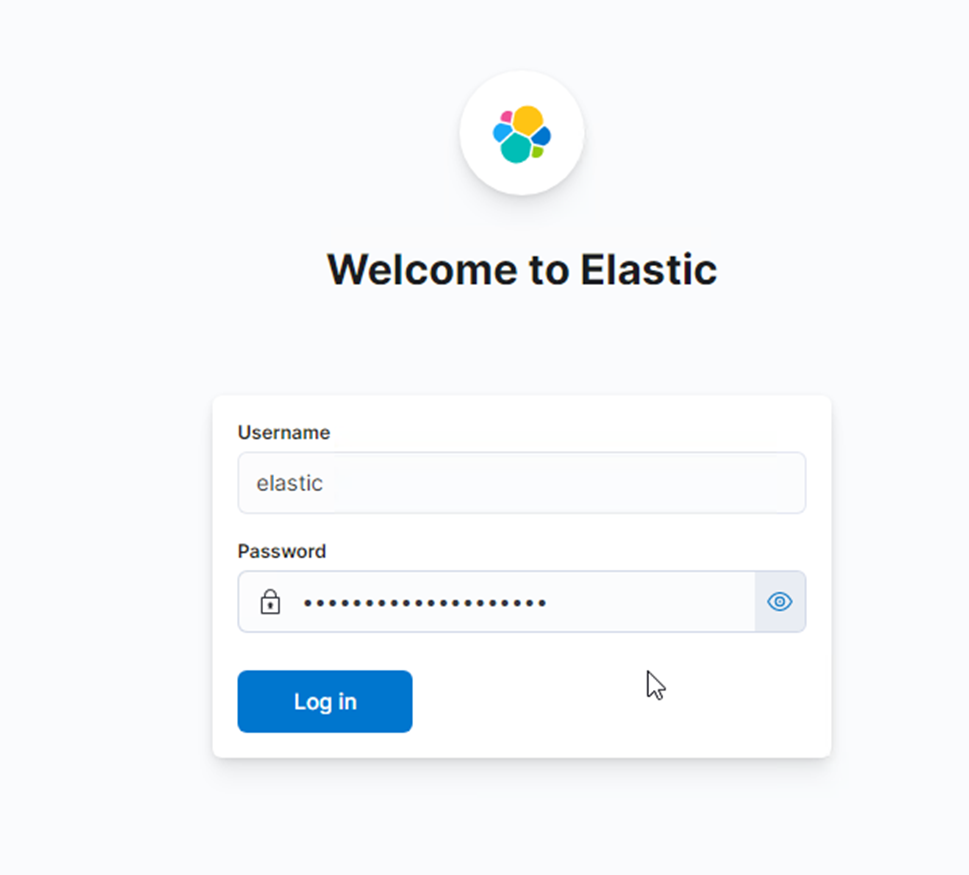
- Log in using the Elastic superuser account.

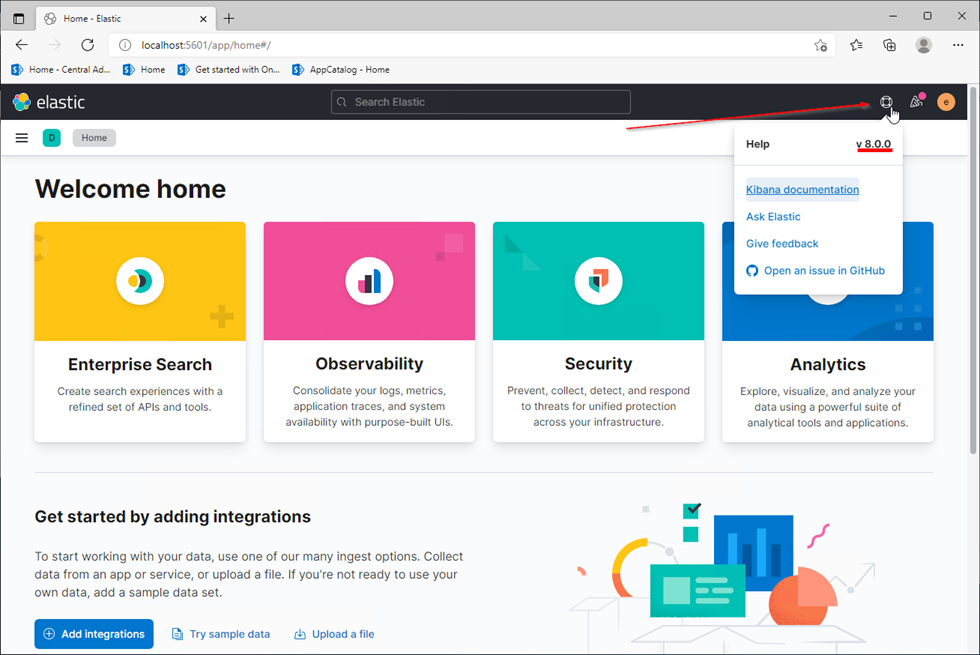
- To check the version, select the icon shown below in the upper-right corner.

- Press CTRL+C inside the Command Prompt window to stop Kibana.

- Select Y to terminate the batch job.
If both versions match, your Elasticsearch update is complete.
Was this article helpful?
Please, contact us if you have any additional questions.