SharePoint Site Collection Balancing and Admin Warnings
There is an option to declare several Site Collections in which KanBo sub-sites will be created. This will help you bypass issues where your sub-site limit in Site Collection is exceeding. Here some Boundaries of SharePoint: link
SharePoint groups: 10,000 per site collection. Staying below 2,000 subsites per site collection is strongly recommended.
You can create a very large total number of web sites by creating multiple site collections with up to 2,000 webs per site collection. For example, 125 site collections that contain 2,000 webs each will equate to 250,000 sites in the farm. However, this would be considered the maximum recommended limit for non-personal sites.
It looks like in KanBo that when we stay below 2000 sites per Site Collection then we will be safe because the other Boundary is 10000 User Groups but 10000/3(User Groups per Board) = 3333 Sites but this is 1333 more than recommended so we will stay with the 2000 limit
You can also set warnings which will be sent as emails to chosen persons (as i.e. administrators). These persons will get notified wheter Site Collection limit is exceeding or if KanBo license is going to expire soon.
Configure SharePoint Site balancing
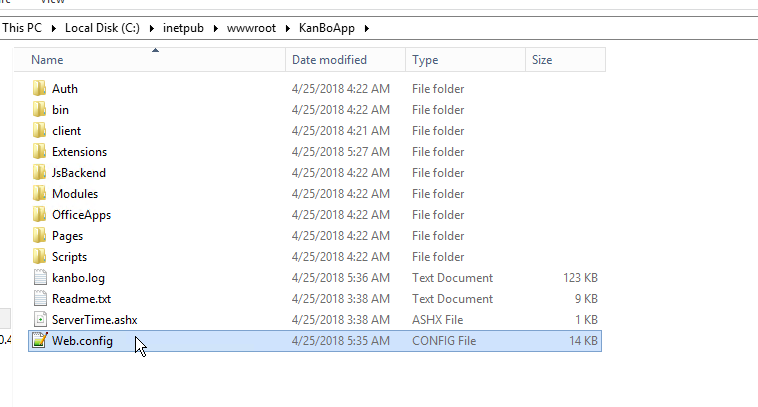
1. Go to your working location where KanBo is installed. Open the web.config file.
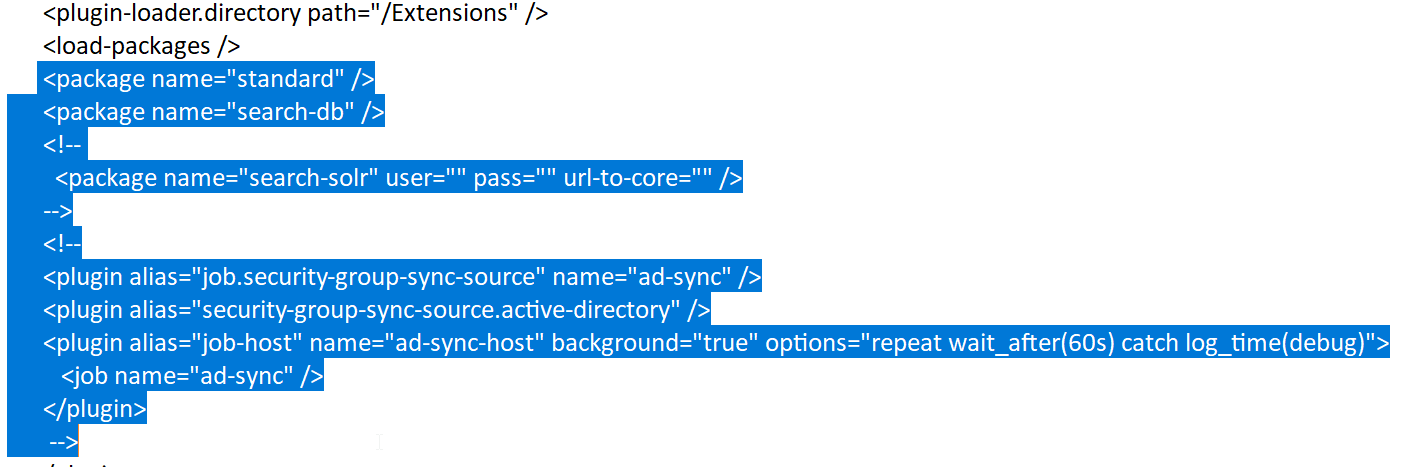
2. Delete the following section.
 <load-packages />
      <package name="standard" />
      <package name="search-db" />
      <!--
        <package name="search-solr" user="" pass="" url-to-core="" />
      -->
      <!--
      <plugin alias="job.security-group-sync-source" name="ad-sync" />
      <plugin alias="security-group-sync-source.active-directory" />
      <plugin alias="job-host" name="ad-sync-host" background="true" options="repeat wait_after(60s) catch log_time(debug)">
         <job name="ad-sync" />
      </plugin>
       -->
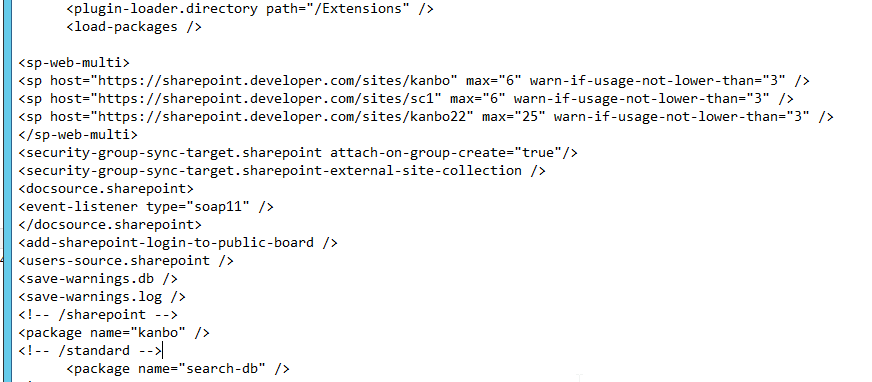
3. Enter the following entry here. Adjust the SharePoint sites address in sp host value and declare a maximum number of sub-sites you wish to create in this Site Collection (change 4 to any number). Adjust the other plugins if needed (i.e. Solr, Redis). Save these changes.
<sp-web-multi>
<sp host="https://YourSharePointAddress/sites/SiteName" max="4" warn-if-usage-not-lower-than="3"></sp>
<sp host="https://YourSharePointAddress/sites/SiteName" max="4" warn-if-usage-not-lower-than="3"></sp>
<sp host="https://YourSharePointAddress/sites/SiteName" max="4" warn-if-usage-not-lower-than="3"></sp>
</sp-web-multi>
<security-group-sync-target.sharepoint attach-on-group-create="true"/>
<security-group-sync-target.sharepoint-external-site-collection />
<docsource.sharepoint>
<event-listener type="soap11" />
</docsource.sharepoint>
<add-sharepoint-login-to-public-board />
<users-source.sharepoint />
<save-warnings.db />
<save-warnings.log />
<!-- /sharepoint -->
<package name="kanbo" />
<!-- /standard -->
 <package name="search-db" />
<sp-web-multi should-cache-max="true">
4. Go to the Extensions folder in your KanBo package. Go to the full KanBo package and move KanBo.MailWarnings.dll to the Extensions directory.
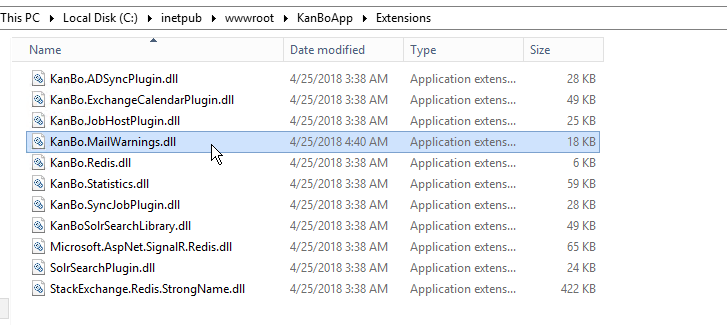
Now, you can restart the KanBo site using IIS manager.
5. Go to your other Site Collections using Site Owner account (do not use the System Account in SharePoint 2013/2016 installation scenarios). Add the existing KanBo to the Site Collections which were declared in the web.config.
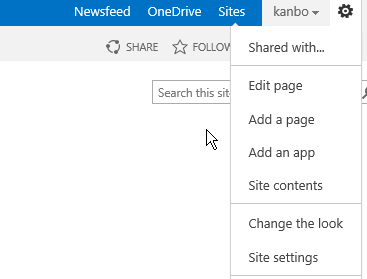
Select Add an app from settings.
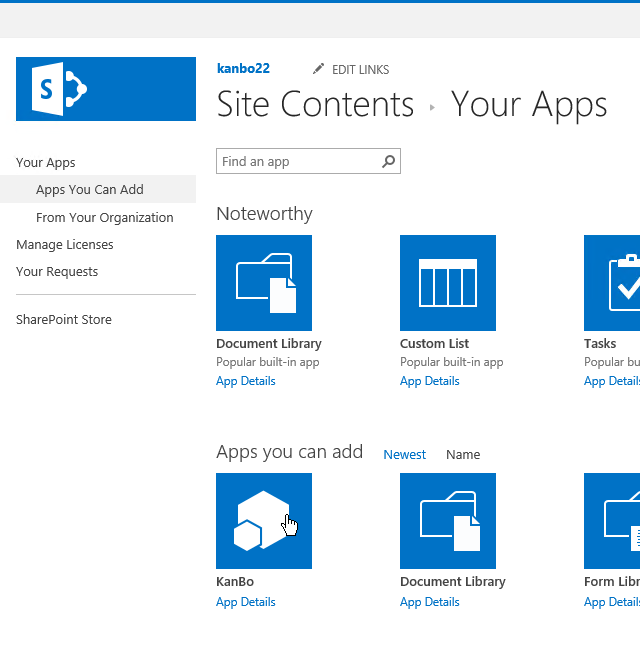
6. In "Apps you can add" section select KanBo and click on it.
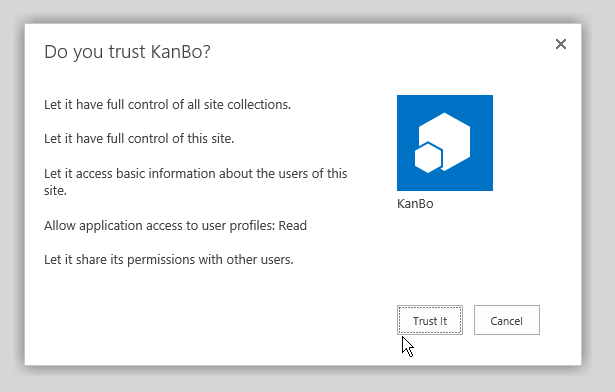
7. Now click "Trust it".
8. App will be added to Site Contents in a couple of seconds.


9. Switch to KanBo installation directory on your server. Open the kanbo.log. You should receive information in log about warnings regarding Site Collection and licenses.

Configure email job to receive email notifications about warnings
1.Open the extracted KanBo package.
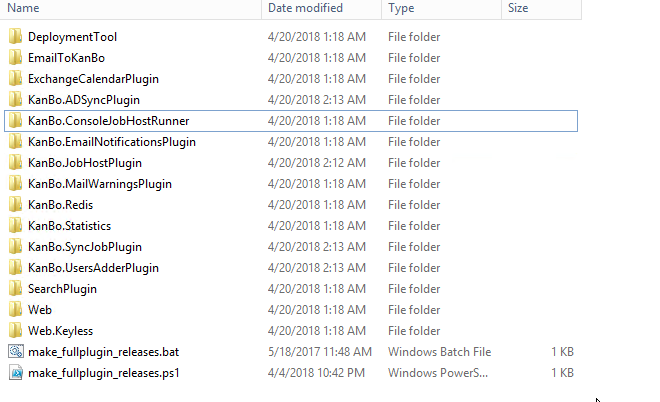
2. Move dll file KanBo.MailWarnings.dll from KanBo.MailWarningJob and well as contents of KanBo.EmailNotificationsPlugins into Kanbo.ConsoleJobHostRunner.
3. Add KanBo.ConsoleJobHostRunner folder on your C disc or to any specific directory.


5. Start editing it. Firsly, enter your KanBo database connection string (you might copy it from the KanBo web.config).

6. Specify a path to your Console Job Host Runner folder.
<plugin alias="plugin-loader.directory" path="C:\AD\KanBo.ConsoleJobHostRunner" />

7. Add the following entry under the previous.
a) With SSL
Change the following values:
- someemail@com and someemail2@com should be changed to email addresses to which you would like to receive warning emails
- sender@YOURDOMAIN.com in sender email and username - the email account to send emails from
- Password to password this email account password
- mail.YOUR_DOMAIN.COM in Host to your email hosting address
- Your KanBo path in Your KanBo Directory value
 <!--mail warnings -->
      <job-host name="mail2-job" options="wait_after(1s) catch log_time(debug)">
        <job name="warnings" />
      </job-host>
      <job.email-warnings name="warnings" count="200">
    <to>someemail@com</to>
     <to>someemail2@com</to>
<sender email="sender@YOURDOMAIN.COM" type="SmtpClient">
 <smtpClient DeliveryMethod="Network" Username="sender@kanbomail.com" Password="password" EnableSsl="True" Host="mail.YOUR_DOMAIN.COM" Port="587" PickupDirectoryLocation="C:\YourKanBoPath" />
</sender>
      </job.email-warnings>
   <!--mail warnings -->

b) Without SSL
Change the following values:
- someemail@com and someemail2@com should be changed to email addresses to which you would like to receive warning emails
- sender@YOURDOMAIN.com in sender email and username - the email account to send emails from
- Password to password this email account password
- mail.YOUR_DOMAIN.COM in Host to your email hosting address
- Your KanBo path in Your KanBo Directory value
 <!--mail warnings -->
      <job-host name="mail2-job" options="wait_after(1s) catch log_time(debug)">
        <job name="warnings" />
      </job-host>
      <job.email-warnings name="warnings" count="200">
    <to>someemail@com</to>
     <to>someemail2@com</to>
<sender email="sender@YOURDOMAIN.COM" type="SmtpClient">
 <smtpClient DeliveryMethod="Network" Username="sender@kanbomail.com" Password="password" Host="mail.YOUR_DOMAIN.COM" Port="587" PickupDirectoryLocation="C:\YourKanBoPath" />
</sender>
      </job.email-warnings>
   <!--mail warnings -->
Create a task in Task Scheduler for Warnings component
1. Go to the Task Scheduler. Click on Create Task.
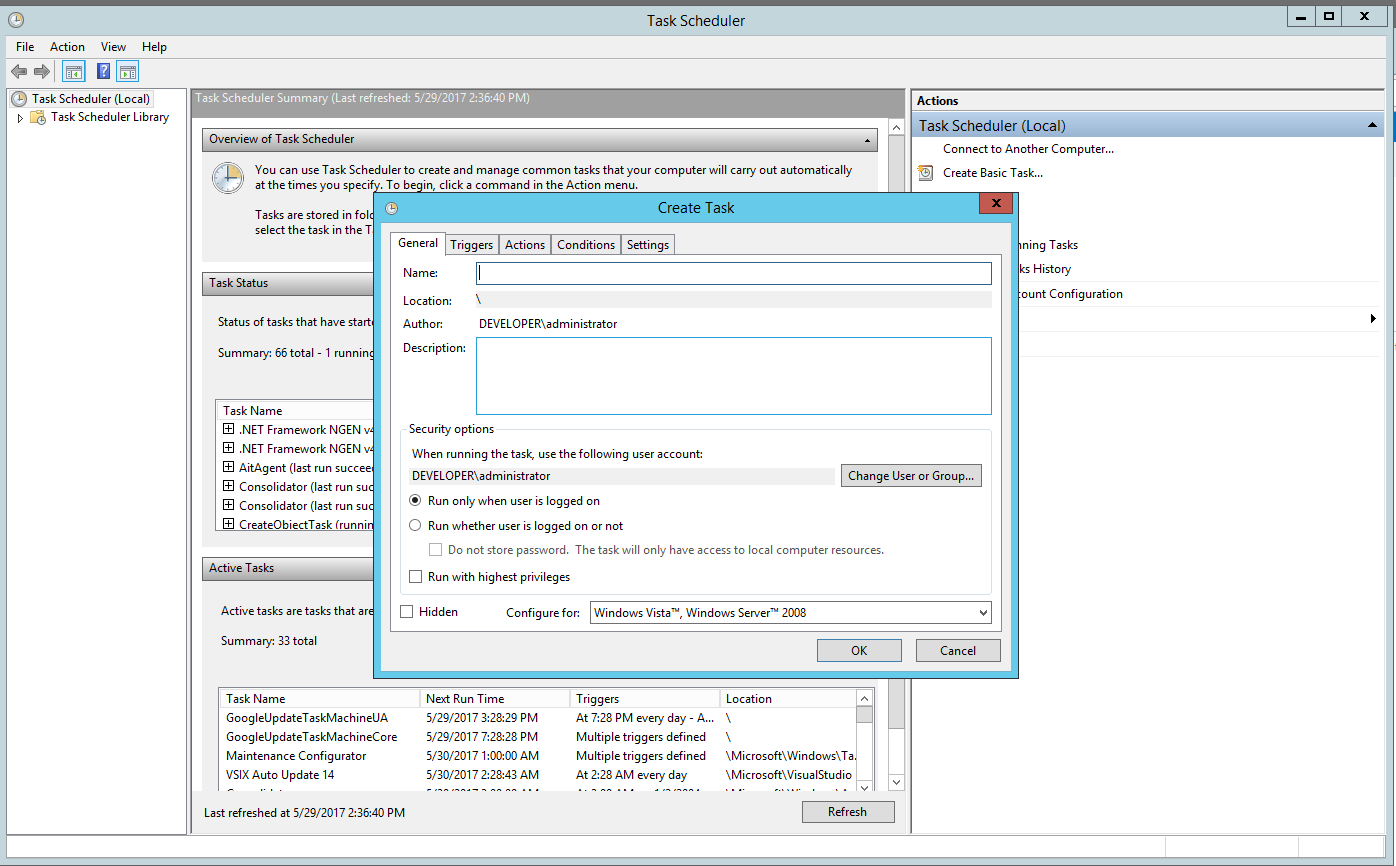
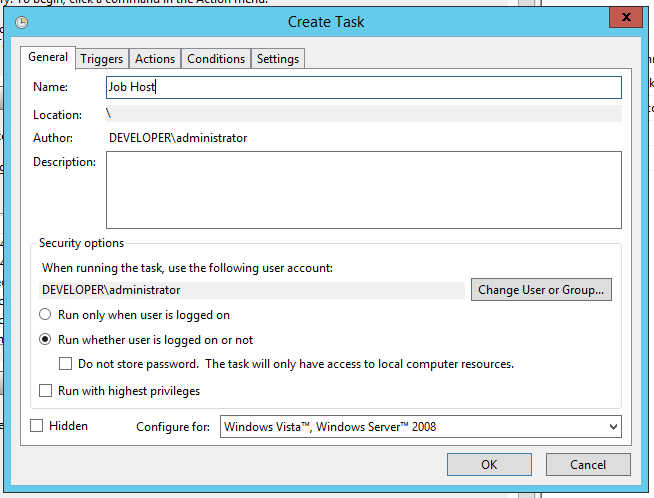
2..Set a name, for example "Job Host".
Select "Run only when user is logged or not".
Save these changes.
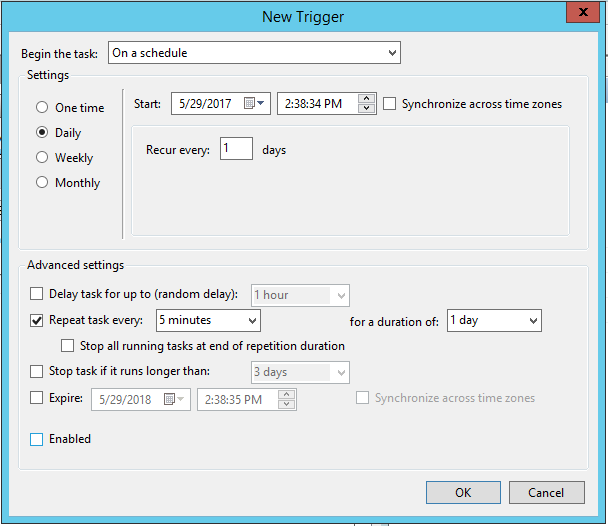
3. Go to Triggers section. Click on "New" button.
Select "Daily" and set Repeat Task every 5 minutes (or a higher number of minutes - depending how often you would like to receive warnings).
Save these changes.
4. Go to the Actions section.
Select Action "Start a Program".
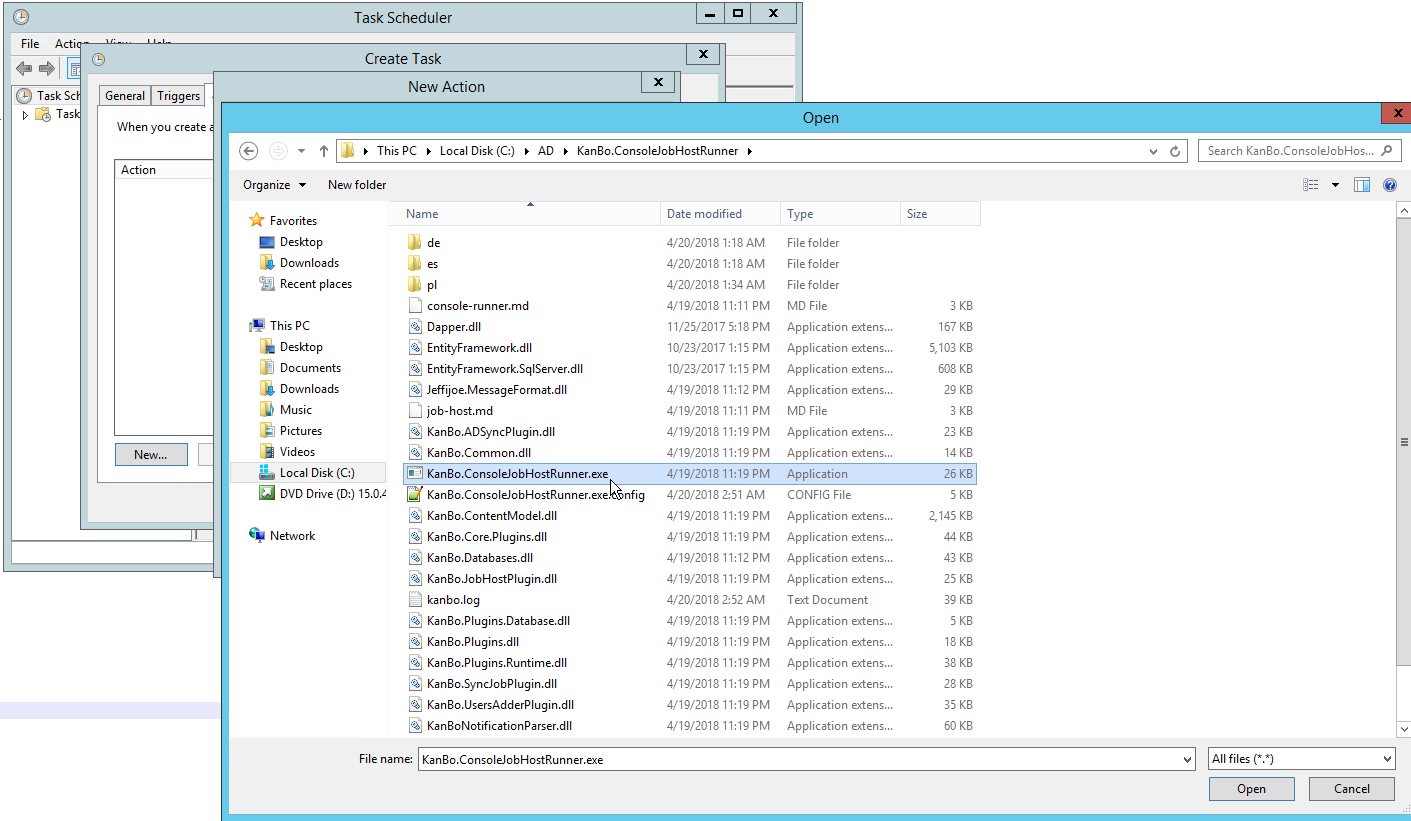
Click on Browser and select the KanBo.ConsoleJobHostRunner.exe.
Save these changes.