-
KanBo Installation
- KanBo Installation on Microsoft 365 and Azure (Manual)
- KanBo On-Premises Installation Requirements and Prerequisites
- KanBo Installation for On-Premises SharePoint 2019
- Creating and Updating the Elastic Cloud Deployment
- Installing and Configuring Elasticsearch on Windows
- Installing and Configuring Elasticsearch on Debian
- Creating a Windows Virtual Machine on Azure for Elasticsearch
- Creating a Linux Based Virtual Machine on Azure for Elasticsearch
- Creating an X.509 High-Trust Certificate
- KanBo Setup
- KanBo Modern Web Part Installation
- Uninstalling KanBo from Microsoft 365
- Supported Browsers
-
KanBo Updates
-
Additional Components
- Setting Up KanBo Email Notifications on Azure
- Setting Up KanBo Email Notifications (On-Premises)
- KanBo Outlook Add-in Installation (M365)
- Send Email to KanBo Installation (Cloud)
- Send Email to KanBo Installation (On-Premises)
- Enabling Sending Card Messages as Emails
- Installation of KanBo MySpace Synchronization with Outlook Calendar and Tasks
- Installation of the Autodesk BIM Plugin for KanBo
- KanBo and UiPath Integration: Configuration
- Nintex Integration Installation
- KanBo API for Developers
- KanBo External User Groups (Active Directory Integration)
- KanBo Mini Application Installation
- Plugin for Adding Users to KanBo / Sharepoint When They First Enter it
- SharePoint Profiles Synchronization
- SharePoint Site Collection Balancing and Admin Warnings
- Sync Targets
- Installation of the KanBo Teams App
- Setting up BIM Sync as a WebJob
- Configuring KanBo for OData Integration in PowerBI Desktop
- KanBo Powershell Comandlets
- KanBo and Microsoft Power Automate integration: Installation and activation
- Direct Sync of SharePoint Lists with KanBo
- Enabling OneDrive Integration in KanBo
- Show all articles ( 4 ) Collapse Articles
-
Tips & Tricks
- Configure How Documents Should Be Opened from KanBo
- Disable Sleeping Tabs in Browsers
- Disable/Enable Public Spaces Creation
- Find Out the Certificate Expiration Dates On-Premises
- Get KanBo ID
- How to Change the Help URL in Your KanBo
- Renew Certificate for KanBo Graph Installation
- Checking the KanBo Version
- Disabling Syncing of Profile Pictures in the Profile Sync Job
- Creating and Customizing the Profile Sync WebJob
- KanBo Configuration for Microsoft Azure Cloud GCC High Environment
-
Troubleshooting
- KanBo Error: 401 (On-Premises Installation)
- KanBo Error: 403 (On-Premises Installation)
- KanBo Error: Cannot Open Database
- KanBo Error: User Authentication Postback Failed (On-Premises Installation)
- Migrate Spaces between Microsoft 365 Groups
- Replace Expiring Client Secret
- Granting Access to Logs of an Azure-hosted KanBo Web App
Creating a Linux Based Virtual Machine on Azure for Elasticsearch
Table of Contents
Creating virtual machine
- Go to portal.azure.com.
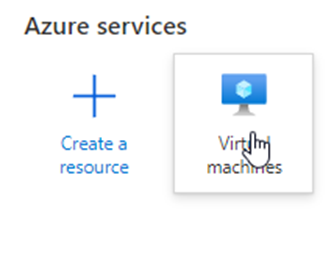
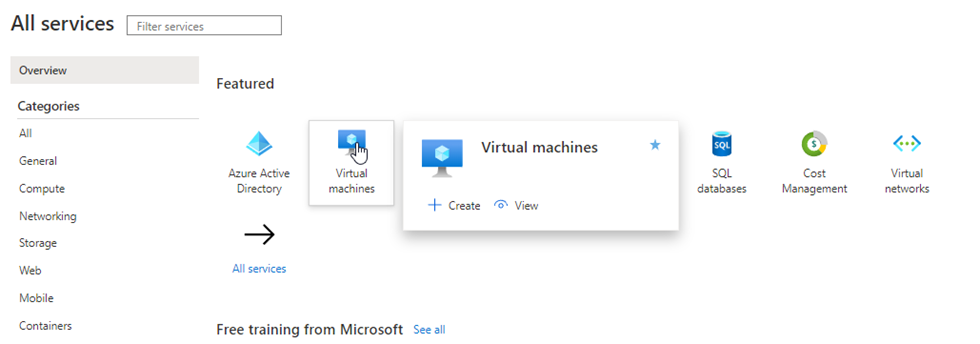
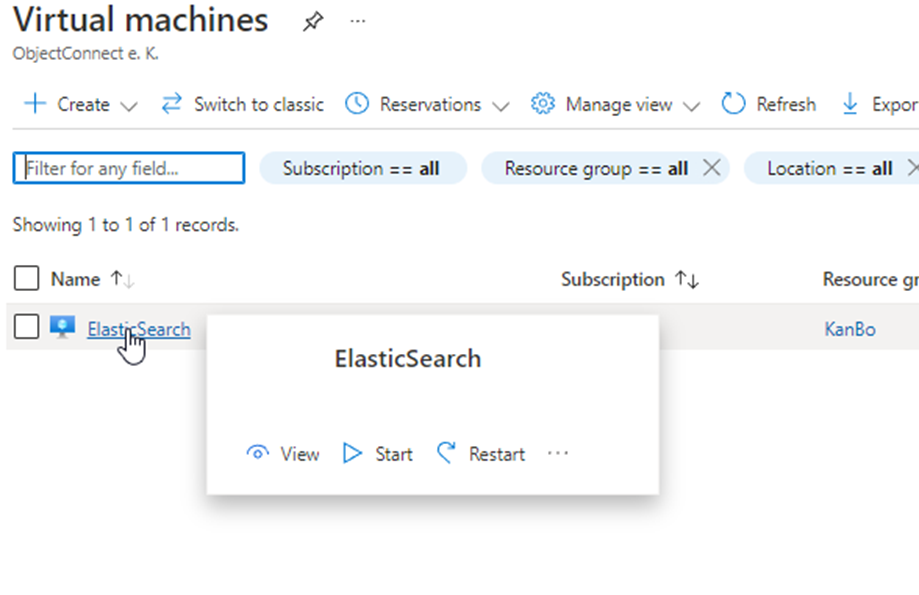
- Select Virtual machines.
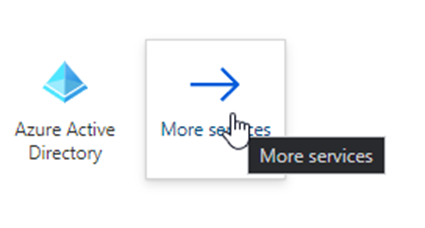
If it’s not on your main menu, look under More services.

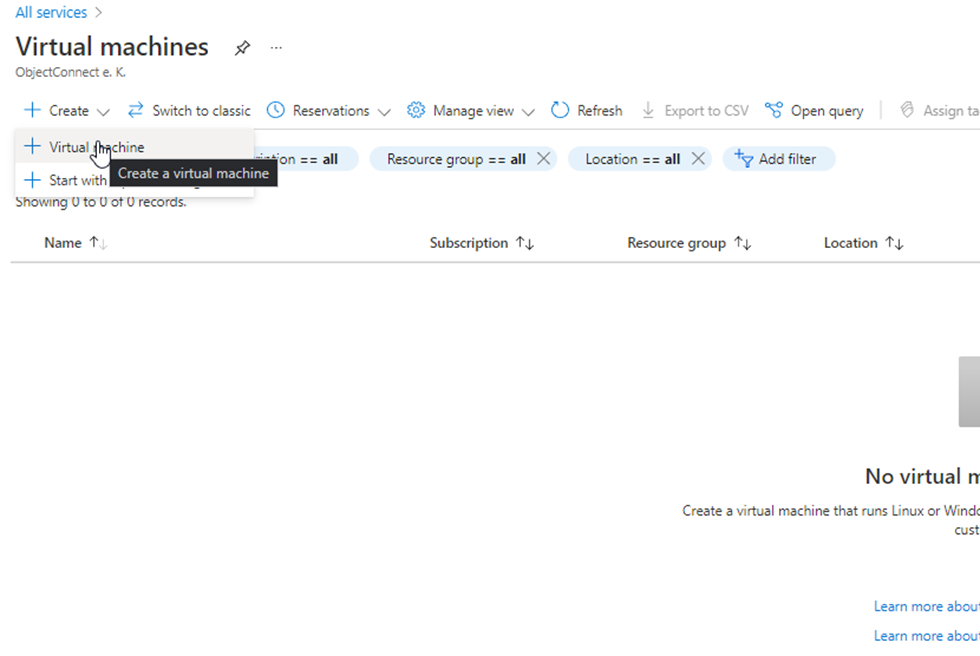
- Select Create.

- Select Virtual machine.

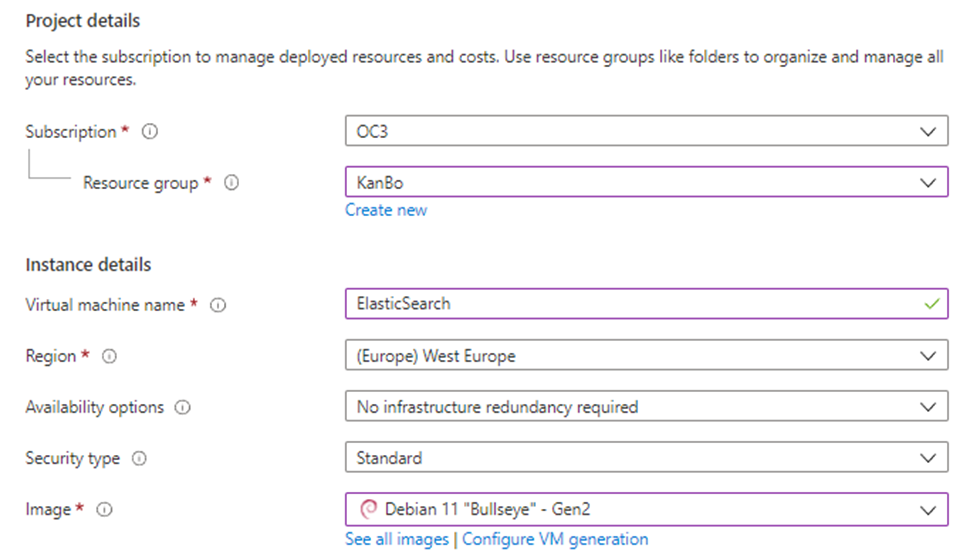
- Pick your subscription, resource group, region, and operating system, and then name your virtual machine.

- Pick the size of your machine. You need at least B2 level. To see the sizes, select See all sizes.

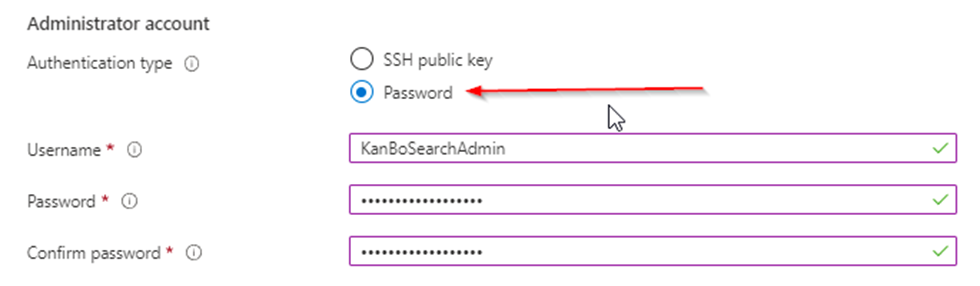
- Make sure the "Password" checkbox is selected, then type in the username and password for the admin account.

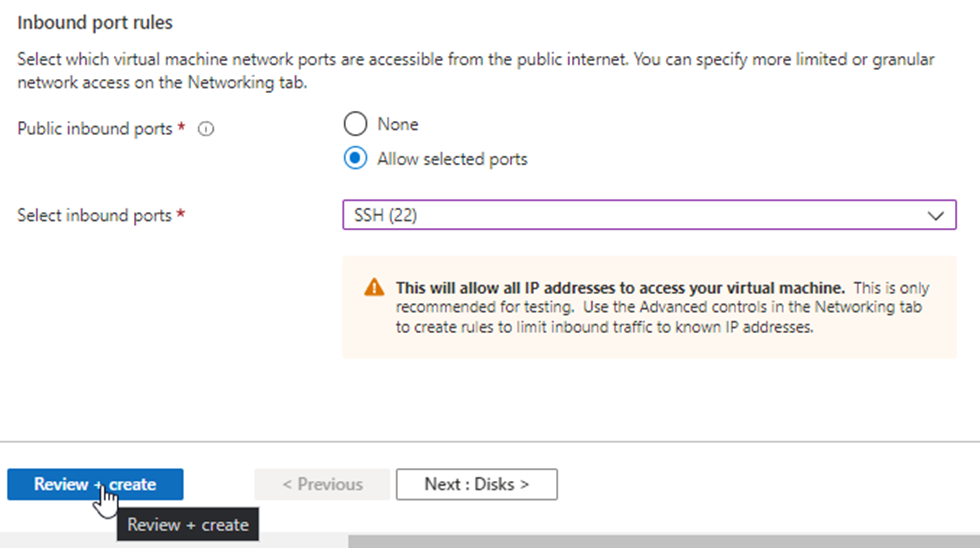
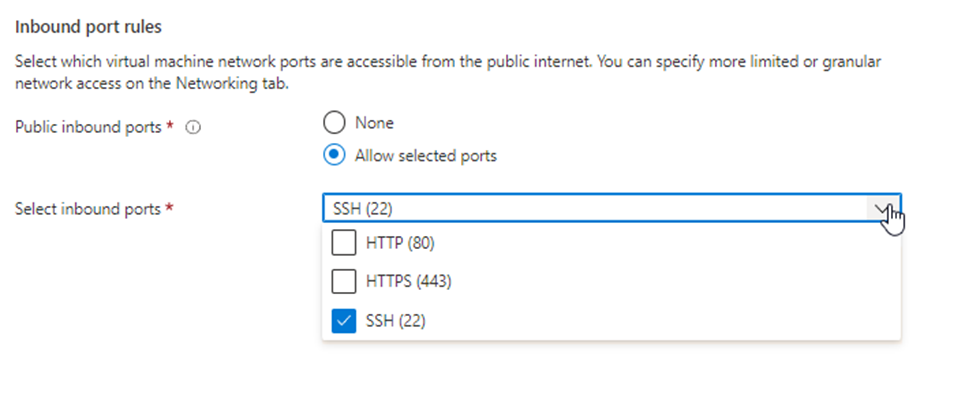
- Make sure you have the SSH (22) inbound port selected.
- Select Review + create.

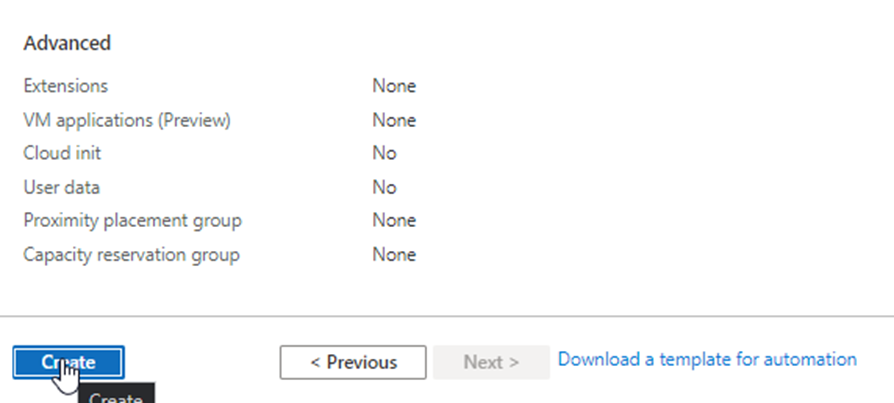
- Select Create.

Opening the VM’s ports in Azure
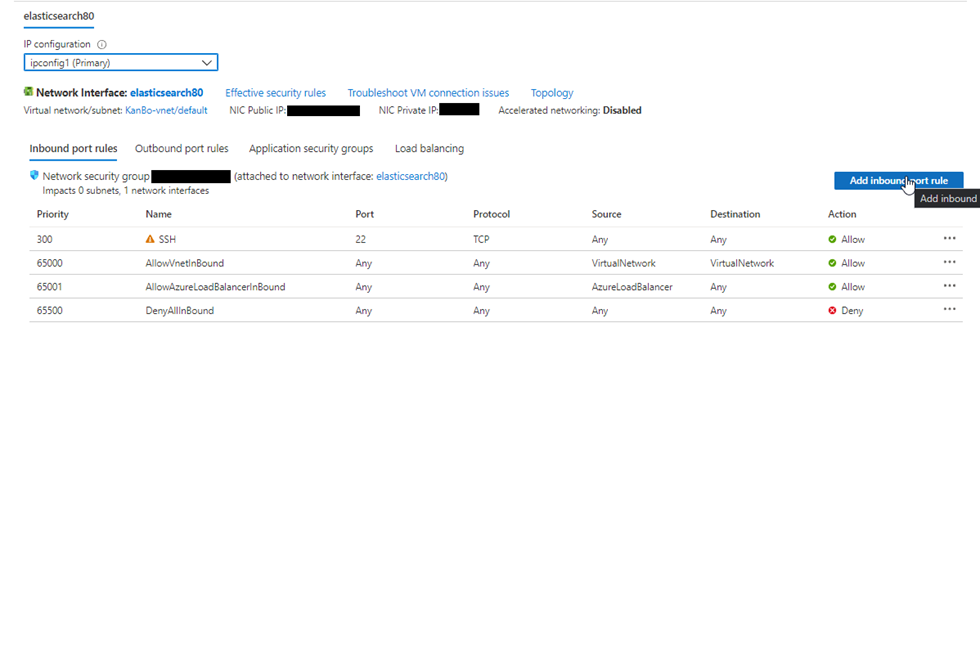
Once you create your machine, you will need to add more inbound rules in the networking section of your VM.
- Go to your VM.

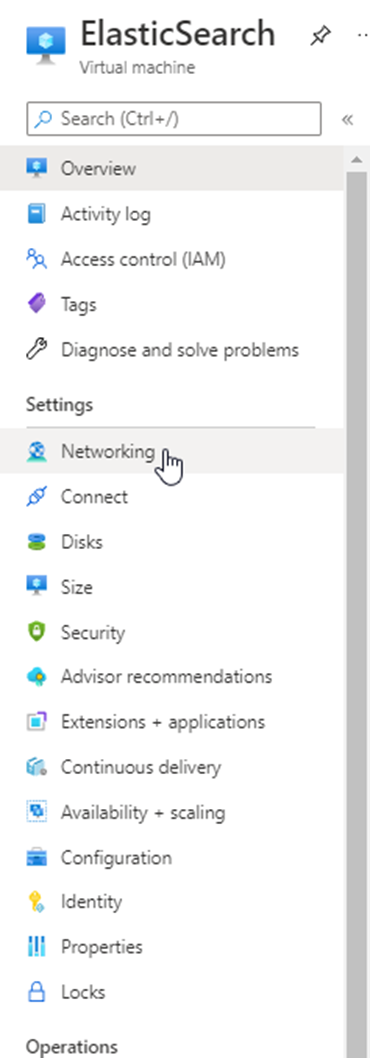
- Go to Networking.
- Select Add inbound port rule.

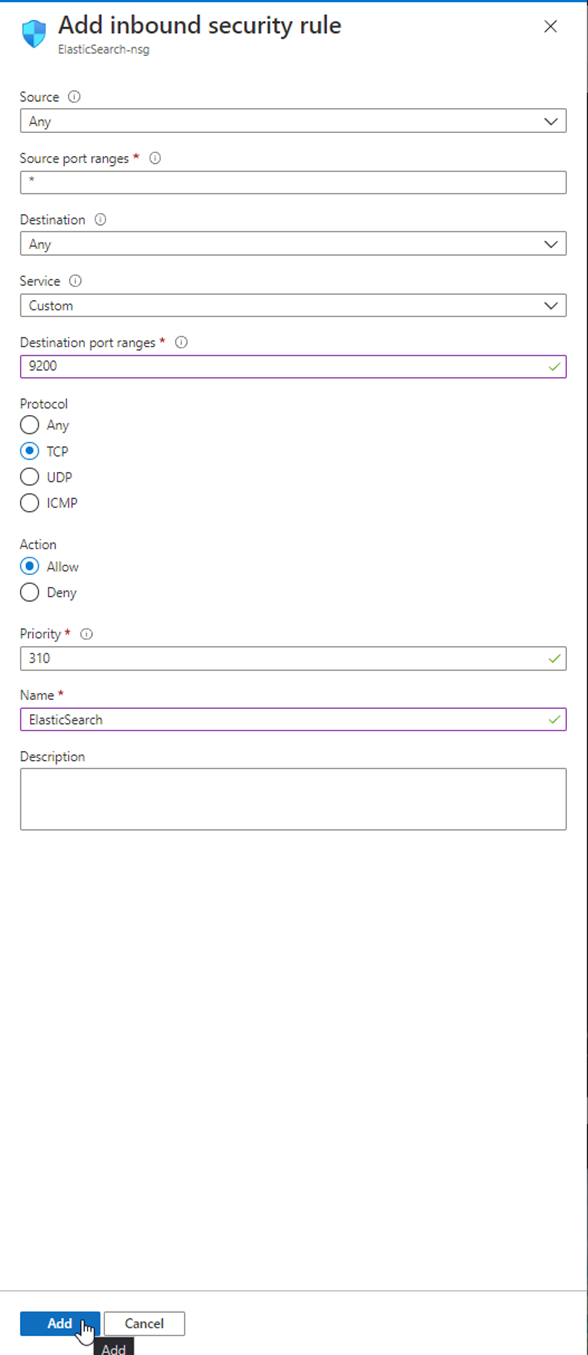
- To allow the port of Elasticsearch to be accessed from the outside, change the "Destination port ranges" to 9200 and choose the TCP protocol.
- Name this rule "ElasticSearch."

- Select Add.
- Follow the same steps with "Destination port ranges" of 5601 and with a priority level of 315. Also, use the name "Kibana." This is a graphical interface that will have to be accessed from the outside, as the Linux virtual machine (VM) lacks a graphical interface.
Connecting to a Linux VM
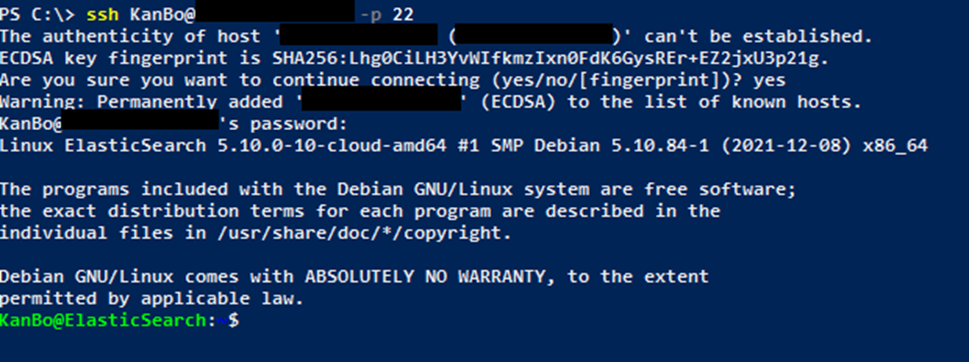
To connect to a Linux virtual machine, you need to use SSH. To connect via SSH with PowerShell:
- Run PowerShell.
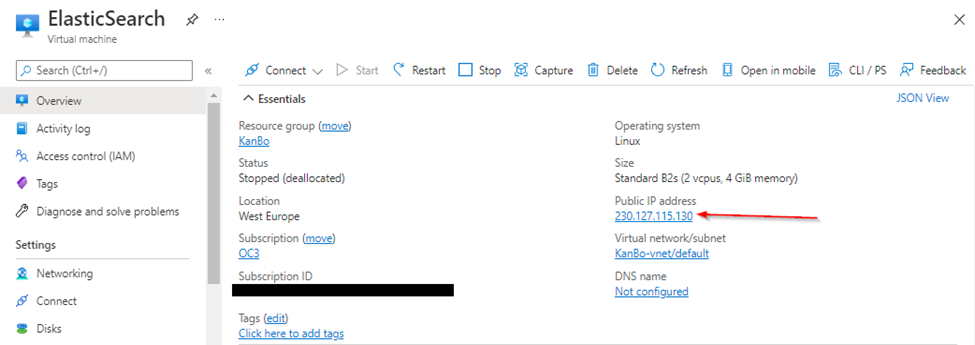
Example: ssh KanBo@230.127.115.130 -p 22
- After you run the command, you will see a message asking if you want to continue the connection. Type "yes" and press the "enter" key.
- You will then be asked to type in your password (you won't see what you're typing). Use the same password that you used for the username.
- After typing in the password, press the "Enter" key.

Now you are connected to the Elasticsearch virtual machine, and can start installing and configuring Elasticsearch for KanBo.
Was this article helpful?
Please, contact us if you have any additional questions.