-
KanBo Installation
- KanBo On-Premises Installation Requirements and Prerequisites
- How to Create a X.509 High-Trust Certificate
- KanBo Installation On-Premise SharePoint 2013/2016/2019
- KanBo Installation on Office 365 and Azure
- KanBo Setup
- Creating a Windows Virtual Machine on Azure for Elastic Search
- Creating a Linux Based Virtual Machine on Azure for Elastic Search
- Installing and Configuring Elastic Search on Windows
- Installing and Configuring Elastic Search on Debian
- Creating and Updating the Elastic Cloud Deployment
- KanBo Modern Webpart Installation
- Uninstall KanBo from Office 365
-
KanBo Updates
-
Additional Components
- Setting Up KanBo Email Notifications (On-Premise)
- Setting Up KanBo Email Notifications on Azure
- Sync Targets
- Send Email to KanBo - Installation (On-Premise)
- Send Email to KanBo - Installation (Cloud)
- Enabling Email a Card Message
- KanBo Outlook Add-in Installation (O365 & On-Premise)
- KanBo External User Groups (Active Directory Integration)
- SharePoint Profiles Synchronization
- Installation of KanBo MyBoard Synchronization with Outlook Calendar and Outlook Tasks
- Nintex Integration Installation
- KanBo and Microsoft Power Automate integration: Installation
- KanBo and Microsoft Power Automate Integration: Activation
- Configuring Power Automate with Your KanBo
- Installation of the Autodesk BIM Plugin for KanBo
- KanBo and UiPath Integration: Configuration
- SharePoint Site Collection Balancing and Admin Warnings
- Plugin for Adding Users to KanBo / Sharepoint When They First Enter it
- KanBo Mini Application Installation
- KanBo API for Developers
-
Tips & Tricks
- Disable Sleeping Tabs in Browsers
- Customize KanBo Background Images and KanBo Colors
- Show KanBo Version
- Get KanBo ID
- Import Users to KanBo
- Renew Certificate for KanBo Graph Installation
- Configure How Documents Should Be Opened from KanBo
- Disable/Enable Public Boards Creation
- Find Out the Certificate Expiration Dates On-Premise
- How to Change the Help URL in Your KanBo
- Define Board Features to Be Enabled or Disabled by Default
-
Troubleshooting
Updating Elastic Search on Windows
Table of Contents
- Download the newest Elastic Search and Kibana package from Elastic’s site:
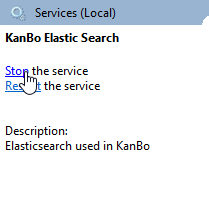
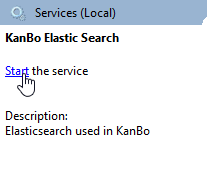
- Go to Services and stop Your Elastic Search service.
- Create a backup of Your Elastic Search and Kibana folders in case something goes wrong.
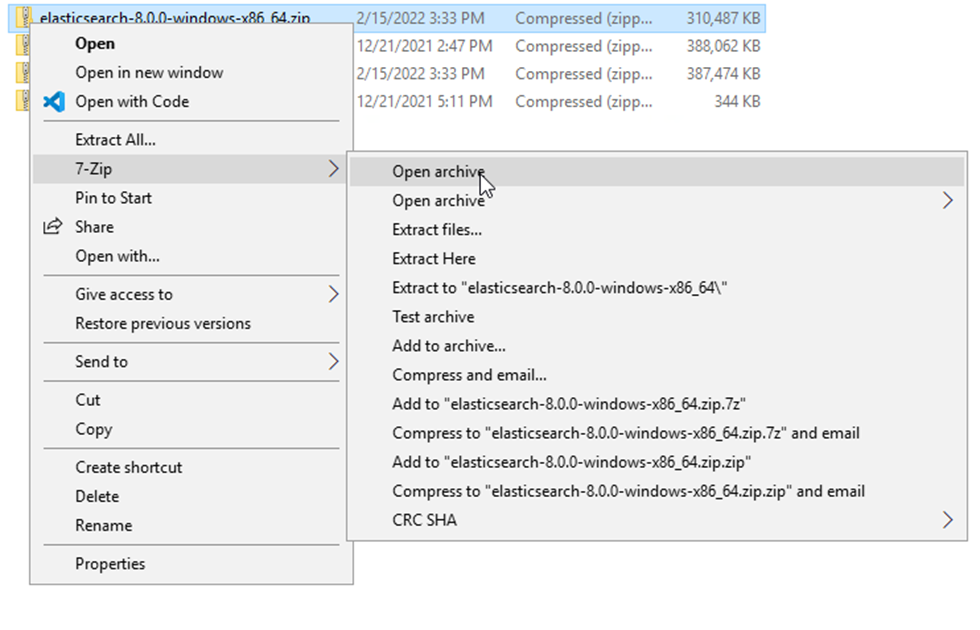
- Open the zip folders with 7zip.
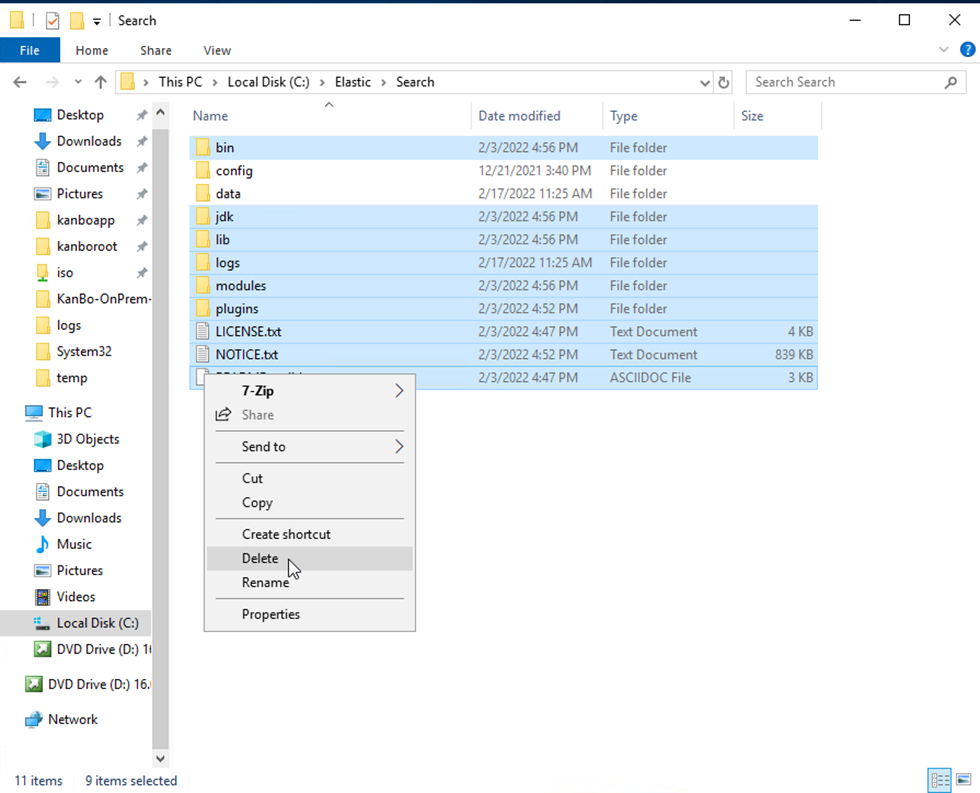
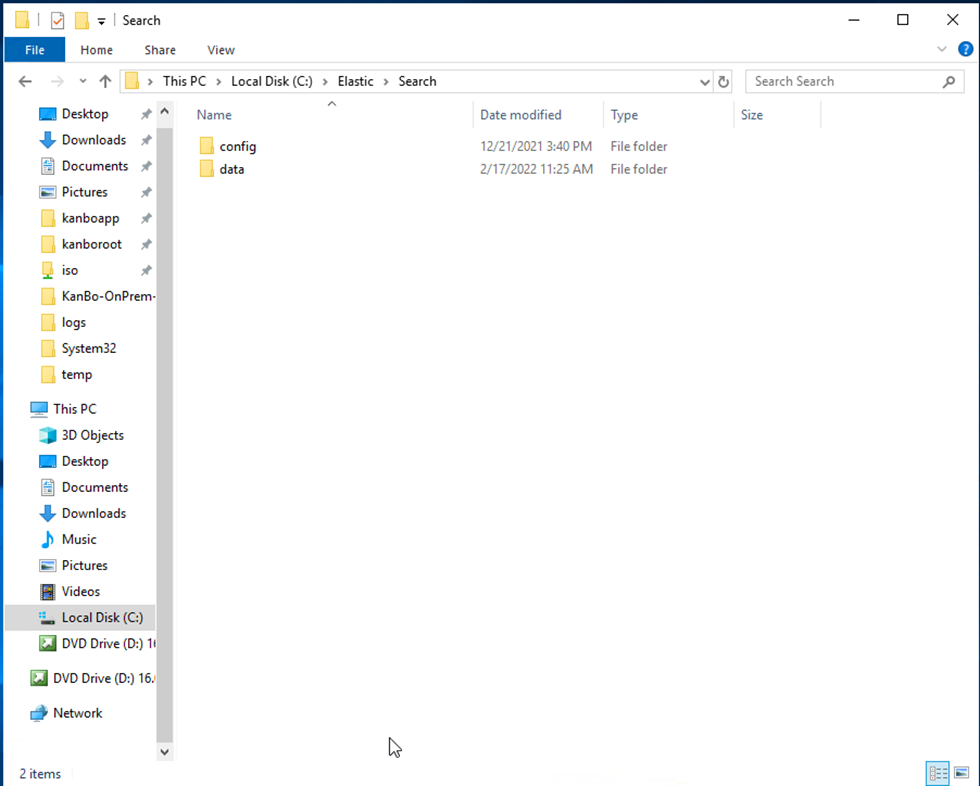
- Go to Your Elastic Search installation folder and delete every folder EXCEPT the data and the config folder.

- From the ElasticSearch zip file, extract and copy every folder EXCEPT the config folder into Your Elastic Search installation folder.
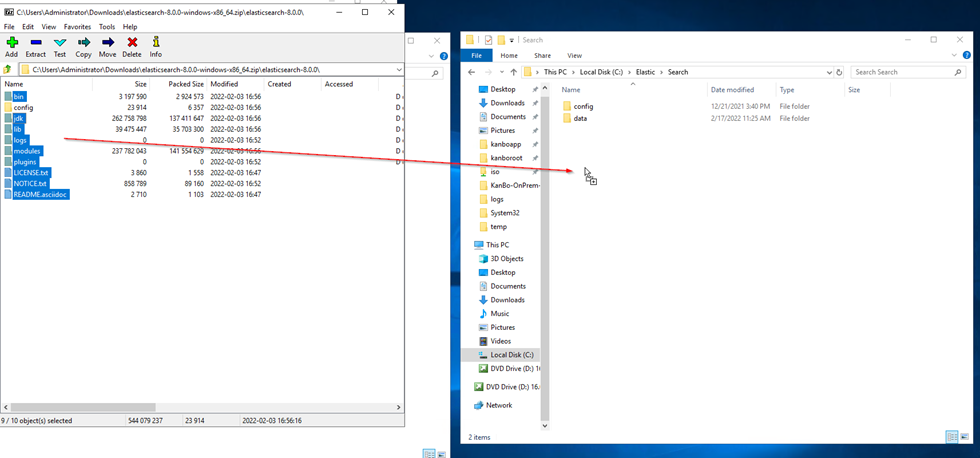
- Extract.
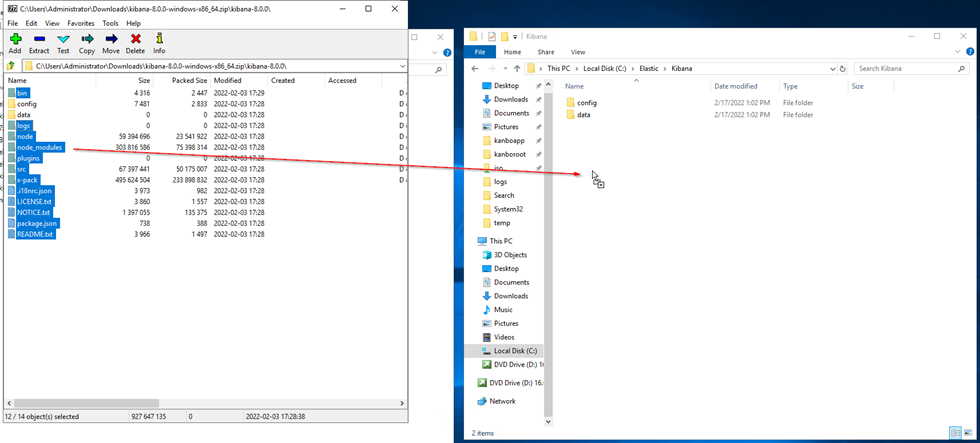
- Do the same with the Kibana zip file and installation folder, but MAKE SURE you do not extract the “data” and the “config” folder.
- Go to Services and start Your Elastic Search service.
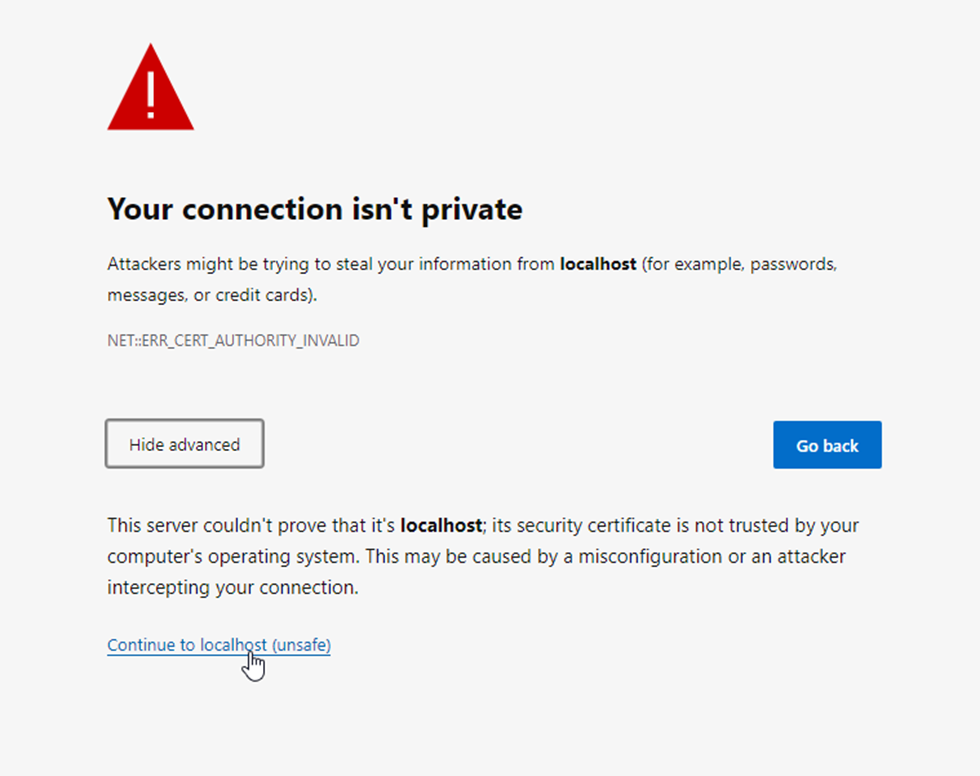
- Now go to https://localhost:9200.
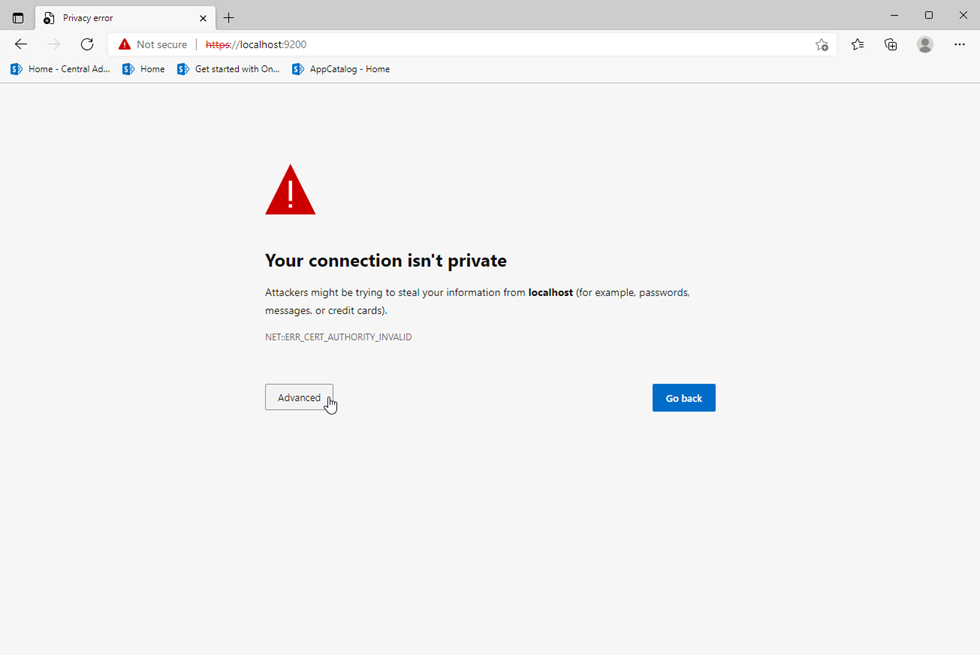
- Press "Advanced".
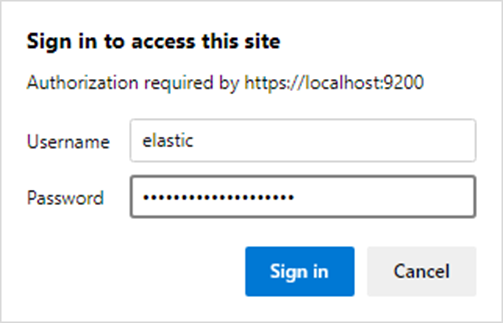
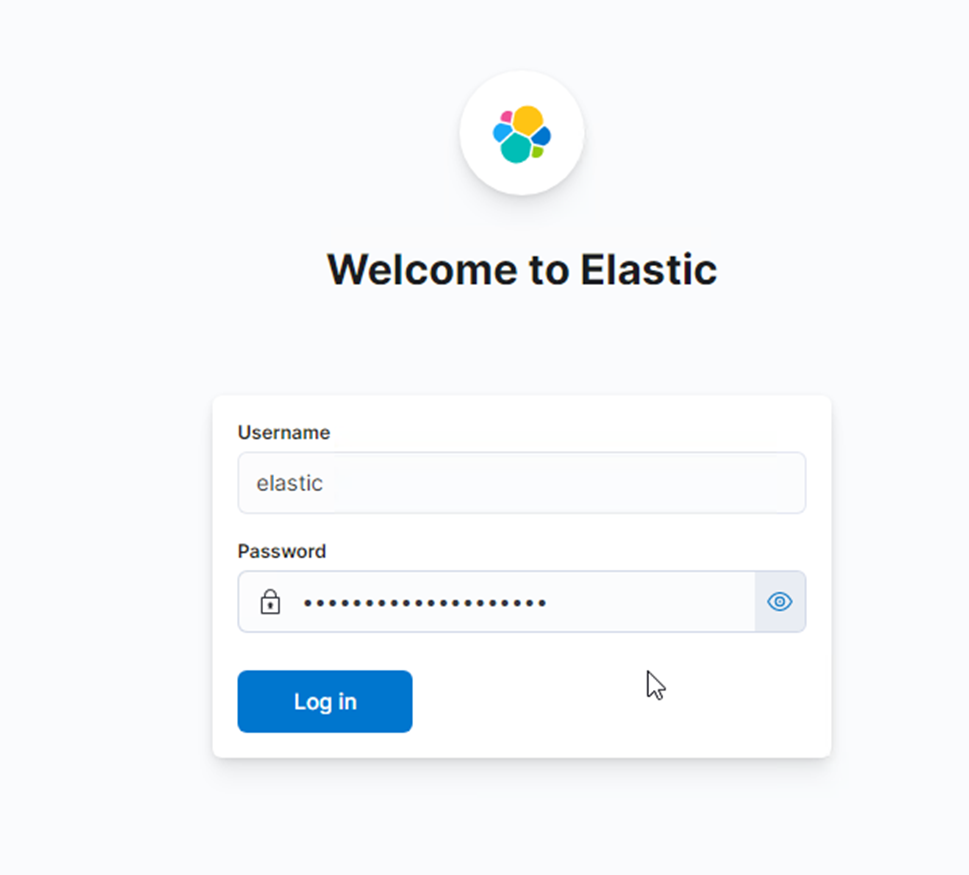
- Login with the Elastic superuser account.
- After You login, check the displayed information to confirm that You have the up-to-date stable version of elastic installed.
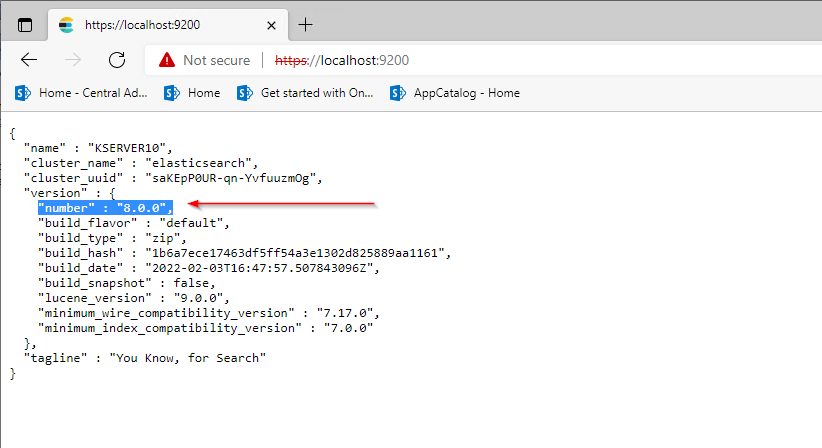
You will see your current Elastic Search here.
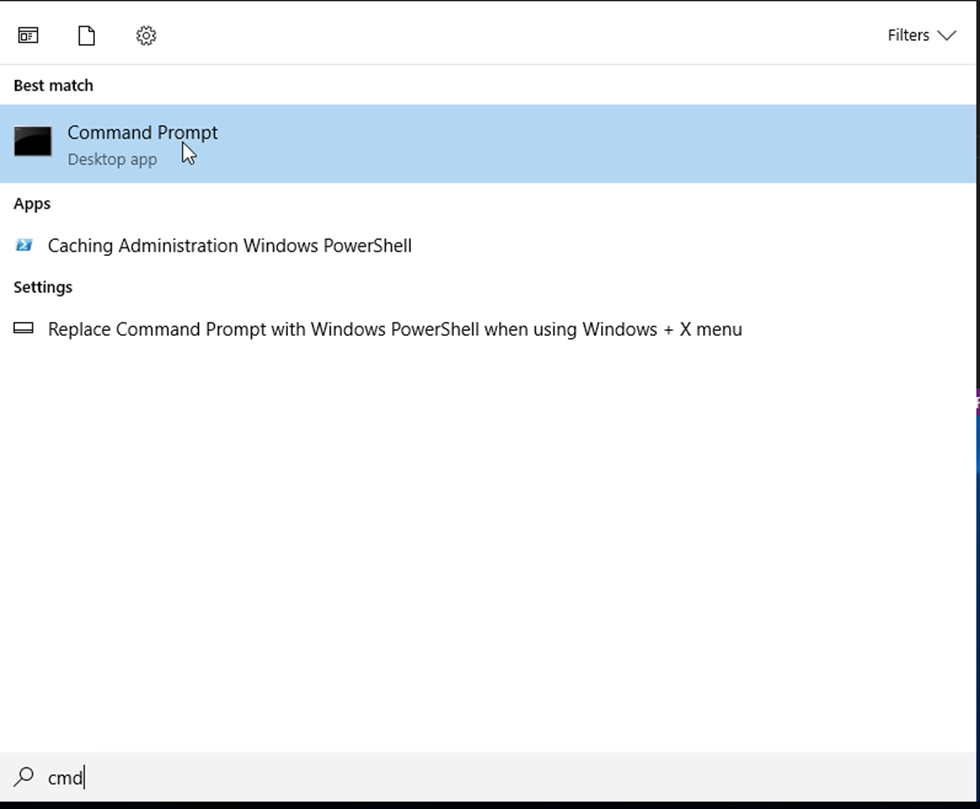
- Open command prompt.
- Go to the Kibana bin folder.
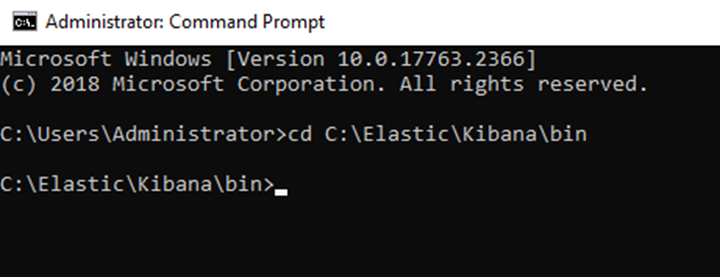
- Run kibana.bat.
- After a message “Kibana is now available (was degraded) appears, go to http://localhost:5601
- Login with the elastic superuser account.
- Press this icon on the top right corner to check the version.
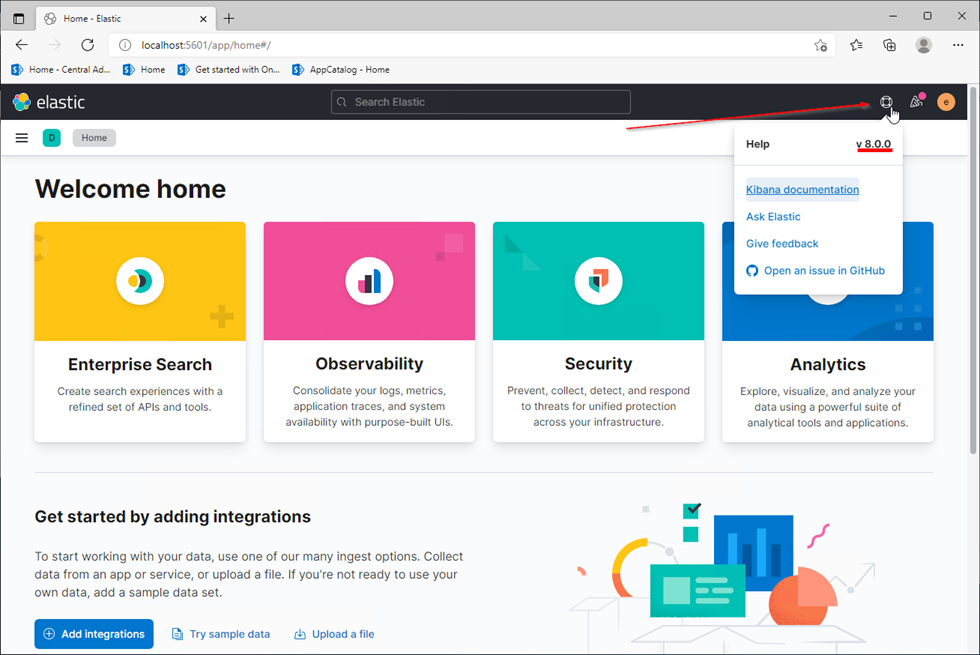
You will see the current Kibana version here.
- Stop Kibana by pressing ctrl+c inside the command prompt window.
- Say “y” to terminating the batch job.
If both of versions are matching, your update of Elastic Search is done.
Was this article helpful?
Please, contact us if you have any additional questions.