
-
Learn the Basics
-
- Spaces
- Space Types
- Creating Spaces
- Adding Users to Spaces
- Space Activity Stream
- Following Spaces
- Space Details
- General Space Settings
- Duplicating Spaces
- Renaming Spaces
- Changing the Space Color and Icon
- Removing Users from Spaces
- Closing and Restoring Spaces
- Moving Spaces between Different KanBo Environments
- Deleting Spaces
-
- Creating Cards
- Following Cards
- Scheduling Cards
- Renaming Cards
- Duplicating Cards
- Quick Actions
- Mass Actions
- Copy & Paste
- Archiving Cards
- Adding Cards to MySpace
- Adding Mirror Cards
- Removing Mirror Cards
- Moving Cards between Spaces
- Deleting Cards
- Removing Cards from MySpace
- Hinzufügen von Karten zu "MySpace"
- Entfernen von Karten aus "MySpace"
- Hinzufügen von Status
-
Visualize Work
-
- Space Views
- Creating Space Views
- Personal and Shared Space Views
- Card Grouping
- Filtering Cards
- Display Settings
- Work Progress Calculation
- Grouping Description
- Card Grouping Settings
- Changing the Order of Groupings
- Changing the Order of Space Views
- Deleting Space Views
- Following Card Statuses and Custom Fields
-
-
Collaborate
-
Level Up Your Work
-
Work Securely
-
Integrations
-
- Advanced KanBo Actions in Power Automate
- Creating KanBo Space Attached to Subfolder Created by Power Automate
- Creating Document Folders in Document Libraries Created by KanBo with Power Automate
- Exporting Space Views to Excel
- KanBo and Azure Logic Apps Integration
- Power Automate Integration: Triggers and Actions
- Seamless Import from Microsoft Planner to KanBo
- Synchronizing KanBo with Outlook Calendar
- Using KanBo Outlook App
-
Adding KanBo Modern Webpart to Your SharePoint Site
This post is also available in: Deutsch
You can add the KanBo Modern Webpart to as many SharePoint pages as you like, even multiple times if you need to display different spaces or space views on the same SharePoint Page.
First, you have to make sure that the KanBo Modern Webpart has been added to your SharePoint. For more information please check out this article.
- Navigate to the SharePoint Site Collection where you want to display your KanBo content in.
- Click on the settings icon in the top right and go to Add an app.
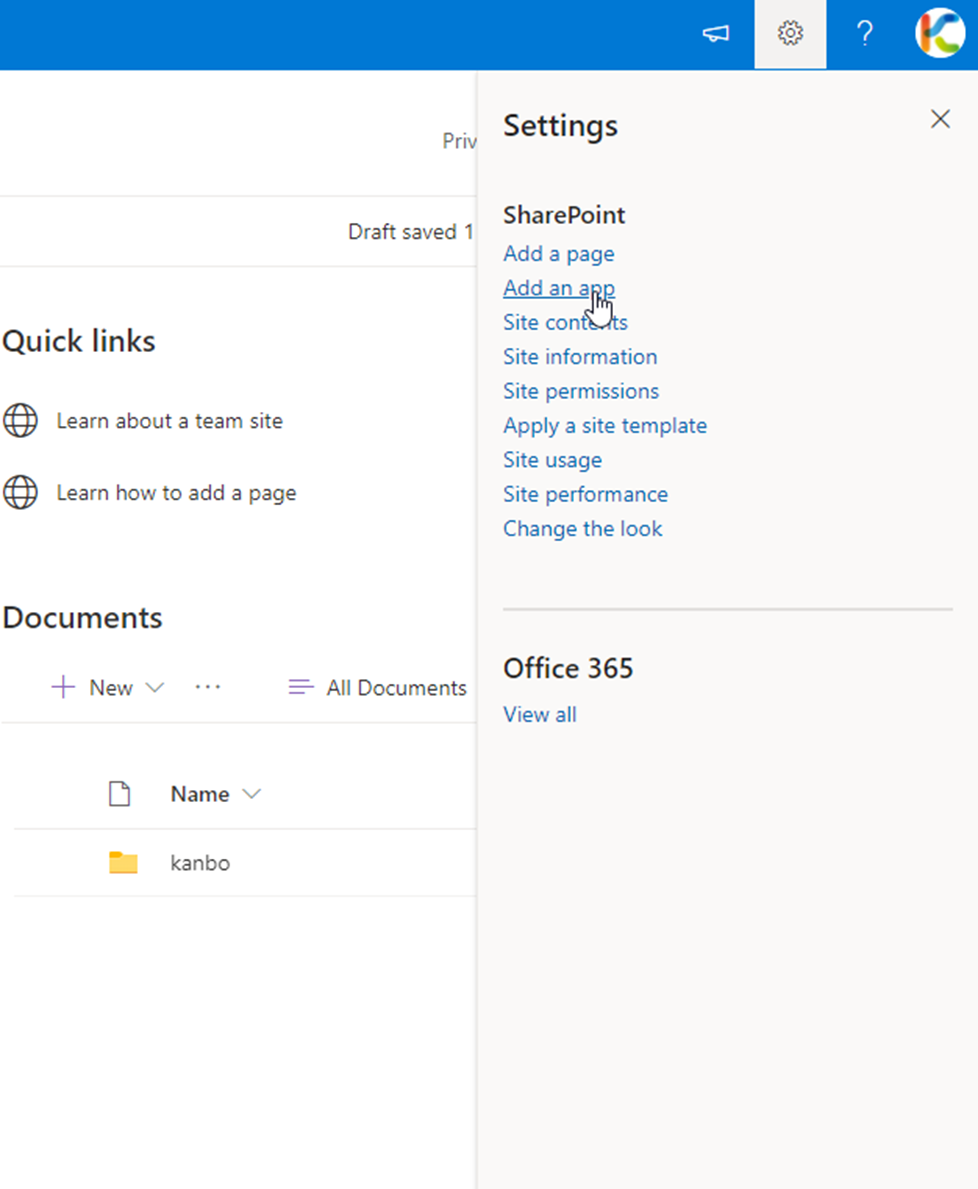
- Find KanBo Modern Webpart and click on Add.

After that, this message should show up.

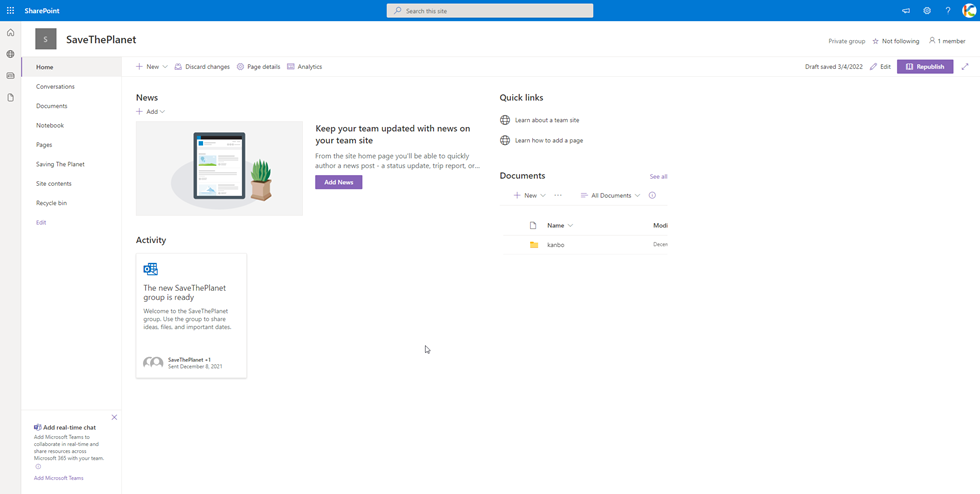
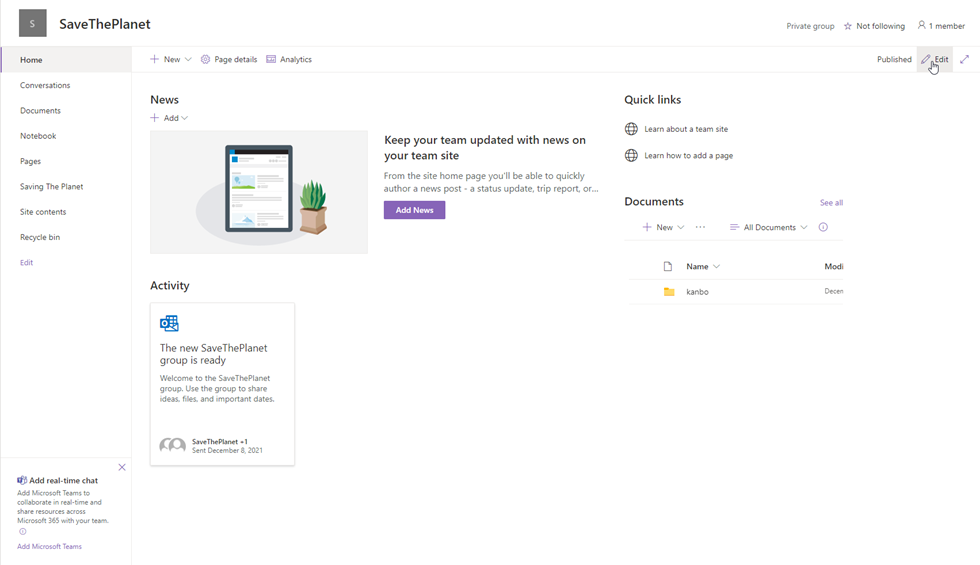
- Go back to the SharePoint Site.
- Click on Edit.
- Move your mouse below the Documents section to reveal a plus button. Click it.

- Click on KanBo Modern Webpart.

Now we need to configure our webpart.
- Click on the edit icon on the left of the box.

- Choose the space and space view.
Now your Webpart has loaded.

Click on Republish to make the changes available to everyone.
Was this article helpful?
Please, contact us if you have any additional questions.