-
Learn the Basics
-
- Creating Cards
- Changing Card Statuses
- Following Cards
- Scheduling Cards
- Renaming Cards
- Duplicating Cards
- Quick Actions
- Mass Actions
- Copy & Paste
- Creating Card Statuses
- Changing the Default Card Status
- Changing the Order of Card Statuses
- Deleting Card Statuses
- Moving Cards between Spaces
- Archiving Cards
- Unarchiving Cards
- Deleting Cards
- Creating Card Blockers
- Managing Card Blockers
- Adding Cards to MySpace
- Hinzufügen von Karten zu "MySpace"
- Removing Cards from MySpace
- Entfernen von Karten aus "MySpace"
- Adding Mirror Cards
- Removing Mirror Cards
-
- Documents in KanBo
- Card Documents
- Uploading or Creating Documents in Cards
- Attaching and Detaching Documents in Cards
- Space Documents
- Document References
- Document Sources
- Downloading Documents
- Editing Documents
- Editing Documents in Browser
- Editing Documents in Office Applications
- Renaming Documents
- Deleting Documents
-
Visualize Work
-
- Space Views
- Creating Space Views
- Personal and Shared Space Views
- Card Grouping
- Filtering Cards
- Display Settings
- Work Progress Calculation
- Grouping Description
- Card Grouping Settings
- Changing the Order of Groupings
- Changing the Order of Space Views
- Deleting Space Views
- Following Card Statuses and Custom Fields
-
-
Collaborate
-
Level Up Your Work
-
Work Securely
-
Integrations
-
- Advanced KanBo Actions in Power Automate
- Creating KanBo Space Attached to Subfolder Created by Power Automate
- Creating Document Folders in Document Libraries Created by KanBo with Power Automate
- Exporting Space Views to Excel
- KanBo and Azure Logic Apps Integration
- Power Automate Integration: Triggers and Actions
- Seamless Import from Microsoft Planner to KanBo
- Synchronizing KanBo with Outlook Calendar
- Using KanBo Outlook App
-
Creating Document Folders in Document Libraries Created by KanBo with Power Automate
This post is also available in: Deutsch
In order to create new document folders in document libraries with the integration of KanBo and Power Automate:
- Go to https://emea.flow.microsoft.com and create a new flow.
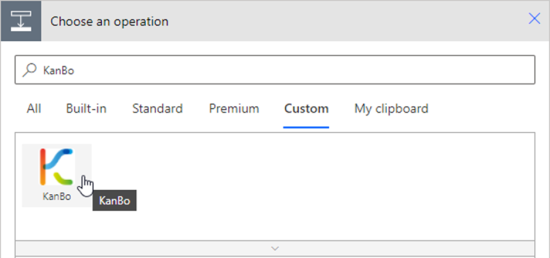
- In “new step”, go to Custom.
- Select your KanBo connector
- Pick Get Space Default Document Source URL.
- Choose the space (or use the space ID) that the Document Folder should be added to.

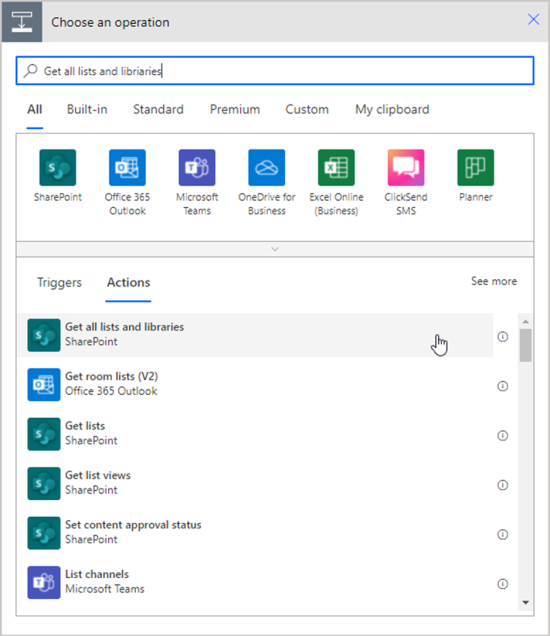
- Next, look for the Get all lists and libriaries operation and add it to the flow.
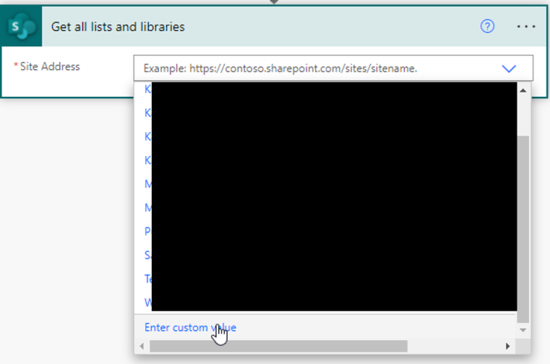
- In Site Address choose Enter Custom Value.
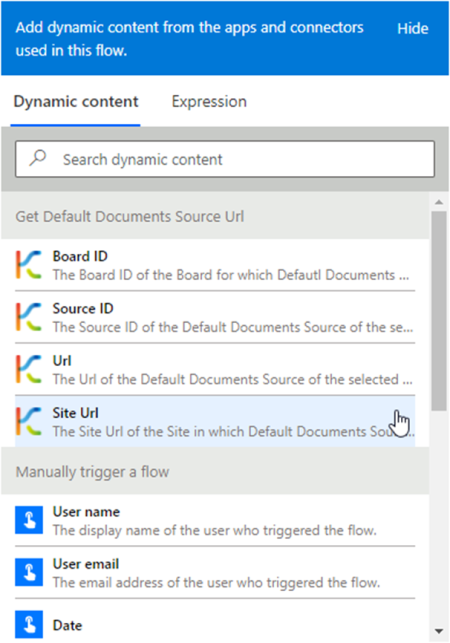
- Choose the Site URL variable.

- Go to Control.
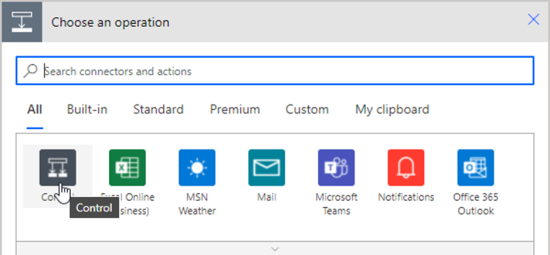
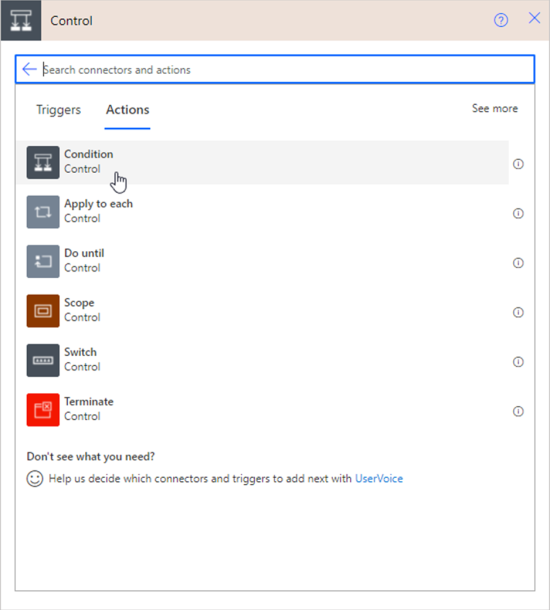
- Add a Condition branch.
- For the condition, choose the DisplayName value.
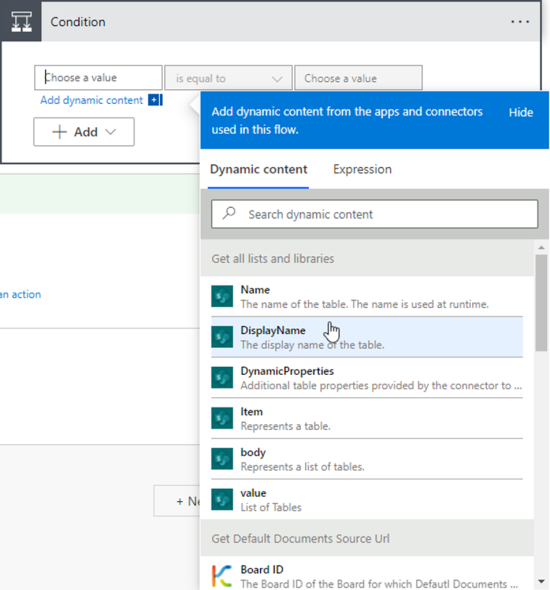
After that, the whole conditional branch will be put into an Apply to each Action.

- In the second Choose a value, type in “Documents”.
The final Conditional branch should look like this:

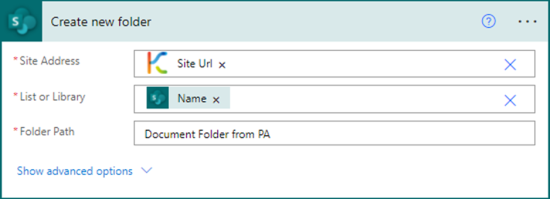
- In the If yes branch, add the Create new folder operation.
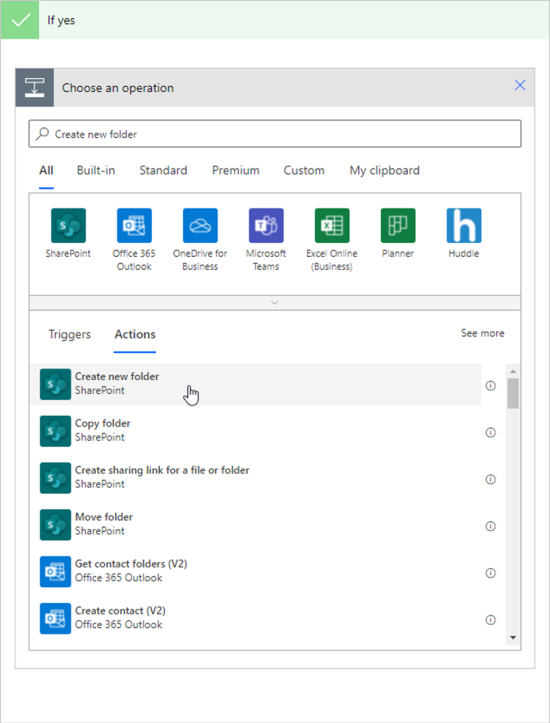
- In Site address, use the same “Site Url” variable You used in step 7.
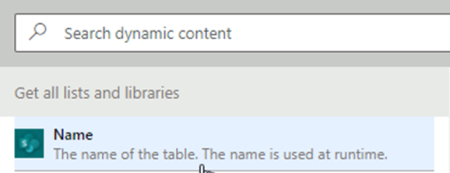
- In List or Library choose Name.
- In the folder path, type the Name of the folder (if needed, type the path in which the folder should be created).
The final action should look like this:
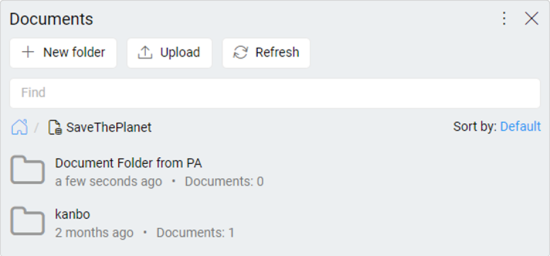
- After that, save the and run the flow.
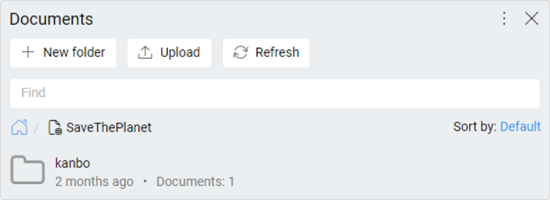
Before:
After:
Was this article helpful?
Please, contact us if you have any additional questions.
