
-
Learn the Basics
-
- Creating Cards
- Changing Card Statuses
- Following Cards
- Scheduling Cards
- Renaming Cards
- Duplicating Cards
- Quick Actions
- Mass Actions
- Copy & Paste
- Creating Card Statuses
- Changing the Default Card Status
- Changing the Order of Card Statuses
- Deleting Card Statuses
- Moving Cards between Spaces
- Archiving Cards
- Unarchiving Cards
- Deleting Cards
- Creating Card Blockers
- Managing Card Blockers
- Adding Cards to MySpace
- Hinzufügen von Karten zu "MySpace"
- Removing Cards from MySpace
- Entfernen von Karten aus "MySpace"
- Adding Mirror Cards
- Removing Mirror Cards
-
- Documents in KanBo
- Card Documents
- Uploading or Creating Documents in Cards
- Attaching and Detaching Documents in Cards
- Space Documents
- Document References
- Document Sources
- Downloading Documents
- Editing Documents
- Editing Documents in Browser
- Editing Documents in Office Applications
- Renaming Documents
- Deleting Documents
-
Visualize Work
-
- Space Views
- Creating Space Views
- Personal and Shared Space Views
- Card Grouping
- Filtering Cards
- Display Settings
- Work Progress Calculation
- Grouping Description
- Card Grouping Settings
- Changing the Order of Groupings
- Changing the Order of Space Views
- Deleting Space Views
- Following Card Statuses and Custom Fields
-
-
Collaborate
-
Level Up Your Work
-
Work Securely
-
Integrations
-
- Advanced KanBo Actions in Power Automate
- Creating KanBo Space Attached to Subfolder Created by Power Automate
- Creating Document Folders in Document Libraries Created by KanBo with Power Automate
- Exporting Space Views to Excel
- KanBo and Azure Logic Apps Integration
- Power Automate Integration: Triggers and Actions
- Seamless Import from Microsoft Planner to KanBo
- Synchronizing KanBo with Outlook Calendar
- Using KanBo Outlook App
-
KanBo Autodesk BIM Integration
This post is also available in: Deutsch
KanBo BIM integration allows you to synchronize your KanBo space with your Autodesk BIM 360 project.
Learn how to set up the synchronization. Watch the video explaining how it works.
*Video is in German but you can use English CC to read the translation. Video guide was recorded on the older KanBo version, you may notice some visual changes.
You need the Setup role to make this action.
Creating a project in Autodesk BIM 360
If you already have an existing project you want to use, skip this part.
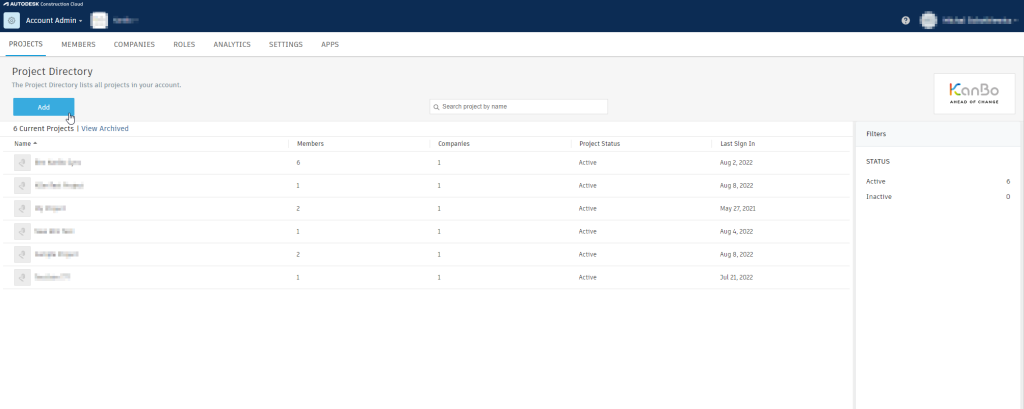
- Go to BIM 360 Administration Center.
- Create a new Project Directory by clicking on Add.
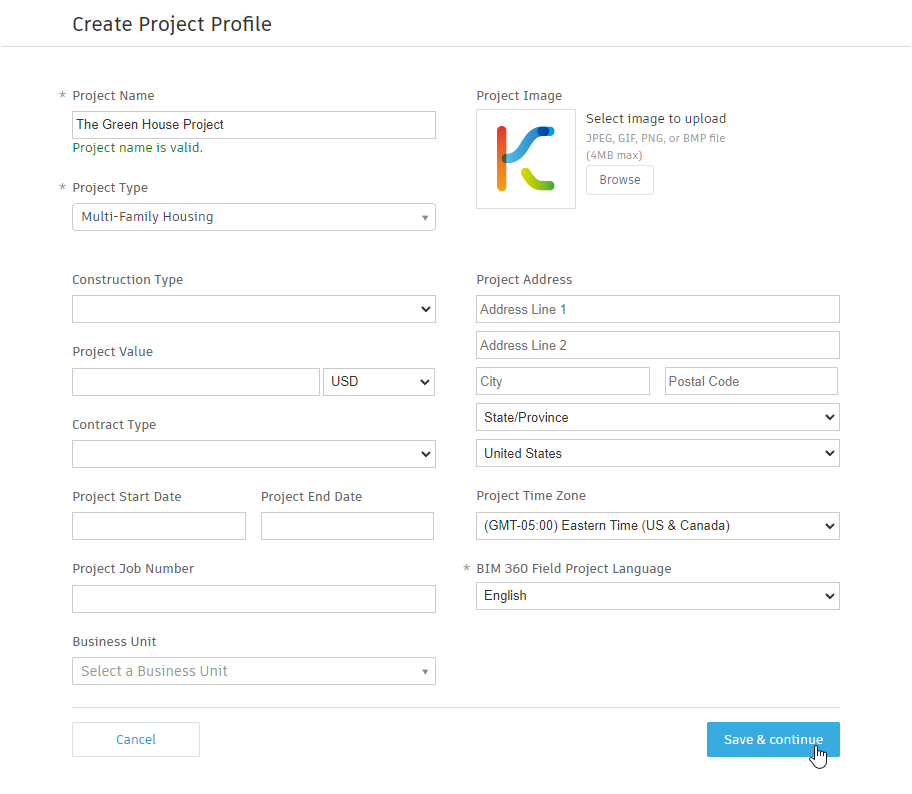
- Fill in the project name and select the project type and language. Fill the rest of boxes to your liking. After that, click on Save & continue.
You should be presented with this screen:
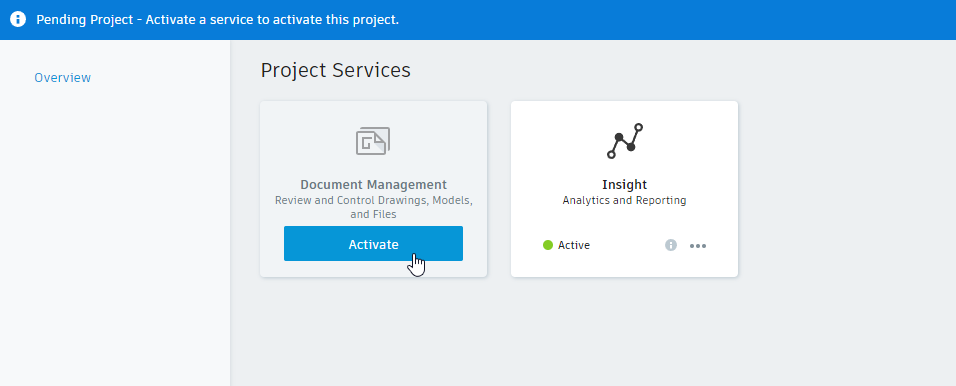
- Click on Activate.
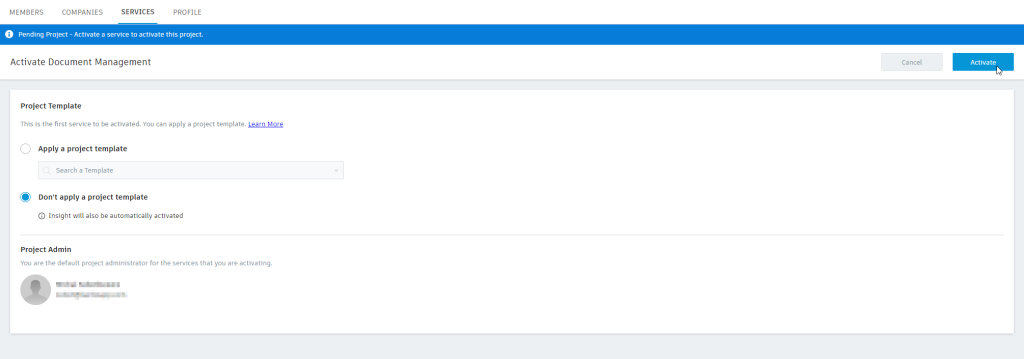
You can use a project template, but in our case, we will not apply one.
- Activate the project by clicking Activate.
This is what you will be presented with after a successful activation.
Checking the issue statuses
The BIM Sync requires the KanBo space to have the exact same Card Statuses as the Issue Categories inside an issue type and subtype which we will later select to sync with a KanBo space.
Here is how you can check what statuses will have to be created inside of a KanBo space:
- Go to docs.b360.autodesk.com and select your project.
- Go to Issues.
- Click on your issue with the type and subtype you will later sync (if you have no issues created yet, create a new one).
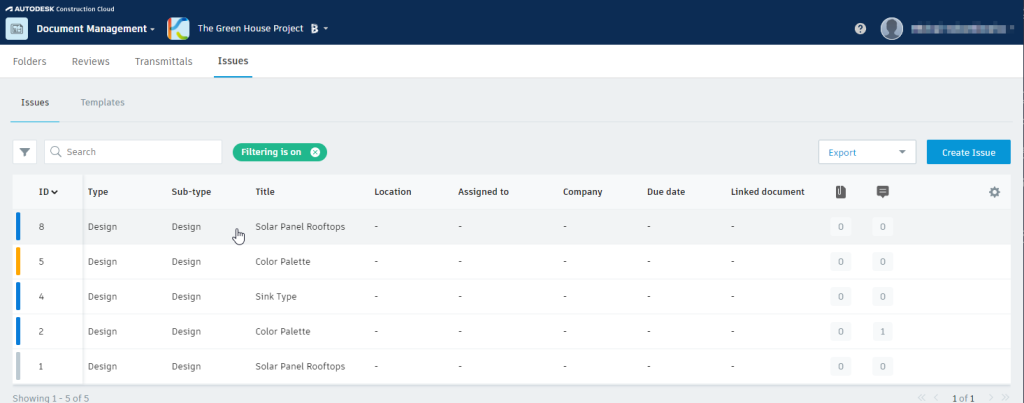
- Click on the status in the top right corner. You will be shown all the available issue statuses for this issues’ type and subtype.

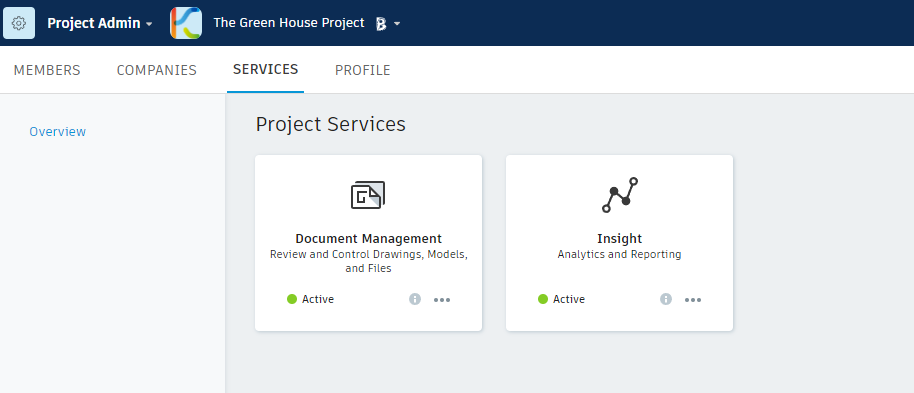
Connecting a KanBo space with an Autodesk BIM 360 project
Please make sure that you have added an Autodesk Service Account (specified here) to your BIM project. Otherwise KanBo will not be able to sync it. As a result you will see that the Last Sync will always show "-".
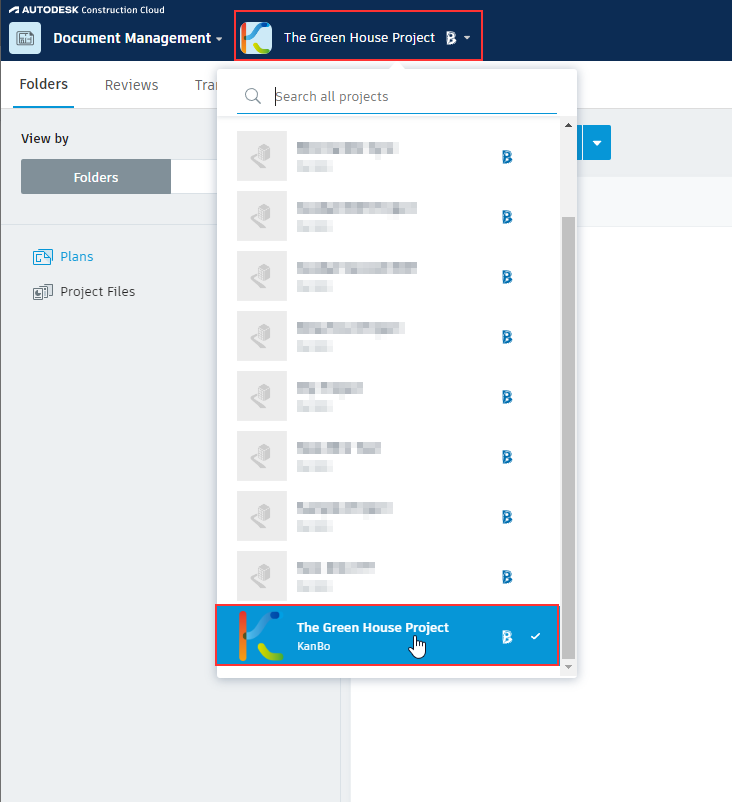
- Go to a space you would like to sync with a BIM 360 project.
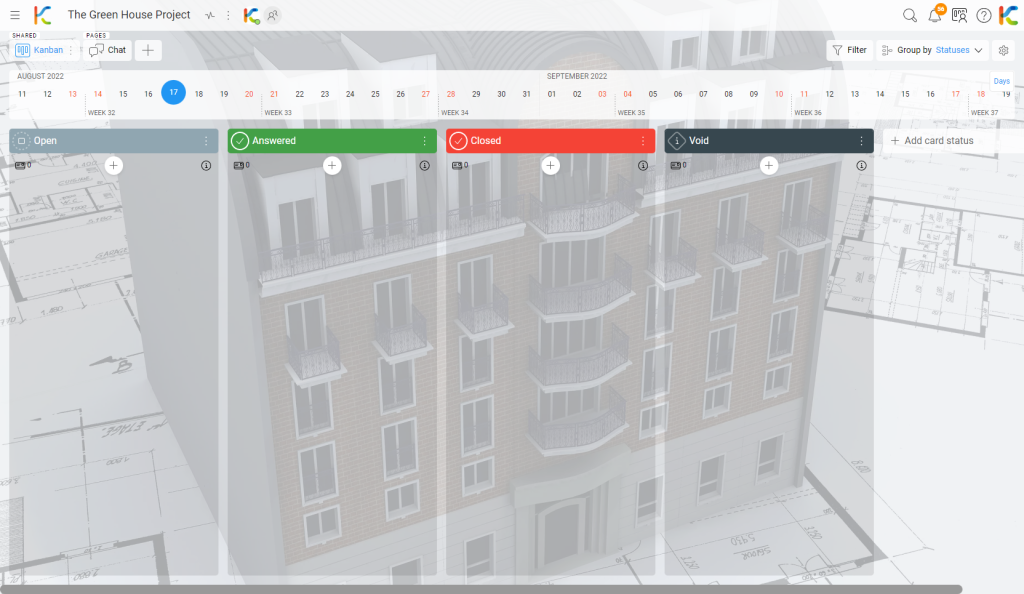
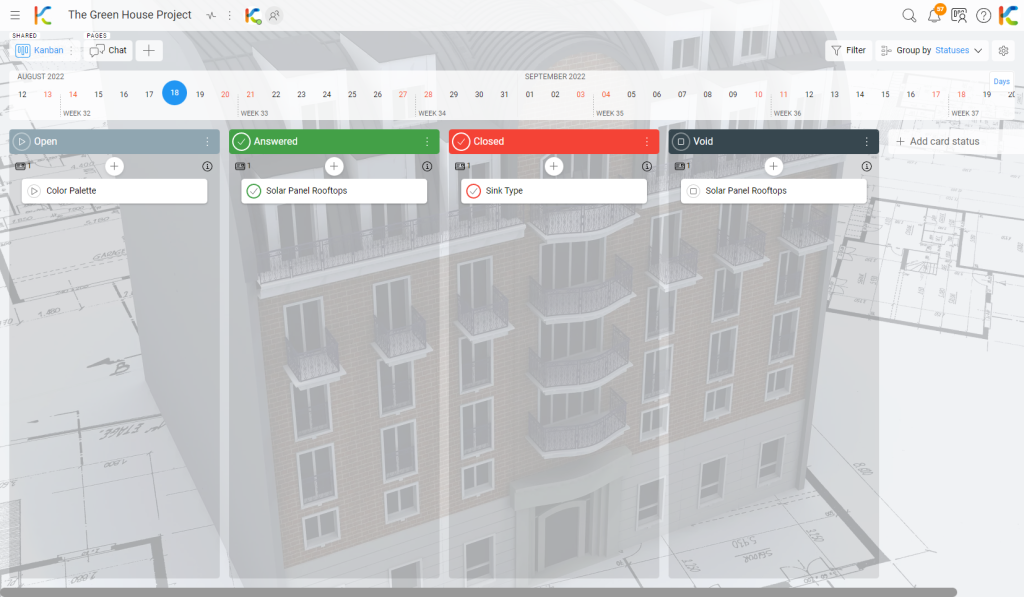
- Make sure that the Card Statuses of a space share the same name as the issue statuses inside of Document Management of your BIM 360 Project.
An example of a ready-to-sync space should look like this (based on the design type and subtype):
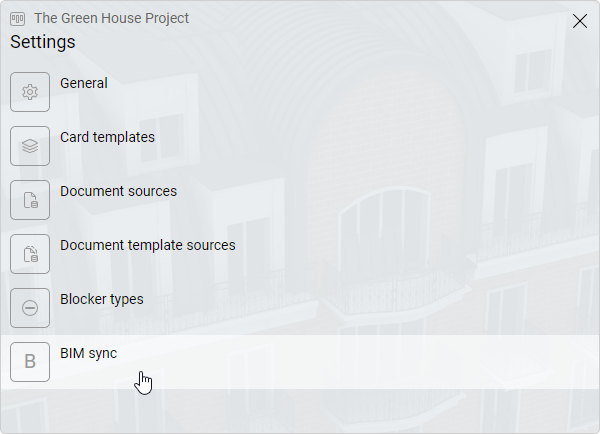
- Open the space menu by clicking the three-dot menu button.
- Select
 Settings.

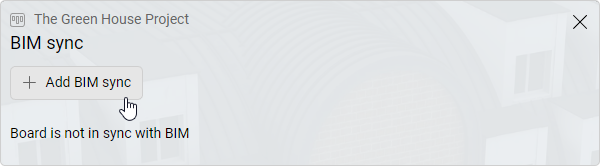
- Select BIM sync.
- Click on Add Bim Sync.
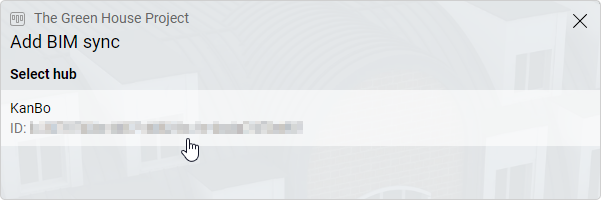
- Select your hub.
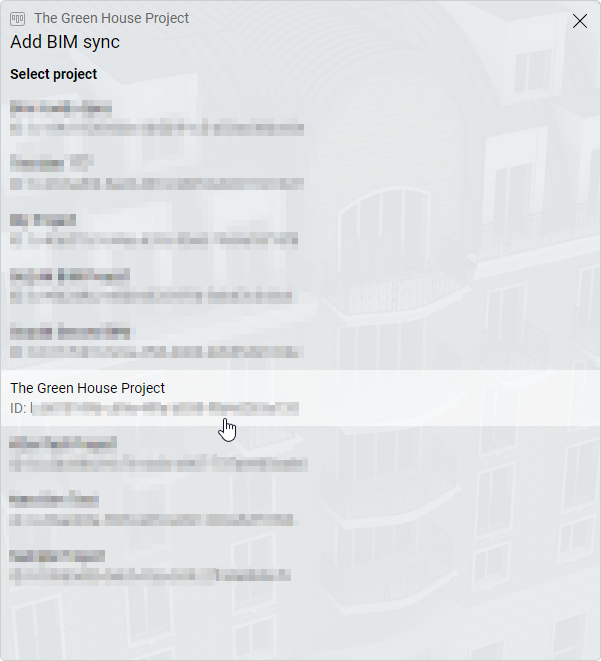
- Select project.
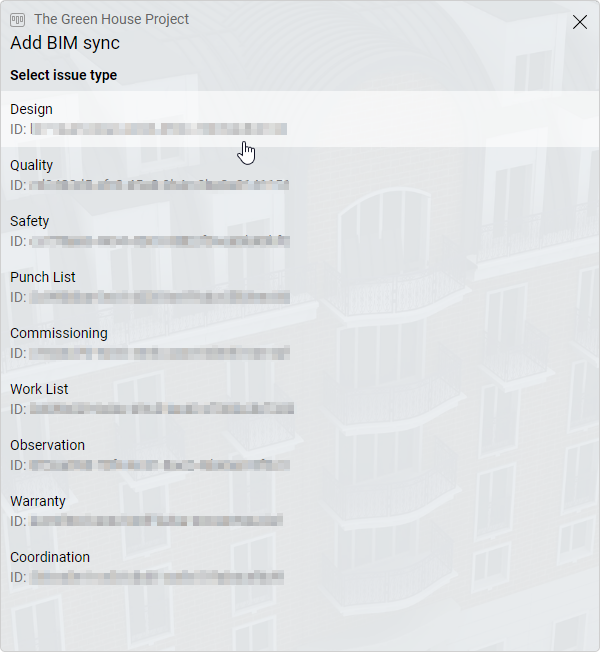
- Select issue type.
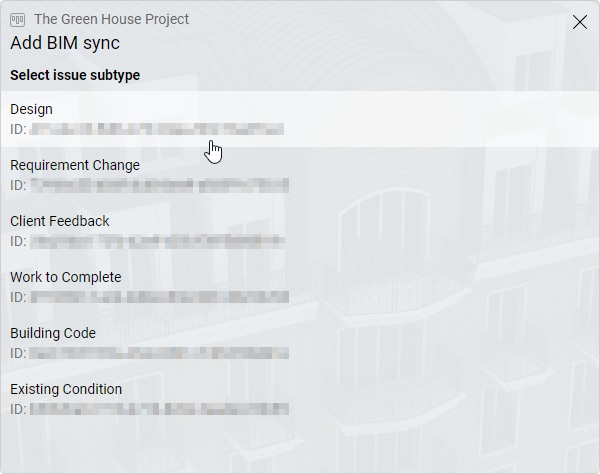
- Select the issue subtype.
Now You will be presented with this window:
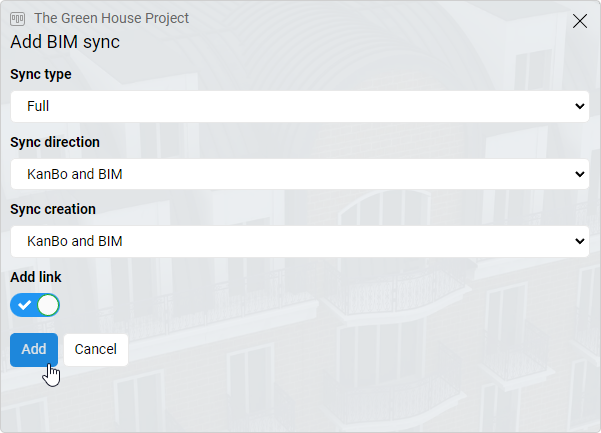
Sync type (What parts are being synchronized?)
- Status only – Only synchronizes the Status changes
- Content only – Only synchronizes the Name and the Description
- Full – Synchronizes Status changes, the Name and the Description
Sync direction (In which direction is being synchronized?)
- KanBo and BIM – bidirectional sync, any change (if there is a change in both systems at the same time, KanBo changes overwrite)
- BIM only – only BIM will be updated if something changes in KanBo, changes in BIM do not affect KanBo
- KanBo only – only KanBo will be updated if something changes in BIM, changes in KanBo do not affect BIM
Sync creation (Where do we allow to automatically create new stuff?)
- KanBo and BIM – if a card is created in KanBo it results in creation of an element in BIM, if an element in BIM is created then it creates a card in KanBo
- BIM only – creation of new elements in BIM based on creation of new cards in KanBo takes place only in BIM, new BIM elements will not create any new cards in KanBo
- KanBo only – creation of new Cards in KanBo based on creation of new elements in BIM takes place only in KanBo, new KanBo Cards will not create any new elements in BIM
Add link
Adds a direct link to the BIM element in the KanBo card as a note.
After configuring your sync options, you can click on add, and after a while (the frequency of sync is configured globally for your KanBo environment by your IT department), your KanBo space should be synchronized with your BIM project accordingly to the rules you have defined in your sync configuration.
Create as many Statuses in KanBo as you need to map out how many of the BIM steps (Statuses) you would like to have synced into your KanBo space. Only if the Status Names in KanBo exist and match EXACTLY the name in the BIM environment the sync will be able to do the mapping correctly. It is not required to have all BIM Statuses in KanBo if you do not require all, i.e. you cold have only the first one and the last one (completed) because for your use case you do not need what is in between.
To check when the next synchronization will occur, you can go to the BIM Sync menu again.

Removing the sync (or just pausing it)
To remove the sync:
- Click on Remove BIM sync in the BIM sync windows.
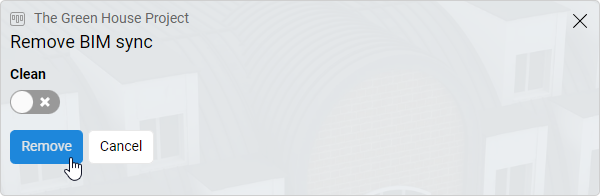
Clean
When you select this option during removal then all metadata about the sync including which card is connected to which Element in BIM will be deleted permanently. If you create a sync again then depending on your sync configuration it might lead to a situation where all KanBo cards will create new BIM elements and all BIM elements will create new KanBo cards resulting in a huge duplication of information in both systems.
If you just want to stop the sync for that KanBo space temporarily keeping the option open to connect it again at some later time to the same Project in BIM, then you should not use the Clean option. Removing without Clean keeps all the metadata, and in case of re-activation all corresponding KanBo Cards and BIM Elements will not be recreated, only updated (depending on your sync configuration).
Was this article helpful?
Please, contact us if you have any additional questions.